Tie-dye seems to be one of those fashion statements that never truly goes out of style. These funky, colorful patterns look great during the summer months, and will make anyone feel confident and cool.
The best part about tie-dye patterns is that they are so easy to create at home, with virtually any item of clothing. As long as you have some plain white clothing, and some colored dye, you can create your very own tie-dyed items!
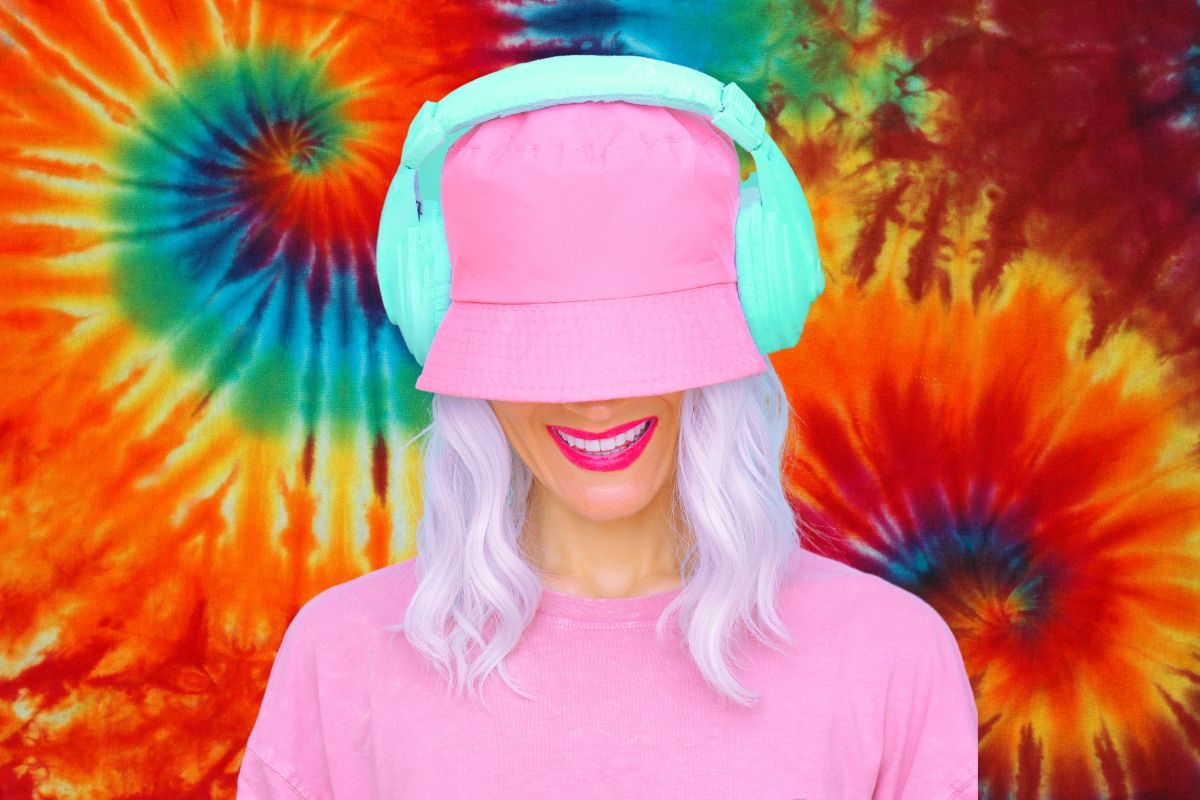
If you want to create your very own tie-dyed bucket hat, look no further. This is our guide on tie-dyeing bucket hats, and we have provided all the information that you will need going forward.
So, let’s get into it. Here is everything you need to know about tie-dyeing bucket hats.
The Best Bucket Hats To Tie-Dye
When it comes to tie-dyeing a bucket hat, you may think that it is just as simple as finding a plain white bucket hat, bringing it home, and adding the color.
However, some materials are better to work with than others, so this is something that you should take into consideration.
The best hats to use are those that are lighter in color—ideally white—and made entirely of 100% cotton.
However, it might be very difficult to obtain a bucket hat that is actually made of 100% cotton. Many hats are sold with the description ‘cotton’ but are actually composed of synthetic fibers.
Polyester and many other synthetic textiles don’t take the dye from tie-dye kits very well, thus you will need to work with 100% cotton.
You will quickly realize that a hat is not 100% cotton when you attempt to dye it, and the dye barely absorbs into it.
The best way to see the colors is to use a light-colored or white material. There is no reason, however, why you should not choose one that has already been dyed.
Just be aware that the colors you dye it with will differ substantially from the colors that were already applied.
If you wanted, you could even use a bucket hat in a dark color and tie-dye it with bleach.
However, you must use a white or extremely light-colored bucket hat as your base if you want your colored dye to look exactly as it does on the container.
So, in a nutshell, you will want to seek out a white bucket hat made from 100% cotton for the utmost greatest results possible!
If you are a beginner, we recommend selecting a white hat, but if you’d like to experiment with colors, try using an already colored hat.
Materials Required To Tie-Dye A Bucket Hat
If you want to tie-dye a bucket hat at home, it is a fairly easy process that takes less than an hour to complete, and a further couple hours to let it set and dry.
Before you begin this craft, you are going to want to make sure that you have all your required materials ready at hand.
You don’t want to begin dyeing your hat only to realize that you haven’t got some of the materials halfway through…
Here are all the materials that you are going to need to dye your bucket hat:
- A white bucket hat made from 100% cotton
- A tie-dye kit
- A plastic basin
- Mixing containers
- Plastic spoons/utensils for stirring
- Soda ash
- Gloves
- Rubber bands or hair ties
- Paper towels
- Cling film
The white bucket hat and tie-dye kit are obvious materials to require for this craft; without these, you won’t be able to get very far.
You’re going to need the mixing containers and plastic utensils to mix the tie-dye powder with water, and a little Soda ash.
You will want to check that your tie-dye kit does not already come with soda ash, as some of them do. If it doesn’t, you’ll need to buy your own.
The gloves are needed for obvious reasons. Tie-dye dye will stain your hands if it comes into contact with them, so gloves will keep them protected.
Additionally, you may want to think about wearing old clothes that you don’t mind getting stained, or wearing an apron.
You will need the rubber bands/hair ties for the hat itself. This will make more sense later on in this guide.
Finally, the paper towels and cling film are also required for protection purposes, for the surfaces that you will be working on. Without using these, you may end up with a lot of dye stains on your furniture.
You are also going to need some water, and you can get this from your kitchen tap. Once you have gathered the rest of the materials in our list above, you can get started with the tie-dyeing process.
How To Tie-Dye A Bucket Hat
Step 1: Preparing The Bucket Hat
Before you jump straight into the fun part, you will need to fully prepare your bucket hat. This involves getting it clean and dry.
Even if your bucket hat has been recently bought, there is a high likelihood that there will be oil, dirt and/or chemicals on the material. Each of these will make it harder for the dye to penetrate the material, creating a patchy pattern on the hat.
For this stage, you will need the plastic basin, soda ash, water, a washer and detergent, and the bucket hat itself.
Here is how to successfully prepare a bucket hat for tie-dyeing.
- First, you will need to wash your bucket hat. The best way to do this is to throw it into your washer for a quick cycle, although you could wash it by hand if you preferred.
- While the hat is being washed, you will need to prepare a soda ash bath. In the plastic basin, pour out 1 cup (0.24 liters) of soda ash and 1 gallon (3.79 liters) of hot water. Stir together until the soda ash has completely dissolved.
- After it has been fully cleaned, take the hat and wring it to remove the majority of water. It does not need to be completely dry for the next part. Simply push the hat down into the soda ash bath, and allow it to soak for around 20 minutes.
- Once the hat has finished soaking, you may want to allow it to completely dry. While you can tie-dye a material while it is wet, dye tends to soak a lot faster into wet materials, causing it to spread faster. Dry materials soak the dye less quickly. So, technically, it all depends on which kind of pattern you’re aiming for!
We recommend letting it dry completely, but you can continue while it is damp; just remember to wring it a little beforehand, so it is not sopping wet.
- Once the hat is dry, or has been wrung out, you can use your elastic bands to separate it into sections. You can do this by pinching small sections and tying the bands around, or twisting the hat sideways and attaching the bands in a horizontal line.
The ultimate pattern will depend on how you section your hat at this stage. Also, the tighter you tie the bands, the more white space will be visible on the end result.
If you don’t tie them tight enough, the dye will leak and the colors will merge together.
Step 2: Dyeing The Bucket Hat
Now that the hat is completely clean and has been soaked in soda ash, it will be clean and porous enough to absorb and hold the tie-dye dye. This means you can finally begin the dyeing process.
If you were wondering, the soda ash is used to prepare the fibers in the hat to absorb dye more easily. You can dye material without using soda ash, but it makes the process a lot easier and cleaner.
For this part of the project, you will need to set up your tie-dye kit, mixing containers and utensils, rubber bands or hair ties, cling film, and paper towels.
Here is how to tie-dye your bucket hat.
- Before you begin dyeing, you will want to put on your gloves, as things are about to get messy. If you have long hair, you may also benefit from tying your hair back.
- The first step is to prepare the dye that you want to use. Depending on the tie-dye kit you purchased, this will vary, but generally you will be given dye in a number of different bottles. The bottles must be thoroughly filled with water, then shaken until the dye has fully dissolved into the liquid.
- If you want to mix your own colors, you can use the mixing containers to pour the dye into, and use utensils to stir them together. For example, if you want to create a pink-purple dye, mix some red, pink, and blue together.
- Grab the cling film, and layer a generous amount across a clean, clear surface. This is going to be a protective layer that prevents any dye falling onto your counter, table, or whichever surface you are working on.
- Pick up your hat (making sure there’s no dye on your gloves) and place it on the cling film. Now, decide which colors you would like to add to each section.
- Pick up your dye bottles, and carefully squeeze the dye onto each section of the hat. You can get creative at this stage, but we don’t recommend mixing too many colors in one section as this will result in a dark, muddy shade. Best results will be achieved by only using one color on each section.
- The hat will be ready to finish once it is completely covered. Be sure to only add enough dye to make it wet, but not completely sodden!
- Once you have finished, place the hat down on the cling film while you clean up any excess dye with the paper towels. Then, use the cling film to completely cover the hat, wrapping it up tightly. If the dye begins to leak, use another layer of cling film for double insurance.
- Place the hat somewhere safe, and leave it to soak for as long as possible.
Step 3: Rinsing The Bucket Hat
While we have no doubt that you will be excited to see the end result at this point, it is very important that you leave the hat to soak up the dye for a couple of hours. At the very least, we recommend leaving it to set for six hours.
Once the time is up, you can complete the final stages of this craft. There are only a couple of things left to do at this point, as the actual dyeing process has already taken place.
Here is how to finish up your tie-dye project.
- Once the hours have passed, you will be able to unwrap the hat from the cling film. We recommend putting some gloves back on to avoid getting excess dye on your hands during this part of the process.
- Take the hat over to your sink, and begin to rinse it in cold water. It is very important that you use cold water to rinse the hat, as warm or hot water may wash more of the dye away, stripping the color from the hat.
- Once you have noticed that the excess dye has stopped running from the hat as you rinse it, you can turn up the temperature and use warmer water to rinse it in the final moments. At this point, the water should be running clear.
- Wring the hat tightly to remove any excess water, and remove it from the sink. You will now be able to throw it into the washer to give it a wash. If you are washing it with other clothes, we would recommend avoiding mixing with white or light-colored clothes, as it is possible that the dye will bleed during the washing process.
- Once the hat has been washed, you can hang it up to dry. When it is completely dry, your hat will be ready to wear!
Final Thoughts
Whether you are planning on going to a festival this summer, or you’ve got a couple of beach trips planned, don’t forget to take a tie-dyed bucket hat along for the ride.
Add your favorite colors, and create funky designs that’ll catch everybody’s attention.
The coolest part about making your own tie-dyed designs is that they are completely and utterly unique, since you made them yourself!
Show off your own individuality by making your own handmade tie-dyed bucket hat.
We hope you found this article helpful.

In an effort to get them to avoid excessive screen time ( and arguing! ) I turned to more creative avenues that we have all since grown to love.
I created this website in the hopes of inspiring more families out there to enjoy crafting and enjoy a shared bonding experience over it.
Please enjoy it and hopefully, you’ll find something to make that you can display proudly forever!
- Master Crochet Stitches for Cozy Creations - January 23, 2024
- Half Double Crochet Guide for Cozy Creations - January 23, 2024
- Elevate Your Space with Unique Macrame Creations - January 23, 2024
