Disc dyeing can be a really fun craft to take part in. It is kind of similar to tie-dye, except instead of dying soft materials, like cotton, you will be dying a hard, plastic disc.
There are a number of techniques you can use to disc dye, but you will need to know the basics before you start this kind of project.
In this guide, we have listed the best kind of discs to use, the best kind of dyes to use, and what materials you will need, as well as the best disc dyeing techniques. Everything you need to know about disc dyeing can be found in our guide.
So, let’s get started! Here is all you need to know about disc dyeing.
What Is Disc Dyeing?
Let’s examine the fundamentals of what disc dyeing is and how you can do it yourself before we look at the best methods and equipment to utilize.
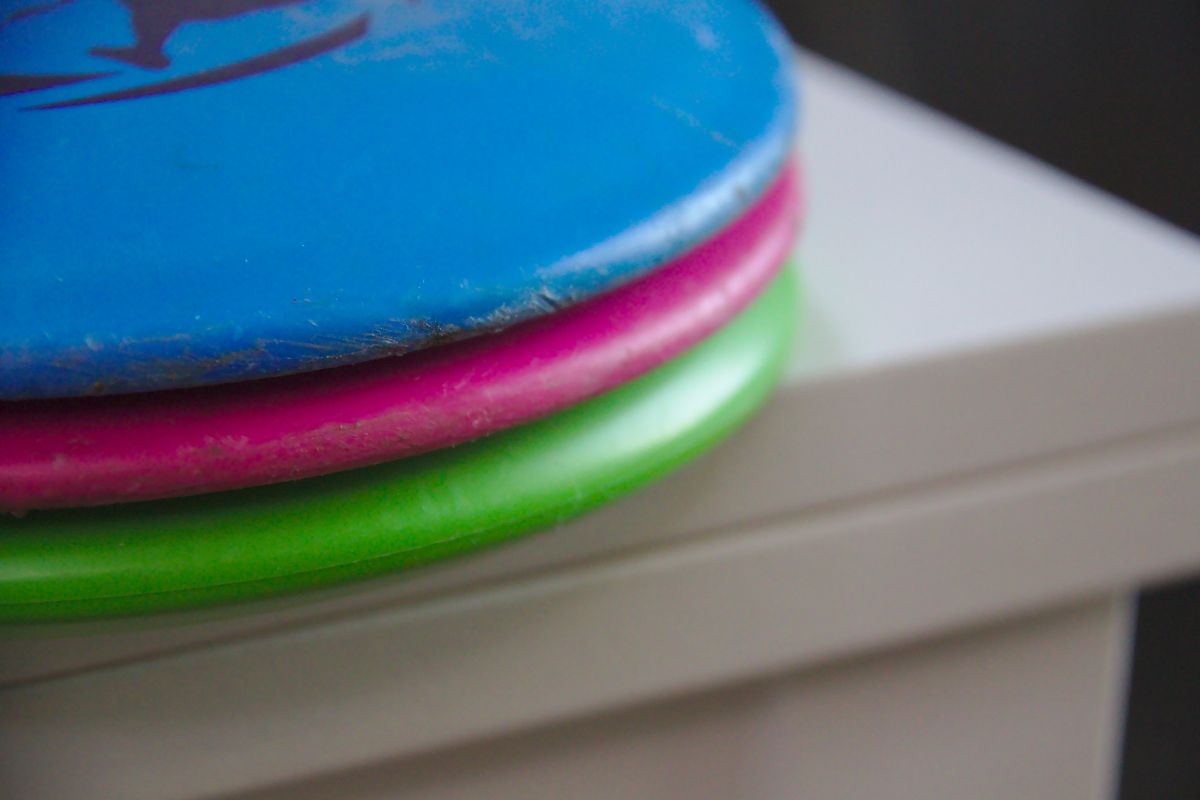
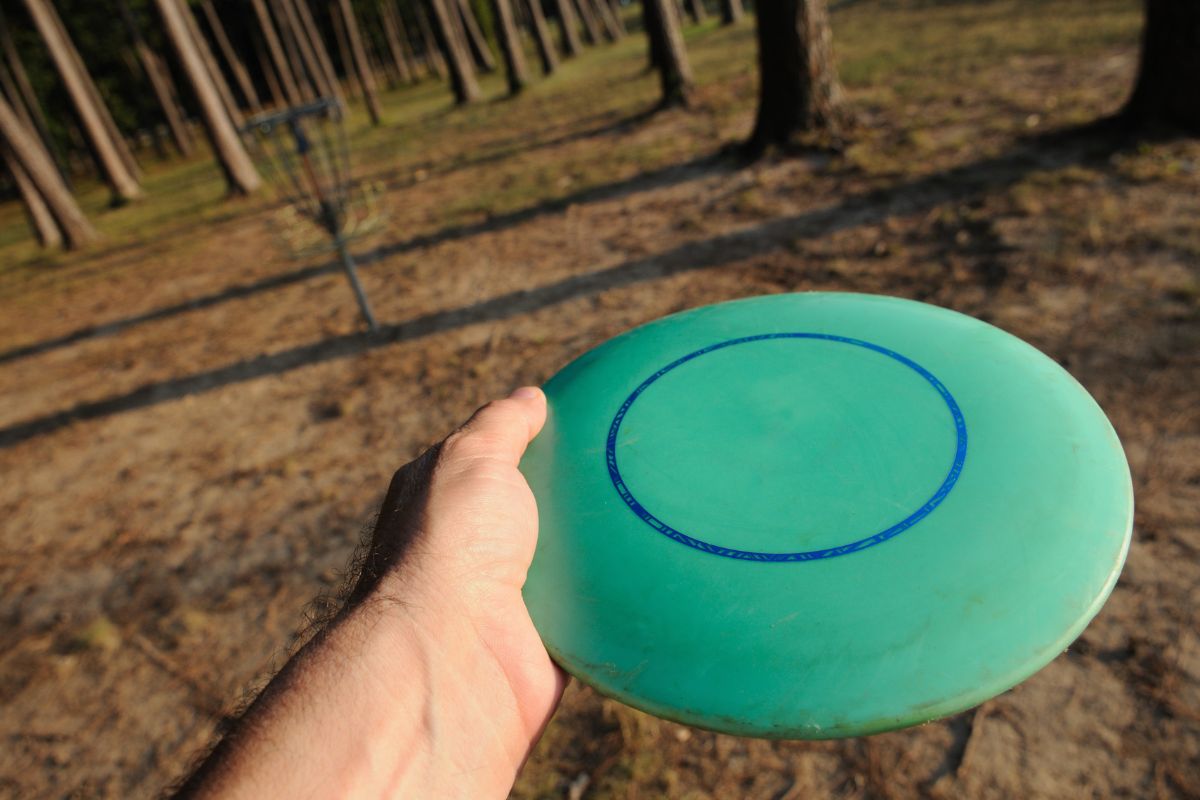
You will need a disc—a round piece of plastic that resembles a plate and can be used as one—for disc dyeing. Disc golf discs, or Frisbee discs, are the most popular form of disc that is used within this craft.
The main concept behind disc dyeing is to immerse a synthesized dye onto the plastic of a disc using a specific kind of substance, like shaving cream or glue.
You can transfer an image you create using your preferred medium and a disc onto another medium by designing a design. Using prints to produce art is a truly intriguing method, and disc dyeing, in particular, can be really fun to do!
Materials Required For Disc Dyeing
Before you decide to try out disc dyeing for the first time, you will want to make sure that you have all the necessary materials to continue. If you begin this craft and realize halfway through that you don’t have all the required resources, you will not be able to finish.
The first thing you will need to have is, of course, a disc. More specifically, you will need a disc golf disc. Without this, you will not be able to disc dye anything.
You are also going to need some of the following materials:
- Acetone
- Mixing containers
- Paper towels
- Plastic wrap/cling film
- Plastic gloves to protect your hands
- Some synthetic dye
It is very important that you use only synthetic dye while disc dyeing, and no other kind of dye! We will discuss this further later on in this guide.
You will also come to learn, by the end of this article, that there are many different techniques that can be used to disc dye. Based on which technique you decide to use, you will also need some of the following materials:
- Shaving cream
- Shampoo
- Conditioner
- Stencil
- A Frisbee
While these may all seem like pretty random materials at first glance, they will make a lot more sense when we get further into this guide.
Each of these materials are fairly cheap to buy online, or at your local store. You don’t need to buy great quality shampoo, shaving cream, etc., so save your money and purchase them from your nearest dollar store.
The Best Discs For Disc Dyeing
Now that we have discussed the basics, let’s look into which discs work the best while disc dyeing. Some work a lot better than others, so it is best to know which ones will work best for you, your art style, and your desired results.
It could come as a shock to you to realize that not all disc golf discs are suitable for disc dyeing.
When choosing your disc, take that into consideration since often, the less expensive ones won’t retain the dye effectively. Your final product won’t be as high-quality as a result.
The type of disc you receive is another consideration. A translucent disc will produce a more understated, see through outcome, whereas opaque discs will produce a more brilliant color.
Consider using a white disc if you want the color to be very vivid and bright, and as close to the hue of the original dye as you can get. Otherwise, the dye will appear differently than planned due to the disc’s base color. Compared to lighter-colored discs, darker discs will not enable as much of the dye colors to shine through.
The Best Dyes For Disc Dyeing
Next, let’s take a look what kind of dyes you should be considering for your disc dyeing projects.
The most important thing to remember here is that you must choose a synthetic dye, since plastic makes up the majority of disc golf discs. This isn’t your typical tie-dye; it’s distinct, and you will need to be able to know the difference. It should be displayed on the packaging of the dye, whether it is synthetic or not.
Both the powder and liquid forms of synthetic colors are acceptable for use, but just be certain that it is a synthetic dye before using.
You can also use colors designed expressly for disc dyeing, such as PRO Chemical, which comes in a handy set, Rit Synthetic Dye liquid dye, and Jacquard’s iDye Poly powdered dye.
Considering these choices can be quite beneficial while disc dyeing. Keep in mind that if you want your work to turn out the way you want it to, you must use a synthetic dye while disc dyeing.

How To Prepare A Disc Golf Disc
Let’s now examine how to get your disc golf disc ready for dyeing. It’s possible that you will need to give it a little prep work before utilizing it in order to avoid having the dyeing process go awry.
No matter what method you choose to dye your disc, you must first modify it by eradicating any existing text or graphics. Even if your disc doesn’t already include any images or text, you should still wipe it to make absolutely certain that it is ready for usage.
Your disc can be cleaned with acetone and a kitchen towel. Acetone is readily available at drug stores and online, and it is not too expensive to purchase, so make sure you buy enough, so you can use it several times.
Acetone, however, should only be used in moderation if you’re going to utilize it. The disc can get burned through by the acetone, effectively removing the capacity. However, if you use your discs on an everyday basis, no modifications will be apparent anyhow. In either case, only use what you require and exercise caution.
Another option is to use some nail polish remover. This, when used alongside paper towels, will also lift any previous markings from your disc, making it ready to use when you want to begin printing.
It is worth noting that nail polish remover is not as strong and corrosive as acetone. Therefore, while it may require a little more of the material to make a difference, it will be less likely to burn through your disc before you have even started to use it.
The Best Disc Dyeing Methods
So, as we mentioned earlier, there are a couple of different ways that you can disc dye. Each of these methods below work well, and ultimately, it is up to you to decide which one you’d prefer to use.
Take a look through, and work out which one sounds best to you. You could always try experimenting with each of them, and deciding yourself which one works the best, and comes up with the greatest results.
With no time to lose, here are three disc dyeing techniques that we recommend using for your own projects.
Disc Dyeing Using Shampoo Or Conditioner
Since they offer a flexible basis, shampoo and conditioner are excellent disc dyeing mediums as they enable colors to flow even more, producing a more water color impression.
To select how thin or dense you want your design, though, you must first decide whether you will use shampoo or conditioner. Use a shampoo if you want it to be more fluid, or conditioner if you want the foundation to be more firm and keep its structure.
Here is how you can use shampoo or conditioner as a disc dyeing medium.
- First things first, you will want to add some shampoo or conditioner into a mixing bowl. Pick out your chosen dye, and add enough drops into your medium until you reach your desired hue.
- You may need to add a couple drops of water to thin out the material, or else it will be a little too thick to use. Additionally, you may want to add a tiny amount of acetone (but not too much!).
- If you want to use more than one colored dye, repeat these steps with the other colors that you want to use. Just be sure to use separate mixing containers.
- You will now need to prepare a base for the dye. In a pouring cup or jug, mix together some shampoo or conditioner with enough water to thin it out.
- Pick up the pouring utensil, and tilt it slightly to the side so that the mixture is pooled on one side of the cup. Then, carefully pour your ready-made dye into the empty space, creating another layer of color. If you are using more than one dye, continue to layer them in the cup.
- At this point, the dyes and the base should not be mixed together, but layered aside each other. Pick up a Frisbee, and place it on a clean surface with the flat side facing downwards.
- Carefully pour the dye-base mixture into the Frisbee, making sure that the entire inner surface has been covered. You can pour it in any way that you like, creating different swirly patterns.
- When you are happy with your swirly patterns, take your disc and cautiously press it into the Frisbee. Be careful not to push it to the very bottom, as this will cause the dye to stain both sides of the disc.
- Allow the disc to set inside the Frisbee for, at least, twelve hours. Once the time has passed, you can remove it from the dye, and give it a rinse. Now, your disc should have been successfully dyed.
Disc Dyeing Using Shaving Cream
Shaving cream is a common medium for disc dyeing, and for good reason. Shaving cream may be used to dye discs in a variety of methods, all of which are simple for the craftsman to apply.
The shaving cream’s concept is that you may mix powdered dye with it to get a homogeneous mixture that you can play with.
Alternatively, if you employ liquid color, the shaving cream concentrates it and turns it into a thicker material, making it easier for you to deal with it more readily.
With that being said, here is how to dye a disc golf disc using some shaving cream.
- If you are using liquid dye, you will need to prepare it beforehand. If you’re using powdered dye, however, this step is not necessary, so you can skip it.
- In order to produce the shaving cream disc dyes, it will be necessary to put on some plastic or disposable gloves first. Once you’ve put them on, you will need to add a small amount of shaving cream to a cup containing a small amount of your desired powdered or liquid dye.
- You may need to add a couple drops of water to thin out the material, or else it will be a little too thick to use. Additionally, you may want to add a tiny amount of acetone (but not too much!).
- If you want to use more than one color, repeat these steps to prepare additional colors.
- After preparing the dye or dyes, you must prepare the base. To do this, combine shaving cream with a small amount of water in a separate mixing bowl. Likewise, you want this substance to have a rich, creamy texture.
- Roll a generous amount of plastic wrap out on a spotless, spacious surface. Scoop out the shaving cream mixture and spread it in the shape of a circle onto the plastic wrap using a plastic spoon. The circle will need to be a similar size to your disc.
- Next, you’re going to want to extract some of your dye, and drop it onto the shaving cream in small drops. You could use the spoon to apply the dye.
- Once you have applied your dye, or your multiple dyes, you can use the spoon to swirl it all around. It is up to you which pattern you decide to make; you could create spirals, or create different shapes.
- When you have finished swirling the dye around, you will be ready to dye your disc. Pick up the disc, and press it down into your dyed shaving cream concoction. Push it down into the cream to make sure the whole disc has been applied.
- Very carefully pull up the plastic wrap, and wrap it around the entire disc. If you’re not careful during this part of the process, you may end up getting some unwanted dye on the back of the disc.
- Leave the disc to settle in the dye for, at least, twelve hours. Once the time has passed, you can remove the plastic wrap and rinse the shaving cream and dye from the disc. Your project should now be successfully dyed.
Alternatively, instead of using the spoon to swirl a pattern into the shaving cream during step 8, you could just dip your disc straight in, and swirl it around to create a pattern. This will create a more fluid, creamy design.
Disc Dyeing Using A Stencil
While making swirly patterns on a disc can be fun, it is also pretty cool to apply some stencils to create more specific shapes and patterns. In fact, you could add some stenciled designs onto your disc after you have added a swirled, tie-dye styled design.
If you’ve got a Cricut machine at home, it should be fairly easy for you to create a stencil for your disc.
If you don’t, you could always hand draw onto some vinyl and cut it out with a strong pair of scissors to create your very own stencil.
Here is how you can use a stencil to create some patterns on your disc.
- Before starting, make sure that you have your stencil readily on hand. Make sure that it is completely clean and ready for use.
- Using transfer tape, carefully apply your stencil to your disc, making sure that it is applied exactly where you want the pattern to be placed. You will want to ensure that the stencil has been thoroughly pressed down and stuck to the disc, or else you risk the dye slipping through the stencil and making a mess.
- Using the same technique as you would have in the Shaving Cream section of this guide, use your different dye colors to create a soft, thick dye mixture.
- Once your dyes have been prepared, use a spoon or a brush to carefully apply the shaving cream dye over the stencil.
- Give the disc at least twelve hours to soak up the dye. After the specified amount of time has gone, you can take off the stencil and wash the disc to remove the shaving cream and dye. You should have now successfully colored your project.
Disc Dyeing Using Ice
Anyone who has ever tie-dyed will know that the ice method is a popular one, and it works very well when executed correctly. A similar procedure can be done when dyeing discs, and these results can also turn out very aesthetically pleasing.
It is important to note, however, that this is probably the messiest method to try out. The results are worth it, though, so we recommend giving it a go.
Here is how you can use ice to dye your disc.
- The first step is to set your disc in a cooling rack or tray. When the ice ultimately melts, you will be required to hold the disc raised enough so that it doesn’t make contact with the water.
- After that, put ice cubes atop of the disc and scatter the powdered dye among them. If you’re going to be using ice, it will be very difficult to use liquid color throughout this process; instead, stay with powdered pigment. You can, and should, however, add a couple of drops of acetone.
- Leave the ice cubes to melt over time. This amount of time will differ depending on the temperature of the room, and whether you chose to use crushed ice or ice cubes.
- Once the ice has completely melted, your disc will have a swirly, colorful pattern over the top. You should leave it for a further twelve hours, however, to allow the dye to fully sink in.
- After that time has passed, you can rinse your disc. It should now be successfully dyed, and ready to use.
Which Disk Dyeing Technique Has The Best Results?
Each of the four methods we mentioned above will give your disc a very different appearance, so it is difficult to compare them. The best technique for you will be down to your personal preference.
Using ice will create a more watered down, less colorful effect, but will look like it has been painted with watercolor pains. Shampoo will have similar effects, although the swirls will appear a lot thicker, since shampoo is a lot thicker than water.
Conditioner, again, will have a thicker texture, and will therefore provide brighter, more vivid colors on your disc.
For the most vibrant colors, and most prominent textures and patterns, you will want to use shaving cream. For this reason, the shaving cream technique is probably the most popular among disc dyers.
Your best bet is to choose between these three techniques, and then decide if you want to use a stencil design on top of the one that you decide to use. However, you can use the stencil technique straight onto a plain, non-dyed disc if you want to.
Ultimately, the decision is yours to make! We recommend trying out each of these techniques, and deciding which one you prefer. Each method will take, at very least, around twelve hours and 15 minutes to complete, including application and drying times.
Final Thoughts
All you need to dye your own discs at home is some dye, discs, containers, and some simple, everyday ingredients, such as shaving cream, shampoo, conditioner, or ice. If you’ve got a Cricut machine or some vinyl lying around your house, even better!
This is a fun, colorful way to add some pizzazz to your old discs. You can make some for yourself, and add some color to gifts for the holidays. The possibilities are endless!
We hope you found this article helpful.

In an effort to get them to avoid excessive screen time ( and arguing! ) I turned to more creative avenues that we have all since grown to love.
I created this website in the hopes of inspiring more families out there to enjoy crafting and enjoy a shared bonding experience over it.
Please enjoy it and hopefully, you’ll find something to make that you can display proudly forever!
- Master Crochet Stitches for Cozy Creations - January 23, 2024
- Half Double Crochet Guide for Cozy Creations - January 23, 2024
- Elevate Your Space with Unique Macrame Creations - January 23, 2024
