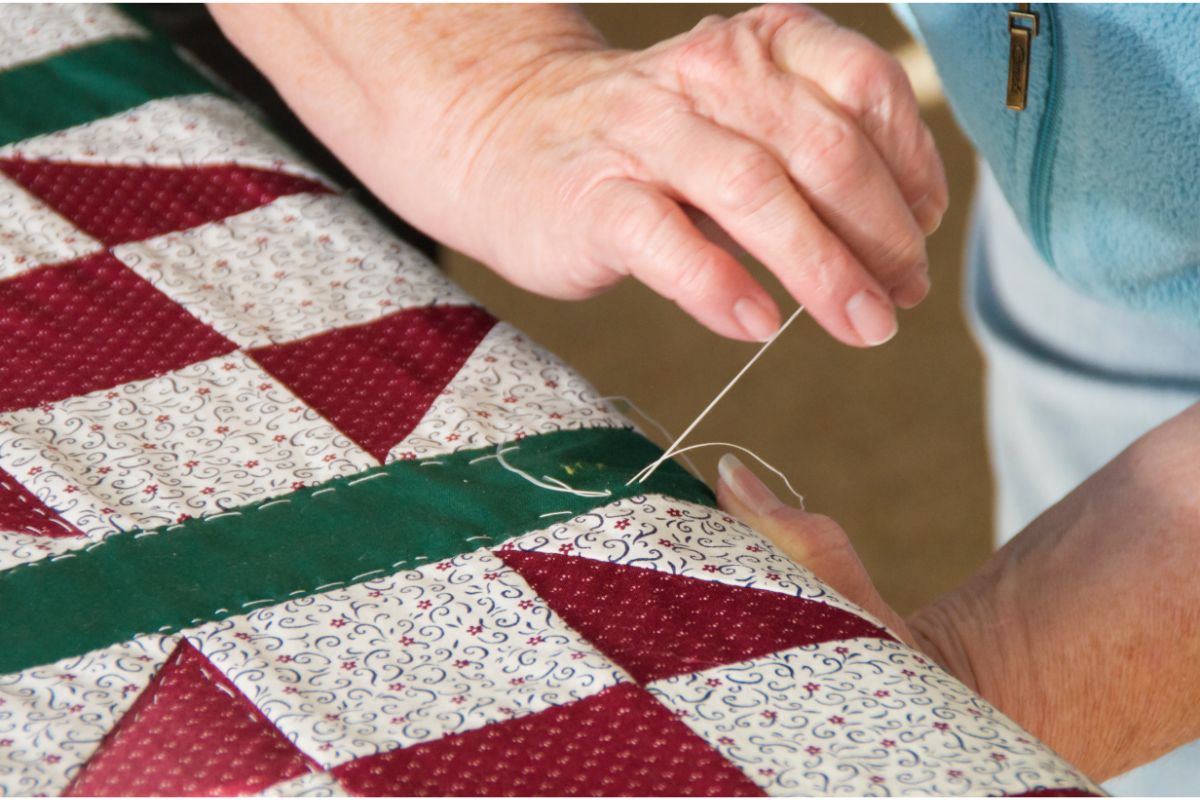
One of the simplest and quickest ways to complete a quilt is to tie it, which involves using thread or
The most common method of tying a quilt is with
In this article, we’ll look more closely at the best techniques for tying a quilt at home. With this guide, you’ll be able to tie your quilt with confidence.
What Is Quilt Tying?
The layers of a quilt or project can be held together by tying them together using a quilt tying technique.
Tying the layers together is typically done at broader intervals, creating a puffier look, whereas hand quilting is typically done closely spaced, giving a flat aspect to a quilt.
The knots can be fashioned in a variety of ways, constructed to blend in or stand out as decorative elements in and of themselves, and can be tied on the front or the back of the quilt.
Before You Tie A Quilt
Before you start tying your quilt, there are two things you should consider: choosing which
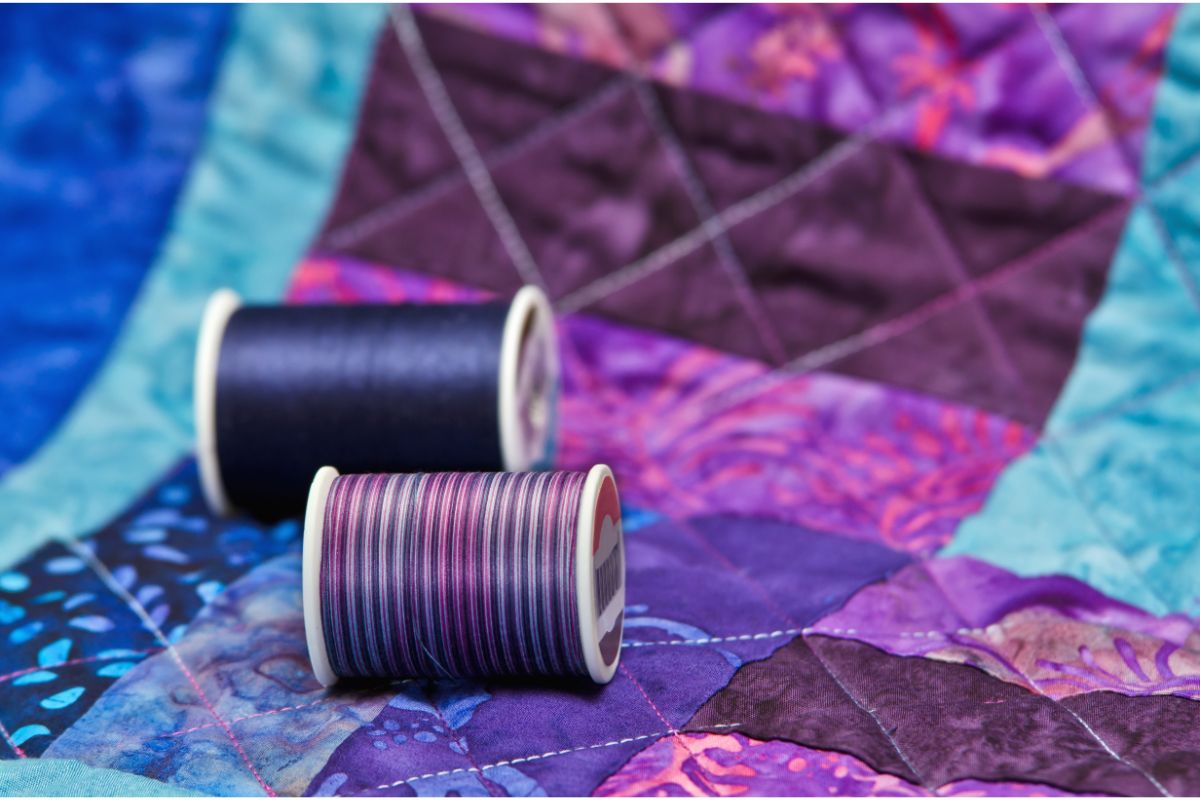
Choose The Thread Or Yarn
The first thing to think about when selecting thread or
It goes without saying that you should pick a different fiber if the thread or
The type of material used to manufacture your thread or
While synthetic fibers like acrylic and polyester are more durable and strong, their slickness increases the likelihood that they may come untied. On the other hand, natural fibers feel softer but might rip more easily than synthetic threads.
Decide On Tie Placement
Before you start quilt tying, you must decide how far apart you want the ties to be. This typically depends on the type of batting you’re using and the quilt pattern you want to use.
Be sure to carefully read the label on the quilt batting since it will tell you how much room you can afford to allow between stitches. The majority of battings enable spacing that ranges from 6 inches to 10 inches, which is relatively forgiving.
But, because ties aren’t as dense as quilting stitches, it’s probably best to leave a space of no more than 5 inches while tying your quilt. Use a water-soluble pen to make marks where you want your ties to go.
Once you’ve determined how much room to leave between the ties, look at your quilt’s pattern and choose the location where the ties will look their best.
The patchwork squares’ center is the most common placement, but you can choose anywhere you think it will look best.
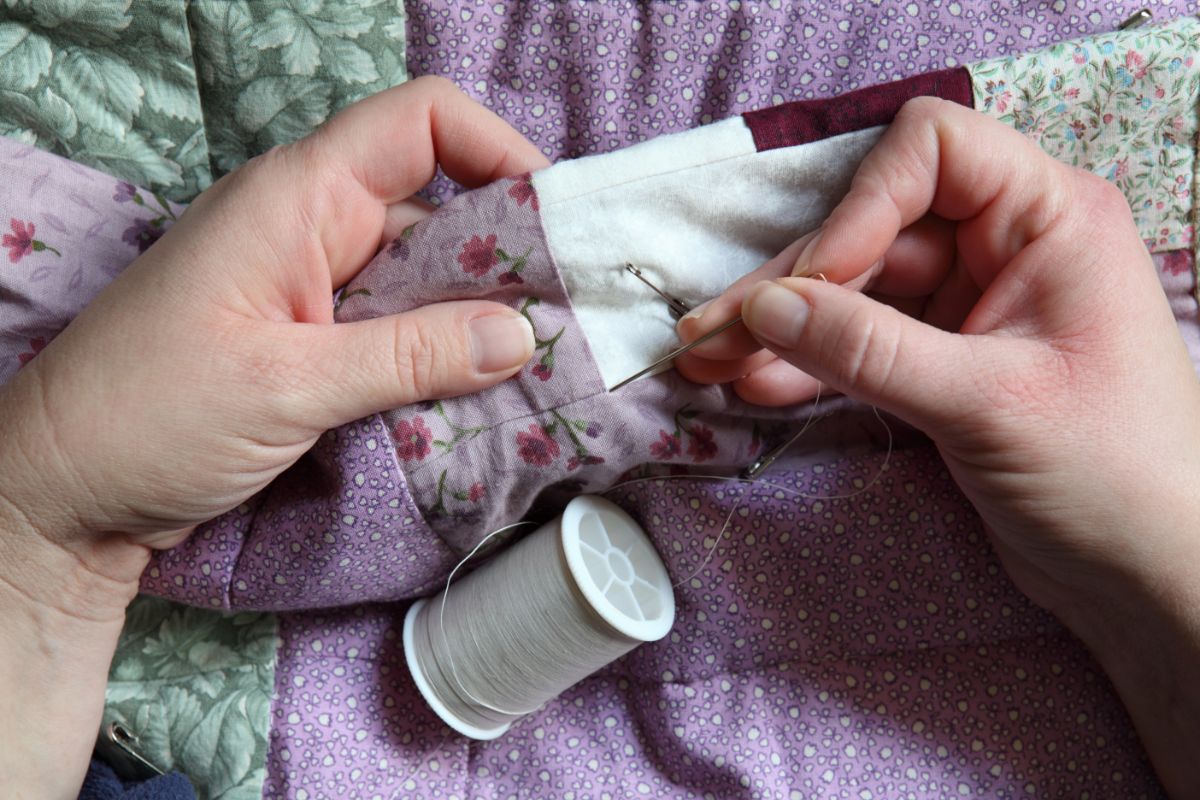
How To Tie A Quilt
Now that you have chosen your
Traditional
First is the traditional quilt tying method. If you’re a beginner or just want to create something simple, you can follow these easy steps and tie your quilt in the most common way.
- Thread your needle first. To avoid having to keep re-threading the needle, it is a good idea to use a long piece of
yarn . - After that, stitch it into the quilt’s top fabric. Make sure the cloth is penetrated through all three layers, and then sew through the back of the material about a half-inch away from the initial stitching point.
- Leave 2 inches tail of thread after pulling it through your quilt. Once you have a second two-inch tail, snip the thread that is still linked to the needle.
- After making a double knot with both tails, cut them to the length you like.
- Continue this process one last time to ensure that your quilt is completely bound.
Satin Stitch
The satin stitch, a standard in embroidery, can give your quilt a colorful, contemporary appearance.
If you want to give your quilt even more interest, you can use the satin stitch in the corners of patchwork blocks or transform it into different shapes like circles or rectangles.
Insert your embroidery floss and needle into your quilt from the back, then sew back down into the top of your quilt about a half-inch away to create a satin stitch.
Do this step again just next to the first stitch. Continue following these steps until your desired shape is filled.
X-Shape
All you need is some embroidery floss or 12-weight thread to complete this adorable, contemporary technique. You have the option to select how many threads to use if you chose to use embroidery floss.
Start by forming the first “X” half. This can be accomplished by beginning at the back of the quilt and sewing diagonally across to the top. Leave about a two-inch tail after pulling the thread through firmly.
Simply carry out the same procedure in the opposite direction to finish the X-shape. If you want to give your quilt a new look, you can knot the threads together. If you want the threads to be hidden, you can bury them in the quilt.
Star Stitch
All you need for this artistic stitch is a needle and some embroidery floss. The needle should be inserted into the back of the quilt, then back down into the fabric about half an inch away to form the stitch.
This should be done three more times in a clockwise circular motion.
It could be a good idea to alter the sizes of your star stitches and incorporate various clusters all across your quilt to give it some extra interest.
Fishbone Stitch
Using a fishbone stitch with embroidery floss is another interesting approach to tying your quilt.
Although this method is a little more difficult than many others on this list, it will give your quilt a wonderful texture and is ideal for making a leaf shape.
You can either use a fishbone stitch for each tie or a few embroidered leaves scattered throughout your quilt. In either case, this technique will surely give your quilt a unique flair.
Bows
The thread ends can be tied in a bow once a basic knot has been formed rather than being trimmed. When combined with ornamental threads, wools, or even thin ribbons, this provides a charming folk art appearance.
Use a dab of fabric glue or make an additional knot using the bow lengths to keep bows from pulling undone.
Tassel
Tassels are a great option if you want to add some style to your finished quilt. They may be a little messy and intense for some, but they are undoubtedly a creative tying technique that is worth taking into account.
Hidden Tie
The hidden tie method is another unconventional method of quilt tying. This technique is great if you dislike the clutter that comes from tying a quilt with
Buttons
By simply passing your thread through the button holes as you tie the knot, buttons may be included fairly effortlessly and make your quilt stand out. The knot can be made even more secure by dabbing some glue on the front and back.
Choose buttons that will endure laundry and are strong and durable. Also, avoid using buttons with shanks and instead use buttons with holes in them.
Finally, stay away from fragile buttons since they could break if stressed by tightly bound threads.
Pom Pom
Tying your quilt with pom poms is a great way to give it some more texture. Just sew through all three layers of the quilt using both pom tails, double knot the ties on the back, and trim the tails to the desired length.
It’s important to remember that a pom maker is a wise purchase if you plan to make lots of pom poms. You’ll be able to create excellent, uniform-sized pom poms this way each time.
Beads
Choose your beads carefully to fit the purpose of your craft, much like when using buttons. If the project will be used often, use beads that are robust and long-lasting.
More delicate beads can be used if the craft is small and will only be seldom used, like an evening purse. The thread weight should ideally match the size of the bead being used.
Frequently Asked Questions
Why Tie A Quilt?
You might want to find out how to hand tie a quilt for a number of reasons, including the following:
- It’s a great technique to employ when making a quilt with heavier layers, such as one composed of wool tweeds or flannels.
- With a puffier appearance than typical machine quilting, it gives a quilt a distinctive and appealing appeal.
- A hand-tied quilt has a different aesthetic finish than one that has been machine-quilted.
- Knots can be used to create features, such as leaving tassel-like thread ends or creating a pattern.
Do You Tie A Quilt Before Or After Binding?
Generally, you should finish quilting before binding, regardless of the technique you use.
It is common for your quilt top to stretch during the quilting process, pushing it out of shape. In order to eliminate subsequent loose thread ends in the center of your quilt, you should also begin quilting as close to the quilt’s edge as you can.
Although the tying technique normally results in a smaller amount of shape distortion than machine quilting, it might still leave your quilt edge with a small tuft that you may wish to square up.
When you wait to bind your quilt until you’ve completed tying it, you’ll have more room for error.
How Do I Tie A Quilt Wi1th A Machine?
When you need something done quickly or want it done well, tying a quilt by machine is a great option.
A hand-tied quilt’s rustic appeal is mostly due to the frayed ends of the
When you machine-tie a quilt, you avoid the hassle of manually tying each tack, giving the completed product a neat appearance.
Once you break the process down, it’s actually fairly easy to understand. A simple zig-zag stitch that merely moves a small number of stitches forward, backward, then forward again will do.
The intricate zig-zags will overlap one another and resemble a thick belt of thread holding everything together.
Set your stitch dial to zigzag, your stitch width as wide as it will go, and your stitch length to a value that is rather low, closer to 2.
Before beginning, you can experiment with these settings on a scrap of fabric to make sure everything is set up the way you like it. Then, simply go forward and backward for a few stitches and break the thread.
How Many Embroidery Floss Threads Should I Use?
When tying quilts using embroidery floss, it’s best to use all 6 strands because the goal is to achieve a strength that will last.
6 strands will be more than enough to protect your quilt if you are tying a quilt that will be used more as a “showpiece, hanging on the wall, placed in the living room, or used in any other environment with less wear and tear.
Where Should I Tie My Quilt?
You can determine the position where your ties appear based on your project, your patchwork’s blocks or pattern, and other factors. Moreover, be sure you are tying at the appropriate intervals for the wadding you are using.
Ties can be placed at seam intersections or in the middle of patchwork blocks or units. With ties, you could also try to make geometric shapes like squares or circles.
Decide where you want the ties to go by taking a look at the quilt top. Depending on the wadding or batting you’re using, you need to bear in mind how closely your knots should be spaced.
Upon purchasing material, look at the label and make a note of the suggested quilting distance. It’s generally okay to position them approximately a hand’s width apart if you’re unsure.
To ensure consistent coverage, you can either work in an offset grid pattern or follow the layout of your quilt, placing ties over seams in the middle of blocks or at corners.
Use a removable fabric marker to mark your quilt precisely if you want, or just use your own sense of design if you prefer a more freeform appearance.
Final Thoughts
In conclusion, if you’re looking for something a bit more interesting, there are many unique ways to tie a quilt. Whether you choose
If you want to take your design to the next level, you may even add embellishments like buttons or pom-poms. Before you know it, you will have completed your amazing quilt project with the perfect ties.

In an effort to get them to avoid excessive screen time ( and arguing! ) I turned to more creative avenues that we have all since grown to love.
I created this website in the hopes of inspiring more families out there to enjoy crafting and enjoy a shared bonding experience over it.
Please enjoy it and hopefully, you’ll find something to make that you can display proudly forever!
- Master Crochet Stitches for Cozy Creations - January 23, 2024
- Half Double Crochet Guide for Cozy Creations - January 23, 2024
- Elevate Your Space with Unique Macrame Creations - January 23, 2024
