Tie-dying is a great way to upcycle any old clothes that you have lying around. It can also be a fun way to get creative and make unique clothing.
The best thing about tie dye is that it is such an easy craft to do that you can get the whole family involved no matter how young or old they are.
If you have done tie-dying before and are looking for new designs to challenge yourself and change up your results, this star design can be a great way to expand your creativity and skills.
This is the perfect design to create a casual shirt or even shirts for the whole family to celebrate the fourth of July. Below is the ultimate guide to making a star tie-dye design.
Materials And Tools You Will Need
There are a few materials and tools that you will need in order to complete this design. The most important thing that you will need is a white shirt. This should be made from cotton or a percentage of cotton that is higher than 80%.
You will also need some washable markers and cable ties or elastic bands to help you create and secure your design. You may also want to create a star template to draw around.
This is a good idea if you don’t trust your free-hand drawing skills or if you want multiple shirts with the same star on them.
You will also need a tie-dye kit. These are really easy to come by and increasingly affordable.
Amazon is a great place to source tie-dye kits with plenty of colors in them, you can also purchase kits with soda ash which can produce more vibrant results. You will also need some plastic gloves, paper towels, and plastic wrap.
How To Make A Star Tie Dye Design
Now that you have gathered all of your materials, it is time to begin the process of tie-dying a star onto your shirt.
Step One: Prepare Your Shirt
Whether your shirt is brand new or has been worn a few times before, you will need to prepare it to be dyed. The easiest way to do this is to wash it.
If your shirt is brand new, washing it will remove any residual chemicals from the manufacturing process which can hinder the dying process.
If your shirt is older and has been worn, washing it will help to ensure that it is in the best possible condition and there is no residual dirt that can affect the dye.
Once you have washed your shirts, it is important that you don’t put them in the dryer or hang them up to dry. You will need them to be damp for the dye to work properly. You can use the spin setting on your washer to remove excess water only.
Step Two: Draw The Design
Now that your shirts are nice and damp, it is time to draw your design onto the shirt with the washable markers.
Many tie-dye designs don’t require the design to be drawn onto the clothing, however, if you want your star to look a certain way or uniform with other shirts, drawing the design is helpful.
When drawing the design, you can use a simple star template to keep your design uniform. You can print out a simple star template and cut it out to draw around.
The easiest way to draw the star is to fold the shirt in half lengthwise and draw half of the star on the shirt along the fold. The other half of the star will be mirrored on the other half of the shirt.
Step Three: Begin To Fold Your Shirt
Once you have drawn your design onto the shirt, it is time to begin folding it for the dying process. If you haven’t done so already, the first step is to fold the shirt in half lengthwise.
You should be able to see half of the star design on the shirt when it is folded in half.
From here, place your finger in the middle of the star pattern along the fold. Line up the top point of the star with the tip next to it. Because the shirt is damp, you should be able to see through it to match the points up.
Then, fold the shirt back on itself along the line you just created. Essentially, you are tucking the top part of the shirt under the body of the shirt.
Make sure the shirt doesn’t crumple when you do this. You should be left with the bottom third of the star visible.
Fold the shirt from the center of the visible star again, making sure to line the points of the star up. Again, fold the shirt back on itself along the new fold.
This should result in the marker lines being on top of each other with the shirt symmetrically folded into a triangle shape.
Step Four: Secure The Design
Once you have folded the shirt and the marker lines are all lined up, it is time to secure the design.
You can use rubber bands for this, however, cable ties work just as well and can be a lot less fiddly while providing a tighter grip around the fabric.
Accordion fold the shirt on the marker line, making sure to keep the folded line straight. Then simply secure the shirt with your band or cable tie.
You will only need one rubber band or cable tie to secure the star design properly. This means that you have free range to dye the rest of the shirt any way you want.
If you are making shirts for the whole family, this is where you can get creative and add some individuality to your shirts. The crumple method is the easiest, however, you can have the star design continue throughout the shirt.
To do this, simply fold the rest of the shirt how it naturally wants to be folded and add additional cable ties along the length of the shirt.
Step Five: Soak Your Shirt
Because of the complicated folding for this design, you will need to re-soak your shirt to make sure that the dye spreads evenly through the design. You can simply soak the shirt in water to get it wet again.
However, if you want a more vibrant design, you can add soda ash to the mixture and leave your shirt for at least 20 minutes.
Step Six: Prepare The Dye
While your shirt is soaking, it is time to prepare the dye that you are going to use. You should follow the instructions on your tie-dye kit to make the dye properly.
Most kits simply require you to add water to the powdered dye. Make sure you shake them properly to dissolve any lumps.
You only have to prepare the colors that you are going to use, you can save the other dyes for other projects. If the whole family is helping you complete this craft, you might want to make up all the colors to give them more choices.
Step Seven: Apply The Dye
Once you have prepared your dye and your shirt has been soaking for long enough, remove it from the water and squeeze out as much excess water as possible.
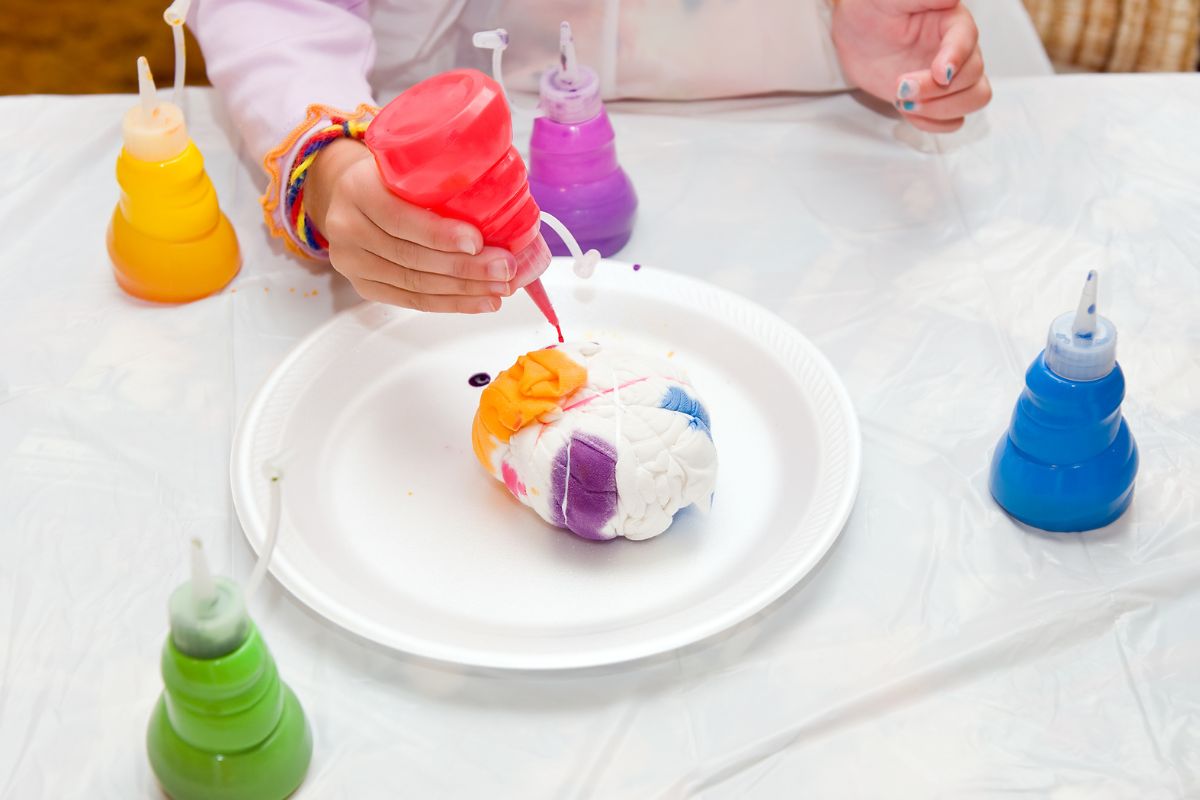
It is now time to apply the dye to your shirt. It is best to ensure that everyone is wearing plastic gloves for this step as it can get quite messy.
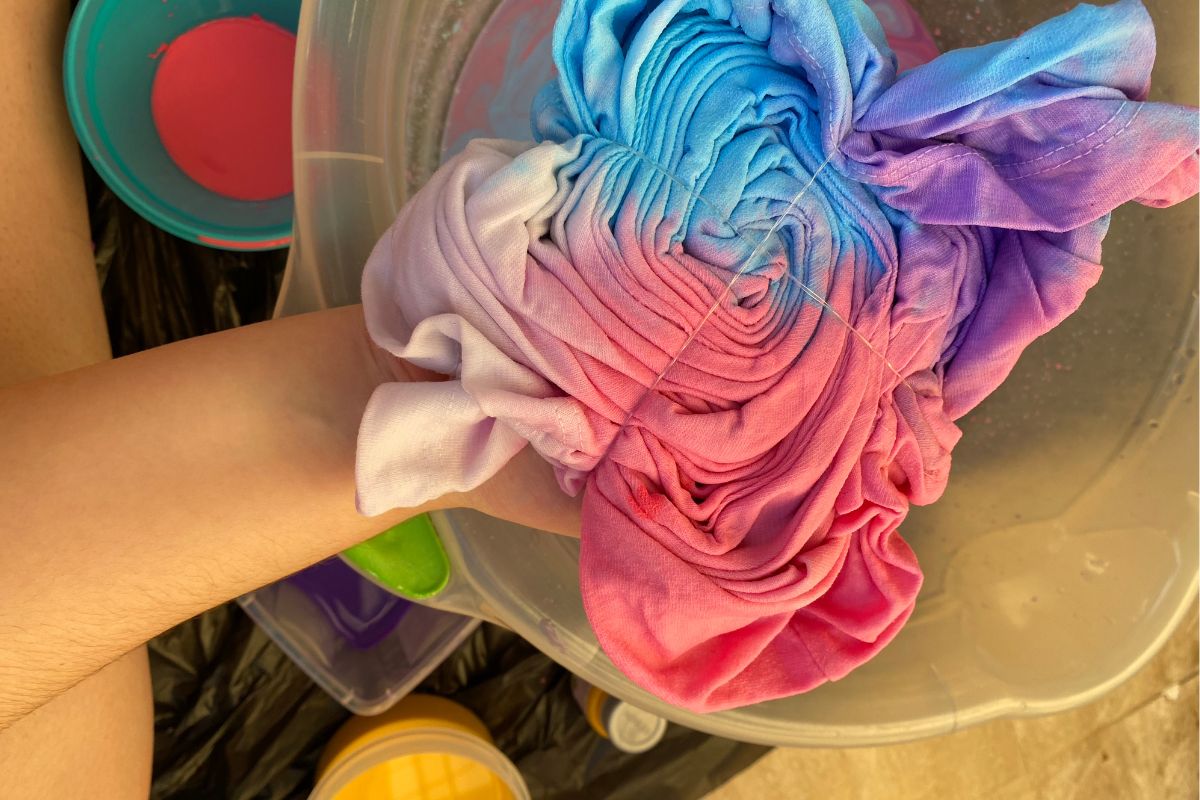
Place your shirt on a sheet of plastic wrap and begin applying the different dyes to the shirt. The best thing about tie-dying is that there is no right or wrong way to do this.
You can plan your colors depending on the result you want and be meticulous about applying it, or you can let go of everything and just have fun applying colors randomly to the fabric. Both methods produce incredible results.
When applying your dye, remember to apply it to all sides of the shirt. You should also make sure to get it in between the folds of the shirt to ensure that there aren’t too many white patches unless that is what you want to achieve.
Keep going until the shirts are completely saturated with color.
When you have finished applying the dye to the shirt, wrap the sheet of plastic wrap around the shirt. You can add some extra plastic wrap to make sure that it is properly sealed.
This will help to keep the shirt damp. You will then need to let the shirt sit for at least 6 hours. However, it is recommended that you leave it for a full 24 hours to get the best, most vibrant results from your shirts.
Step Eight: Rinse The Shirt
Once you have left your shirt to sit for between 6 and 24 hours, it is time to rinse the excess dye off. You should rinse the shirt by hand in the sink. Begin with the cable ties or elastic bands still on the design to prevent the color from running.
When the amount of dye that is being washed out of the shirt significantly reduces, you can remove the cable ties or bands to rinse the shirt more thoroughly.
Continue rinsing the shirt until the water runs clear. Do this for all shirts that you have tie-dyed. Then you can put them in the washer to remove any remaining dye. Run them through the dryer and they will be ready to wear immediately.
Helpful Tips
Tie-dying is a super simple craft that people of all ages can enjoy. However, there are a few tips and tricks that can make it an easier and more enjoyable process by helping to ensure great results every time.
Mix Your Own Colors
If you have ever spent any time looking at different types of tie-dying kits online or in a craft store, you will probably have noticed that the colors that are provided are quite limited.
They often stick to bright colors such as red, yellow, blue, green, pink, orange, and purple. Some kits will also come with a black dye.
These colors are nice, but they also limit the effects that you can create with your tie-dying. Thankfully, it is easy to mix some of the powdered dye together to create other colors.
To do this, all you need to do is add some of the powdered dye in a separate container or squeeze bottle to create different colors and shades to suit your goals.
Dye Outside Where Possible
Completing tie-dye crafts with your kids is a great way to get their creative juices flowing and to keep them occupied for an hour or so.
It is also a great way to teach them about delayed gratification, because of the waiting time, and give them a sense of accomplishment when they can wear a shirt that they made.
With that being said, tie-dying can be messy at the best of times, never mind when you let children loose with the dye.
Completing tie-dying indoors with children can quickly become stressful as their excitement can get the better of them and they get careless with the dye.
To remove the stress and worry of items and furniture in your home being permanently dyed by your over-excited little ones, tie-dying outside can be a great solution.
Sitting the kids on the deck or patio area gives them more freedom to get stuck into the dying process without worrying about staining surfaces.
Paper Towels Are Your Friend
When you are tie-dying, paper towels are your friend and have so many different uses. Obviously, paper towels are great for quickly mopping up any spills of dye so that your surfaces don’t become stained.
However, they can also be useful when you are mixing your dye.
If you want to create incredibly vibrant colors or you are trying to mix your own colors from a limited dye kit, you can use a paper towel to test the color of your dye before adding it to your shirt.
Frequently Asked Questions
What Is The Minimum Amount Of Cotton For Tie-Dying?
When you are tie-dying, the best shirts to use are ones made from 100% cotton. The natural fibers are great at soaking up all the wonderful colors of the dye. However, it isn’t always possible to find 100% cotton shirts, especially at short notice.
The minimum amount of cotton in a shirt that you are going to dye should be 50%. Anything less than this and the dye won’t adhere properly. Realistically, we wouldn’t recommend anything below 75-80% cotton.
Final Thoughts
Making tie-dye shirts is a great way to keep the family occupied and give them some unique shirts to wear.
Whether you are just entertaining your kids during the summer or are preparing shirts for a special occasion, this star design is a great choice.

In an effort to get them to avoid excessive screen time ( and arguing! ) I turned to more creative avenues that we have all since grown to love.
I created this website in the hopes of inspiring more families out there to enjoy crafting and enjoy a shared bonding experience over it.
Please enjoy it and hopefully, you’ll find something to make that you can display proudly forever!
- Master Crochet Stitches for Cozy Creations - January 23, 2024
- Half Double Crochet Guide for Cozy Creations - January 23, 2024
- Elevate Your Space with Unique Macrame Creations - January 23, 2024
