If you are learning how to sew and looking to be able to practice your techniques at home, or even if you are getting into making your own clothes, having a mechanical sewing machine is incredibly useful.
However, each sewing machine is different in how it works and how it should be used, including the threading process.

Singer is the most popular brand of sewing machines in the world. They are high quality and the company knows what they are doing when they make their machines, especially the Singer Tradition model.
With that being said, despite the machine coming with instructions, it can be difficult to work out how to properly thread your Singer Tradition sewing machine. Below is an in-depth, step-by-step guide on how to thread your machine.
What Is The Singer Tradition Sewing Machine?
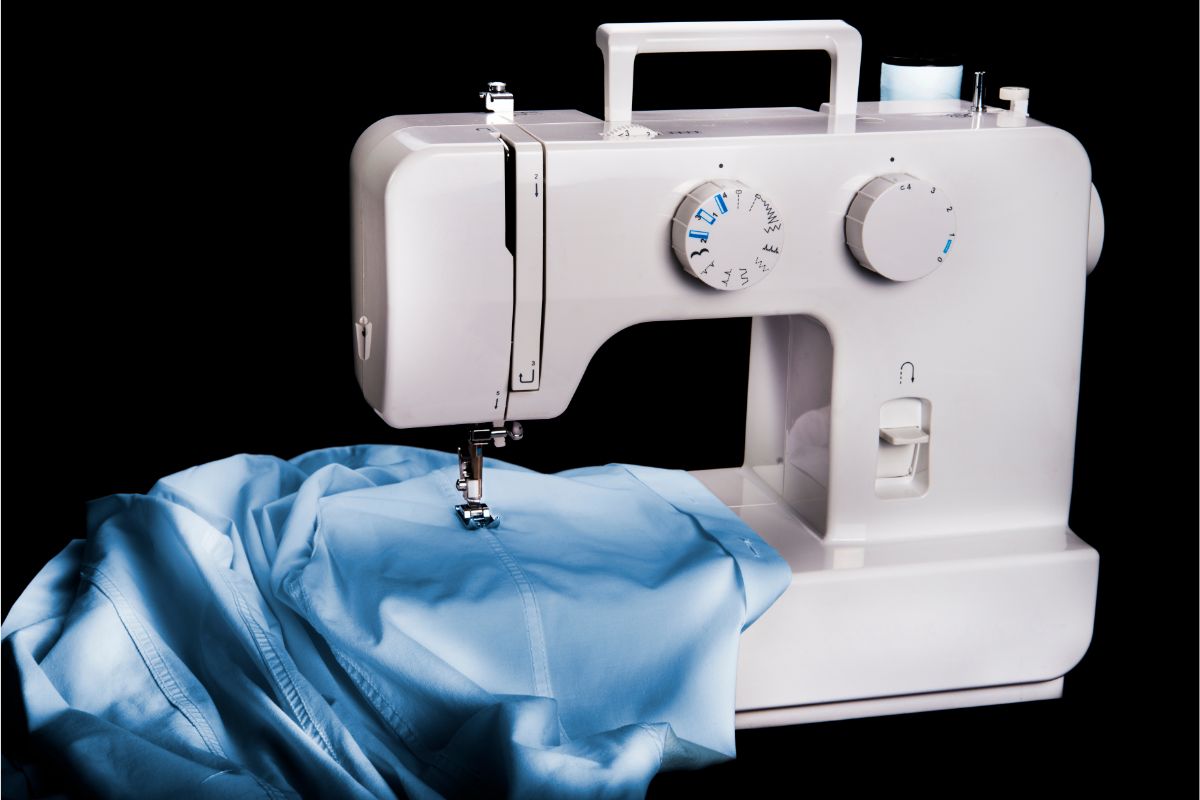
The Tradition sewing machine range from Singer features lightweight and compact sewing machines that are super easy to use. They are great for hobbyists and tailors that are short on space to keep a sewing machine.
The machines in this range can be used for making garments, mending clothes, and creating house decor. They are perfect machines for beginners who don’t want to be overwhelmed by a complicated and large machine.
How To Thread A Singer Tradition Sewing Machine
There are many steps involved in threading a Singer Tradition sewing machine. However, just because there are a lot of steps to take, it doesn’t mean that it is particularly complicated or difficult.
Below is a simple, step-by-step guide to threading machines from the Tradition range.
Materials
Other than having your sewing machine in front of you, you will also need a spool of thread. One of the great things about Tradition sewing machines is that you can use almost any type of thread from polyester to cotton, or even a blend.
It is important to make sure that you are using a high-quality brand of thread to help protect the delicate parts of the machine.
Step 1: Position The Presser Foot
The first thing that you need to do when threading your Singer Tradition machine is to raise the presser foot. As with all modern sewing machines, this can be done by using the lever on the back of the machine.
This is normally a sizable lever that will be made of plastic. Pushing this down will lift the presser foot from the sewing plate.
Step 2: Raise The Needle
Once you have raised the presser foot, you will also need to raise the needle up from its lowest position to its highest position. To move the needle, you will need to use the manual or hand wheel located on the right side of the machine.
The hand wheel moves both forward and backward which allows you to raise the needle until it reaches its highest position. When the needle starts to come back down again, simply move the wheel back a little to raise it up again.
Step 3: Place Your Spool
Now that everything is in the right position, it is time to place your loaded spool into the machine. You will be able to find the spool pin on the top of your machine.
On the Singer Tradition machines, the pin can be lifted to an angle to help you get the full spool onto it.
Once the spool is in place, lower the pin back down so that the spool is sitting horizontally on the top of the machine.
Step 4: Attach Spool Cap
Once the spool is in position, it is time to attach the spool cap to help ensure that the spool stays in place when you are using the machine.
If you are using a small spool, it is best to position the spool cap so that the smaller side is against the spool of thread. If you are using a large spool, the larger side of the spool cap should be placed against the spool.
When positioning the spool cap on the spool pin, make sure that you have pushed it on until it is flush against the spool. This will prevent the thread from tangling and will improve the overall use of the machine.
Step 5: Position Thread In Upper Guide
Now that the spool has been secured in place, it is time to begin pulling the thread through the machine. The first step is to pull the thread gently and thread it through the upper thread guide which is labeled as number 1 on the machine.
There is also a little illustration to help provide guidance.
Make sure that the thread is between the machine and the top of the metal guide to ensure that it is properly in place.

Step 6: Pull It Through Tension Spring
The thread should then be pulled through the tension spring on the machine. It can be difficult to see where the thread should be threaded through when you are looking at the machine from the top.
Instead, it is easier to lower yourself down or tilt your head to look at the tension spring from the side. This will give you a much clearer view of the tension spring and will make threading it much easier.
As you use the machine more you will be able to thread this bit without having to look at it from the side.
Step 7: Follow Written Instructions
Once the thread has been pulled through the tension spring, you can begin to look at the machine from the front as you will be looking at it when you are using it.
There are some written instructions on the front of the machine that need to be followed.
The instructions are mostly in the form of arrows. The arrows on the machine are numbered to help you know which step comes next. You are essentially pulling the thread through the slots on the machine.
The thread should run down the slot on the right side and up the slot on the left side.
Step 8: Run Through The Slotted Lever
When you pull the thread back to the top of the slot on the left side, you will see a metal slotted lever. If you are unable to clearly see the slotted lever, use the hand wheel to raise it up more to give you better access.
The thread should be pulled between the metal slots in the lever and threaded around the notch on the front of the lever.
Step 9: Pull It Through Slot 5
Once the thread has been pulled through the slotted lever, you will need to pull it down the vertical slot on the machine that is labeled “5”.
The number 5 follows on from the numbered instructions that you have already been following on the machine.
Step 10: Place Thread Around The Metal Arm
This is the point in the threading process where you will need to use the automatic needle threader to continue threading the machine. At this point, you should ensure that the needle is still in the highest position before you start.
The thread that you pulled down through slot 5 should not be placed around the automatic needle threader’s metal arm.
In order to do this, you will need to bring the thread behind the arm and wrap it around. Make sure that you pull it tight rather than letting it slack. Ensuring that it is taut will help to prevent it from falling off.
Then, press a lever marked “A” all the way down while holding the thread in place. This lever swings the needle threader forward to surround the needle.
Step 11: Bring Thread 90 Degrees
The next step is to bring the thread down to a 90-degree angle from the needle. From here, you will need to guide it between the metal hooks of the needle threader that swung forward in the previous step.
The arms have a “C” shape to them. The thread needs to be placed in the opening of the “C”. if this has been done correctly, you will be able to feel the thread catching on the arms.
Step 12: Release Lever A
Once you feel the thread catching on the arms, you will need to slowly release the lever marked “A”. doing this will make the arms grab onto the thread and feed it through the eye of the needle.
This is the point at which you can let go of the thread for the first time since beginning the threading process.
If you continue to hold the thread and apply tension to it, the automatic needle threader will be unable to properly thread the needle and it will hinder the whole process.
This step and the previous step are the most complicated steps in the process of threading the Singer Tradition machines.
If you are new to these machines, it may take a few attempts for the automatic needle threader to successfully grab the thread and pull it through the needle.

Step 13: Pull The Loop
Once the automatic needle threader has successfully pulled the thread through the needle, you will be left with a loop of thread.
Take hold of the thread between your fingertips and gently pull it until the end of the thread has completely passed through the needle. This is the tail of your top thread.
Helpful Tips
- Before you begin it is important to make sure that your machine is completely turned off and unplugged. This completely removes the risk of the machine being accidentally operated while your fingers are near the needle. This can help to prevent injury.
- Before loading the spool it is a good idea to locate the end of the thread. You will need to access the end of the thread to continue threading your machine once the spool is installed. It is easier to find this before you place the spool onto the pin.
- Before the first stitch it is a good idea to hold the thread tails behind the machine. Adding this tension to the thread tails can help to avoid the top thread being pulled out of the needle before you make your first stitch. This can help to avoid having to rethread the needle.
Tension Troubleshooting
No matter how experienced you are as a seamstress, you will occasionally run into issues with the tension of your thread on your sewing machine.
This is an inevitability when sewing, however, there are some simple troubleshooting steps you can take to remedy this issue quickly.
Re-Thread The Machine
The first thing that you should try when you run into issues with the tension of your machine is to re-thread it. This can be a bit annoying, but it is the most common way of remedying the issue.
In order to have the best chance of fixing the tension issue, you will need to completely re-thread both your top thread and the bobbin.
To do this, you will need to switch off and unplug your machine again as a safety precaution. Then remove both threads completely to start from scratch.
Many sewing hobbyists find themselves having to re-thread their machines on a regular basis when tension issues arise. It is a common fix to a common problem.
It is important to remember that it probably isn’t a reflection of your ability to thread your machine properly.
Clean The Machine
If re-threading isn’t helping the issue, the next most common fix is cleaning the machine. It is incredibly important to clean your sewing machine regularly. Depending on how often you use your machine, this can be as often as once a week.
You might not think that your machine can get that dirty that quickly, however, you’d be surprised. The Singer Tradition 2277 model actually comes with a special cleaning brush and a key that allows you to take off the sewing machine plate.
When you are cleaning your machine, make sure to clean all of the areas for the bobbin and the feed dogs that sit under the machine plate. Regularly cleaning your machine is a great way to maintain the machine and help it to last longer.
If you set up a cleaning schedule, you are less likely to run into tension issues that occur because of build-up in the machine.
It is important to never use compressed air to clean the difficult-to-reach parts of your machine. This can end up pushing the lint further into the machine and cause more issues. Using a small, soft brush to remove excess lint works fine.
Change The Needle
If cleaning and re-threading your machine doesn’t solve your tension problem, you might need to change the needle on your machine.
Regularly changing the needle on your sewing machine is just as important as regularly cleaning your machine. It is a part of the general maintenance that helps to keep it in perfect working order.
The easiest way to tell if your needle has become dull is by listening. You will be able to hear the needle passing through your fabric if it is dull. You may also begin to feel it catching and pulling at your fabric as you sew.
You should always change your needle if it becomes broken or bent in any way as this can cause damage to your fabric and your machine.
You should also change the needle if you haven’t changed it in a while. If you use your machine for large sewing projects, changing your needle at the start of each project is a good habit to have.
Final Thoughts
Threading a Singer Tradition sewing machine can feel overwhelming, especially if you are new to sewing and haven’t had much experience with these machines.
However, they are relatively easy to thread and troubleshoot when it doesn’t go quite as smoothly as you’d like.
- Master Crochet Stitches for Cozy Creations - January 23, 2024
- Half Double Crochet Guide for Cozy Creations - January 23, 2024
- Elevate Your Space with Unique Macrame Creations - January 23, 2024

