Dream catchers are said to keep bad dreams at bay and leave you with a more peaceful night’s sleep. Not only that, but they’re also very pretty and make for gorgeous room decor.
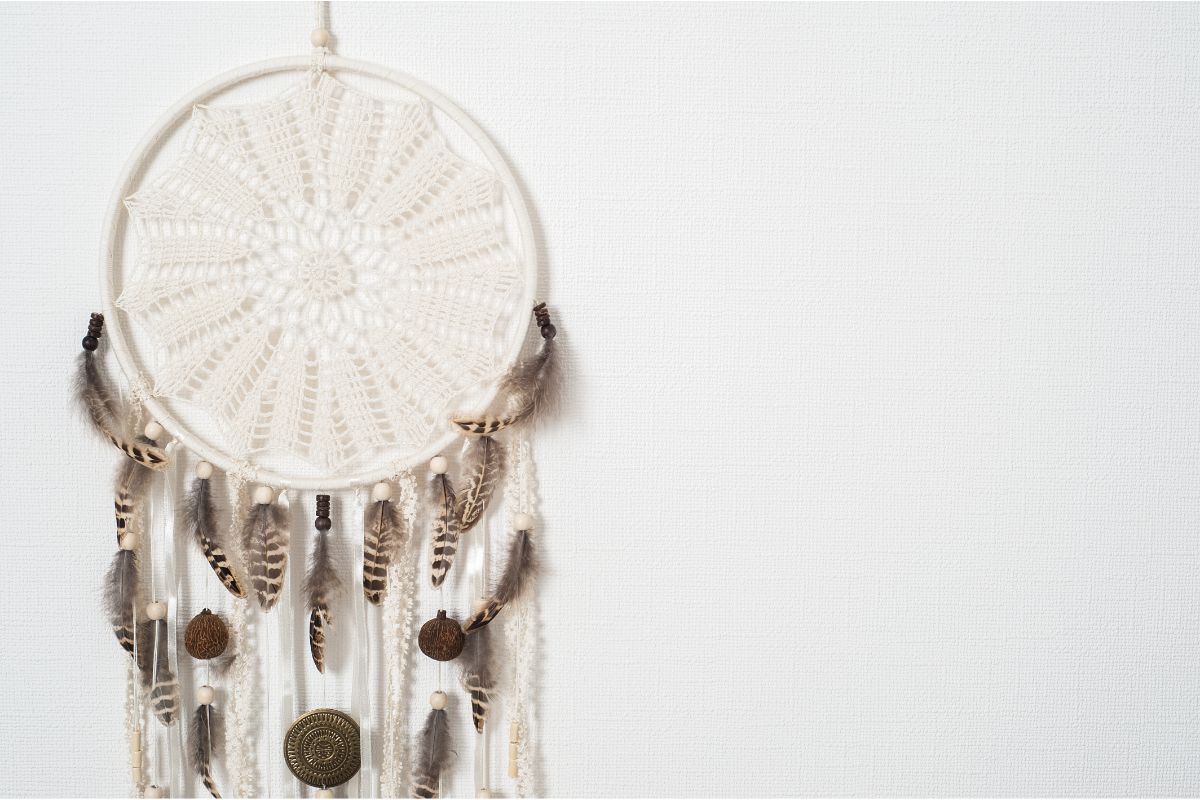
Today we’re going to be looking at how you can make your own DIY dream catcher in a few easy steps. Get ready to have a peaceful and worry-free sleep!
What Is A Dream Catcher? How Does It Work?
Dream catchers are known as rounded nets that are said to catch nightmares before they can reach you, giving you a more peaceful slumber.
However, this is not what dream catchers were originally created for. The initial purpose of these decor items was founded on a legend in which the ‘Spider Woman’ (often found in Hopi mythology) protects children from harm during sleep.
The Spider Woman would hang on the dream catcher’s netting (similar to a spider’s web) and remain above the children’s bed, watching over them.
The idea developed from this that dream catchers would hang above anyone’s bed and protect them from bad dreams. The modern-day idea isn’t too far away from the original, then!
Dream catchers are also good for helping younger children go to bed once they’ve developed the ability to recall nightmares. Hanging a dream catcher above their bed can help them feel protected and safe from the dangers of dreams.
Materials Needed To Make Your Dream Catcher
- Thick wire
- Wire cutters
- Duct tape, or another form of strong tape
- Yarn or string
- Fabric paint
- Feathers
- Glue gun
We chose to use scrap pieces of
If you wanted to create a nightlight effect with your dream catcher, why not use glow-in-the-dark fabric paint? This looks great in the daylight (while it’s charging!) and will soothe your or your child to sleep with its soft illumination.
You could also use an embroidery hoop for the circular shape as it will be easier to make perfect than with wire. However, as we enjoy the imperfect, handmade look, we chose to use wire instead.
Step-By-Step Process To Making Your Dream Catcher
Step One – Shaping Your Wire
The first step is to use your wire cutters to create a length of wire that corresponds to how large you want your dream catcher to be. Shape this wire into a circle and tape the ends together with your strong tape.
Wire tends to come in coils, so if you choose a coil large enough for the same size as your intended dream catcher, you won’t need to do much shaping at all.
Again, you could also use an embroidery hoop instead for this step to keep your shape perfectly rounded. You might also be able to find a large wire ring premade for you at your local craft store.
Step Two – Decorate With Yarn
Now you can wrap your
You can use more than one length of
Once you reach the end of your dream catcher and there are zero gaps in the
Step Three – Create The Webbing Inside The Catcher
The webbing is incredibly important as this is what catches the bad dreams! You’ll need a thinner
Tie a knot around the dream catcher hoop and cut off the loose end. Make sure that the knot is tight enough so that it fits between the hoop’s wrapping, making it easy to hide within the thicker
Take the thinner
Continue this all around the hoop, with the same piece of
These will all be connected by a taut piece of
Continue this pattern until the taut lines have become so small that you cannot find the middle point to create a new loop. Tie the
Step Four – Painting (Optional)
If you have used scrap
What Paints Should You Use?
We find that fabric paint is the best option for painting
Remember that
If you don’t have any of this to hand, you can use acrylic paint instead. However, you’ll likely need to use lots more paint to get the same effect.
Now Let’s Have Some Fun Painting!
You can paint your dream catcher however you want to. Here are some themes that we love the idea of:
- Galaxy (use purple, blue, and white paints with glitter)
- Christmas (use red and green paints with gold glitter)
- Pink wonderland (use white and pink paints to make lots of shades of pink)
- Sunshine (use orange, red, and yellow paints to create an ombre look)
For our dream catcher, we wanted to use a sunny theme. So, we mixed up a load of yellow, orange and red hues of fabric paint.
We started with red in the middle of the dream catcher’s webbing, then a ring of orange, completing it with a ring of yellow paint. We used the different hues we mixed up as blending colors so that they transitioned seamlessly together.
We found that using our finger during the blending process was more effective than a paintbrush. The

Since the webbing is very thin, we highly recommend painting on an old sheet of paper that you don’t mind getting messy. Make sure that you paint both sides of the dream catcher – you don’t want any of the scrap
If you want the feathers to be the same color as your dream catcher’s webbing, you should paint them during this step, too.
Step Five – Add The Feathers
Once the dream catcher is dry, add some more lengths of
- Shorter lengths towards the outside of the hoop, longer lengths in the middle.
- Random lengths all over the hoop.
- Three different lengths of
yarn mixed around the hoop.
We like the randomness of the final option, so we cut nine lengths of
We attached these with knots and cut off the ends so they were hidden as much as possible.
Now you can paint these strands, as well as adding a second coat of paint to your dream catcher’s webbing (if needed). We found it easiest to color these lengths of
Step Six – Glow It Up!
Now is the perfect time to add some glow in the dark paint to your dream catcher. If you don’t want your dream catcher to glow at night, feel free to skip to the next step.
If you like the idea of a glowing dream catcher, though, you’re going to need some glow in the dark fabric paint. You can find this online or in any craft store.
Simply add a coat all over the dream catcher. It’s up to you whether you decide to paint the feathers, too. We just kept the glow in the dark paint to the dream catcher webbing for a more succinct finish.
The paint will dry clear, so don’t worry if it appears to be covering up your painted patterns. Leave this to dry completely before moving onto step seven.
Step Seven – Attach The Feathers
Use your glue gun to attach your painted feathers onto the ends of your lengths of
Once this glue dries, attach a loop of
Things To Consider When Making Your Dream Catcher
There are a few things for you to consider when making your dream catcher, which we will detail now.
Use Colors That Make You Happy And Relaxed
While creating a neon dream catcher might sound fun, remember that this needs to go in your room. If the last thing you see before falling asleep is a chaotic dream catcher, you might find that your dreams are just as chaotic.
A galaxy theme is a great idea for a dream catcher as the colors are relaxing and reminds you of a sleepy time. We used sunny colors as these make us happy and that’s what we want to feel right before drifting into sleep.
Decide How Compact You Want The Webbing To Be
Your dream catcher webbing will be as loose or as compact as you decide it to be. We detailed making six loops around the wire hoop in our step-by-step guide, but you can alter this number to change the look of your dream catcher.

Lowering the number of loops on the hoop will give your webbing larger spaces. Increasing the number of loops will make more lines throughout the webbing, reducing the size of the holes and creating a thicker webbing look.
Fun For All The Family!
Kids benefit from dream catchers the most. Scary dreams are worrying and can force kids to stay awake longer than they should out of fear. A great remedy for this is to make each family member a blank dream catcher for them to decorate by themselves.
Your kids will be able to use their favorite colors and patterns to create their dream catcher. This should hopefully get them more excited about the accessory, which in turn can make them feel safer when going to sleep at night.
Plus, it’s great bonding time for you and your child. Crafting is always fun, and you’ll both get a useful tool from it!
Use Fabric Paints
Fabric paints are less absorbent than acrylic paints and therefore will be better for painting your dream catcher. While fabric paints are more expensive than the alternative, you’ll have to paint fewer coats – making it actually more cost effective.
Again, you can use acrylic paint if you don’t have any other option, just take your time allowing each coat to dry before adding another. If you’re using glow in the dark paint, also remember that this should be fabric paint as well.
Decorate However You Want To
Why stop with paints and feathers? You can add anything you want to, including ribbons, glitter, diamonds, and more.
Just remember that if you’re using glitter, you might not want to hang the dream catcher above your head. Otherwise you’ll be sleeping in a bed of glitter!
Summary
Thanks for reading our guide on how to make your own dream catcher! Dream catchers are incredibly helpful for kids and adults at offering them a peaceful night’s sleep.
Luckily, they’re super easy to make! All you’ll need is some wire,
The most important thing is that you have fun while making your dream catcher. Enjoy the process, and we hope you have a great night’s sleep!

In an effort to get them to avoid excessive screen time ( and arguing! ) I turned to more creative avenues that we have all since grown to love.
I created this website in the hopes of inspiring more families out there to enjoy crafting and enjoy a shared bonding experience over it.
Please enjoy it and hopefully, you’ll find something to make that you can display proudly forever!
- Master Crochet Stitches for Cozy Creations - January 23, 2024
- Half Double Crochet Guide for Cozy Creations - January 23, 2024
- Elevate Your Space with Unique Macrame Creations - January 23, 2024
