Is it coming up to the Halloween months and you want a fun custom tie dye design which we think will look great? Then this guide will give you all the information you need on how to make this cool looking pumpkin tie dye design.
You can make this tie dye design on anything which has enough fabric for you to work with, however, for this guide we are going to assume that you are working with a T shirt.
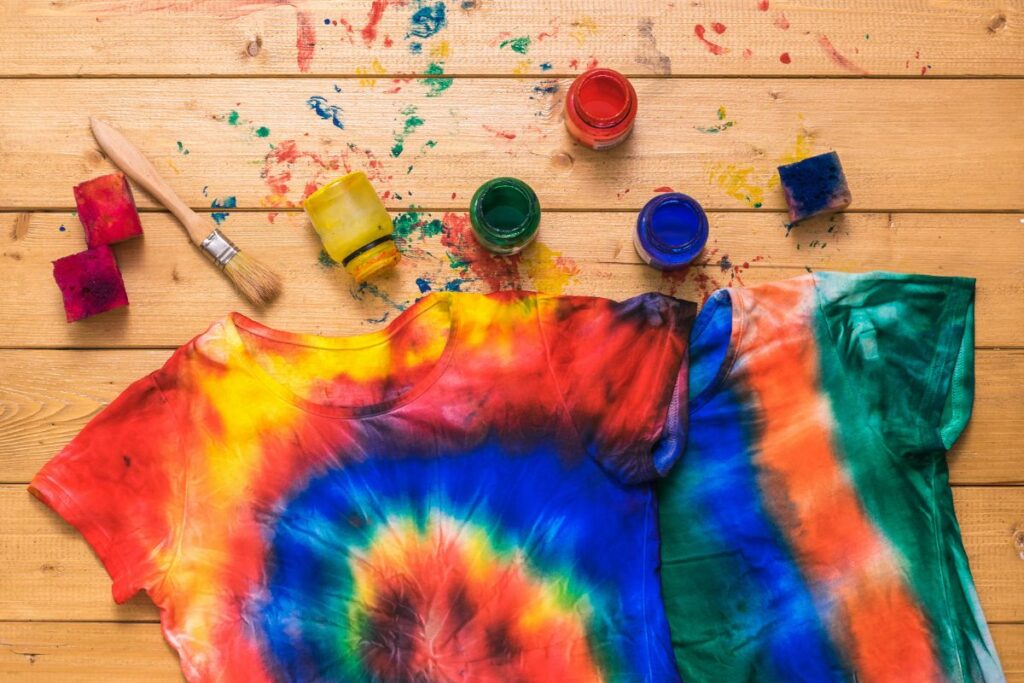
Tie dying has been a fun way to decorate and customize T shirts for decades now, and the trend does not show any sign of slowing down.
One of the best things about tie dye is how limitless the possibilities are, and once you know how it works, there are very few restrictions on what you can do.
People keep on experimenting with the medium, and discovering new creations they can make while using tie dye.
One method of using tie dye which we have had a lot of fun with is using tie dye to make patterns which resemble certain objects.
In this guide we will be going over how you can make this pumpkin design which looks amazing over the Halloween season.
This is a relatively complex technique compared to other more simple tie dyeing methods, however, if you follow our guide closely, you should not have any trouble.
We go into a good amount of detail, so if you are struggling at any point, we should be able to guide you to where you need to be.
This is also something which can be really fun for the whole family to do together at this time of year, and you can experiment with different background colors so you can have shirts which have a matching design, but also giving them individual personality.
So, if you want to learn how to make this fun design, then keep reading to get our instructions!
Materials Needed To Make A Pumpkin Tie Dye T Shirt
Like most tie dye methods, you are going to need something to do the tie dye on, and in this case we are using simple white cotton t shirts.
As we mentioned in the introduction, you do not have to use a T shirt, but we recommend it as this gives you a good amount of fabric to work with.
We also recommend sticking to a cotton material, or something which you know will work with the tie dye dyes well.
One of the most crushing things you can do is spend hours on a project and then realize that the dye does not work correctly because it is designed for the wrong material.
To help with marking out the pattern, we recommend using a washable marker.
Make sure that the marker is washable, otherwise you will be stuck with your rough outline on the tie dye which often does not look as good as you would want it to.
Then you will also need a needle and thread, as well as some zip ties, or alternatively you can use rubber bands.
You will also need a small clamp for this project to work as we intended. Now, if you do not already own any tie dye materials, then the best way to get the dyes for this project is to use a tie dye kit.
When looking for one we recommend using a kit which uses soda ash, but if you cannot find these, then you can use a one-step kit as well.
You will also want to ensure that the kit has all of the different colors of dye which you are going to want to use.
Then, if the kit does not come with any, you are going to need to get rubber gloves, these will ensure that you do not stain anything else, and also that your design stays clean without spreading any dye residue on your hands.
You will also want paper towels, as well as our guide to hand so you can follow all of the instructions. However, we also recommend that you read through the instructions all the way before you start, just to ensure that there is nothing that you are missing out.
This is everything that you will need, but make sure to be especially careful when buying the tie dye and to look at reviews to ensure that you have everything which you will need included!
How To Make A Tie Dye Pumpkin T Shirt
One thing that you want to do before you start anything is to wash your shirt, or whatever else you are choosing to tie dye.
This will ensure that there are no excess chemicals on the shirt, as these could stop or inhibit the dye from being able to soak into the t shirt properly.
Once your shirt has been washed and dried, you will want to fold your shirt in half, and then on this draw half of your pumpkin outline.
Make sure that you do this by doing the washable markers as you do not want to see this outline when the project is done.
We recommend that you do this with the T shirt folded in half vertically, and with the half of the pumpkin cut vertically, so you will have a left and right half.
It is best if you keep your pumpkin pattern simple as the dye will not be able to accurately capture any details.
However, if you want to capture details, there are methods of customizing the T shirt once you are done dyeing it.
Since different parts of the pumpkin have different colors, like the stem being green and the rest being orange, if you have multiple colors of markers, we recommend that you use a matching color for each section to save any confusion later on in the process.
Once you are happy with your drawn design, you are going to sew it. To do this get your needle and thread and then do a simple running stitch around the outside of your pumpkin. You will want to start and stop the thread on the same side.
So, you will want to come down from the top of your shirt, and then come back up at the top of the shirt.
The color of thread does not matter too much, but we again recommend using a matching color like you did with the marker as this will make things more simple.
After you have done the outline of the pumpkin you want to sew along the inside lines of the pumpkin using the same technique you did when doing the outline.
Then, once you have done the pumpkin body, you want to switch to a green needle and do the stem.
Once you are happy with the sewed details of your pumpkin tie dye pattern, you will want to then soak your shirt in water, and then squeeze out any excess water.
Once you have done this you want to start with the middle stripes of your pumpkin and gently pull on your thread to create folds in your T shirt.
Once the line is crumpled you want to tie off the end of the
On the outline it will be easier to pull from one side each time to ensure that your thread does not end up breaking. If you were able to sew your stem, then repeat the process on the stem as well.
If you were not able to sew your stem, then fan along the lines of the stem and put a clamp on the line. Make sure that your clamp is not over the fold as this is where you are going to want to put the tie dye.
Then for the rest of your shirt, you are going to want to crumple, twist, or scrunch it however you like.
This is great if you are looking to make your T shirt stand out from the rest, the only thing we would recommend is keeping the method you use pretty uniform.
Scrunching part of your shirt but then twisting the rest will not look great unless you really know what you are doing. If you want the most simple option, then we recommend using the crumple method.
Once you are happy with how you have prepared the rest of the shirt, you will want to secure it all in place using either rubber bands or zip ties, whichever is most convenient for the method you are using.
This next step will depend on what kind of kit you are using, but if you are using one with soda ash, you will want to soak it in the mix of water and soda ash recommended, this will usually be for around 20 minutes.
For this step, we recommend following the instructions that came with your kit or your dyes. The mix will usually be a cup of soda ash with a gallon of water, but make sure to follow the instructions.
Also, make sure that if your method does use soda ash that you make sure that all of the soda ash is dissolved. Once you have finished soaking the T shirt in the water, you will want to squeeze out all of the excess water.
After this you are going to want to start preparing your dyes, but if you want, you can get them ready while they are soaking in water.
Your kit may not come with the specific colors you are looking for. For example, some kits may not have green or orange since these are secondary colors, so you might need to make orange using yellow and red, or mix green using blue and yellow.
Even if your kit does come with orange or green, you might want to customize the color a little by mixing colors in. For example, if your green is a little too blue toned, you could add some yellow to balance it out.
When mixing dye, make sure to use something small enough like yogurt containers, but you also want to make sure that you have enough of each color to not have to mix them again since this can lead to an inconsistent result.
You can add water to the bottles as you would normally, and make sure you are following your kit instructions.
For mixing orange dye, you want to start using yellow as the base and only add a couple of drops of red at a time. If the color is a little too pale, you can even add a little black.
Then for the green dye you also want to use yellow as a base, only this time add blue to make green. You will not need much blue to make green.
You can easily test the quality of the colors by dropping a little on a paper towel. Once you have prepared your dyes and are happy with how they look, you are ready to dye the T shirt.
When you are ready to dye, you will want to put on the gloves to ensure that you are not making a mess and also cover the surrounding work space with plastic wrap, especially if the surfaces can be stained.
Then, you want to use the squeeze bottle or the eye dropper to carefully add orange dye onto your pumpkin section, if you have used a color coded thread then this should be easy to identify.
Make sure once you have done one section to flip it over and make sure that the other side is covered.
Try to avoid getting any orange onto the stem, but do not worry if the orange escapes onto the background though. Once you are happy that the orange section is properly saturated, you can move onto the step.
When doing the stem, you might need to give your fabric a pinch to ensure that the dye has been properly distributed. Then, once the dye has been properly distributed around the stem, you can add your other dye to the background.
The most common choice here is black, however, you can go with whatever you want.
If you want something that looks great with the pumpkin, a dark purple will still look spooky enough, and since purple, green and orange are the three secondary colors, they will all stand out from each other nicely.
If you are worried about the background color spreading too fast, make sure that you have paper towels on hand to pick up any excess dye.
Once you cannot see any white spots on the T shirt, you can then wrap it all up in plastic wrap and let it set. You can do this for just 6 hours, but for the best results we recommend leaving it for about 24 hours.
Try to ensure that when you are wrapping it that the orange and green sections are not having any black dye pressed against them.
Once you have waited for however long your dye kit recommends, you can take the shirt out of the wrap and rinse it under cool water, and then warmer water.
Once you do this, remove the ties, then the rubber bands and clamps, and then keep rinsing it until the water runs clear.
Each dye has unique instructions on when you can dye this with other normal clothes, so make sure to pay attention to this as you will not want the color to spread to anything else. Once you are finished, the T shirt should be ready to wear!
Summary
Hopefully this guide has given you all the information you need on how to make an amazing and spooky pumpkin tie dye shirt which is perfect for Halloween!

In an effort to get them to avoid excessive screen time ( and arguing! ) I turned to more creative avenues that we have all since grown to love.
I created this website in the hopes of inspiring more families out there to enjoy crafting and enjoy a shared bonding experience over it.
Please enjoy it and hopefully, you’ll find something to make that you can display proudly forever!
- Master Crochet Stitches for Cozy Creations - January 23, 2024
- Half Double Crochet Guide for Cozy Creations - January 23, 2024
- Elevate Your Space with Unique Macrame Creations - January 23, 2024
