Tie-dying is a fun way to update your old sneakers! Whether you want to go for a 70s-inspired look, or try your hand at a galaxy print effect, you can choose to dye your sneakers in any shades that you like!
Tie-dying is a great project to get stuck into, but it’s important to follow the right steps to ensure your sneakers turn out amazing.
There’s arguably nothing worse than spending all of your time mixing and applying the colors to have the result turn out awfully!
You’ll learn how to tie-dye your sneakers in this post, including some tips on tie-dying to ensure your project looks amazing!
Keep reading to learn how to tie-dye your sneakers!
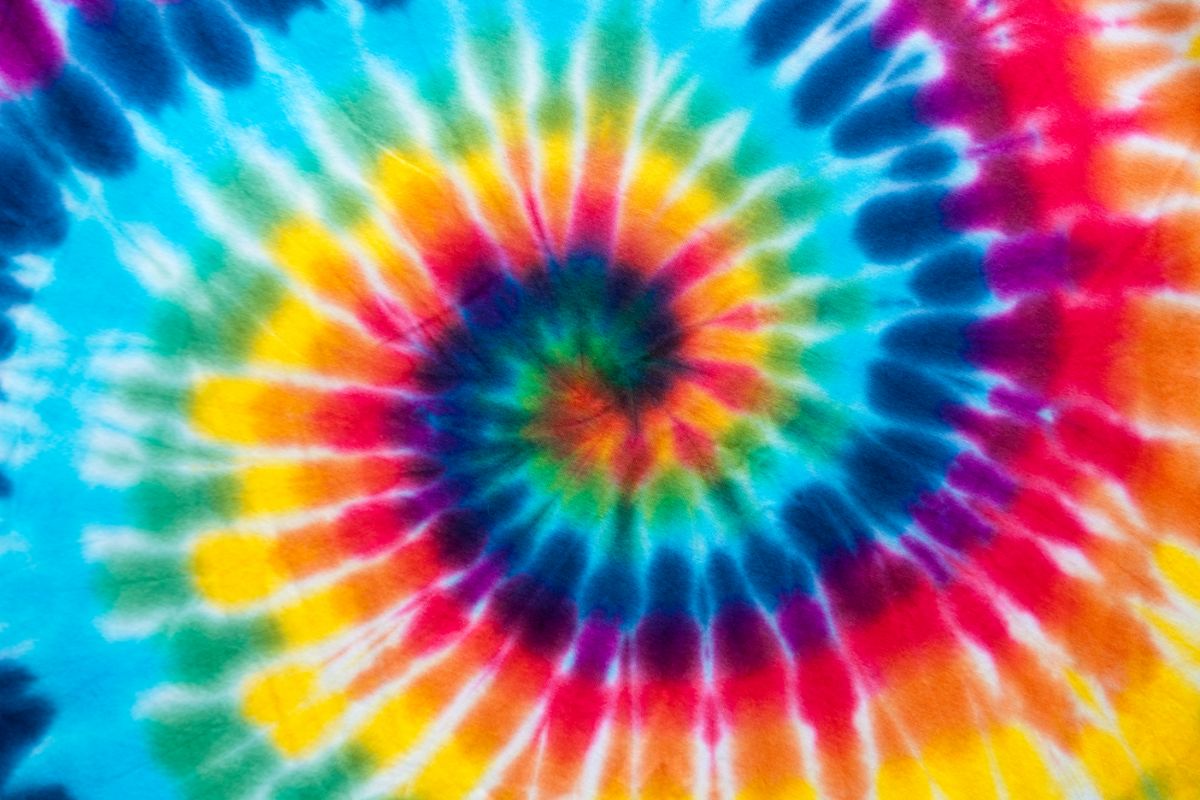
Tips on Tie Dying
Before we get into the steps, here are some tips on tie-dying you should know before starting this project.
Set Aside A Work Area
Make sure you have sufficient space to work in before you get started. This area should be spacious so you don’t feel confined while you work.
You’ll need room to make the project, as well as a space to leave the sneakers to cure and dry after you’re done. It’s also a good idea to line your work area with plastic or paper to avoid stains.
Choose The Right Shoes
It’s best to tie-dye shoes that are white and made from 100% cotton.
This is the case for most canvas sneakers, like Toms and Converse. Always inspect your shoes for any areas that are not cotton, like the laces, sides, and toes. Any places that aren’t cotton generally won’t get dyed.
You can dye synthetic shoes, but you’ll need to purchase synthetic dye. However, keep in mind that is generally a lot harder to do compared to dyeing canvas shoes.
Gather Additional Supplies
Other than your workspace coverings and gloves, you may want to collect additional supplies, like a baker’s rack or tongs.
You can rest your sneakers, or other garments, on the rack while you add the dye. This will stop the colors from spreading in any unwanted areas.
The tongs are also useful for picking up your item and turning it around, allowing you to color in any area without staining your hands.
Wash Your Garment Beforehand
Always pre-wash your item before you start coloring it. This will remove any debris or stiff areas.
If you don’t do this step, the fabric may not absorb the colors properly.
Understand the Color Wheel
Have a basic understanding of how different colors will mix, as you may end up making interesting shades!
For instance, yellow and red can make a bold orange, while a little blue added to yellow makes green.
Cover Your Item To Set The Dye
Heat will help your fabric dye set more quickly and vibrantly. You don’t need to cover the item too tightly, just place a plastic wrap loosely over your project.
This also acts as a shield, preventing any dirt or foreign matter from ruining your design.
Washing and Rinsing
Take the time to rinse and wash the garment once the dye has been set for a minimum of six hours.
Make sure you use cool water instead of warm or hot water. Higher temperatures can make the dye run out of the fabric, leading to more mess. This can also make the colors blend into each other, ruining your design as a result.
Make sure you wash the item separately from other garments for the first few washes, as the dye may still bleed into other pieces of clothing.
Clean As You Go
Dye is messy, so make sure you wipe up any spills or spots on the table if you notice them. If you don’t, there’s a risk of the dye spreading and coloring any places you don’t want to be dyed.
How To Tie Dye Sneakers
Now that you know our tips on tie-dying, we can get into the method itself!
You Will Need:
- White canvas sneakers
- Tie Dye kit (see also “Best Tie Dye Patterns To Try“)
- Soda Ash
- Bucket
- Plastic saran wrap
- Paintbrushes
- Empty jars or containers
- Paper towels
Step 1: Remove Your Laces
Start by removing the laces from your sneakers. If you leave them in, the laces will also dye with your shoes. Unlacing them means you can keep them clean and white. It also shows the tongue area, giving you access to dye this area, if you prefer.
Step 2: Soak With Soda Ash
Next, soak the canvas sneakers in a mix of soda ash and water for ten minutes.
A lot of tie-dye kits come with soda ash and guidelines on how to prepare the garment. If yours doesn’t come with soda ash, you can buy it separately online or at a craft supply store.
The instructions generally advise mixing a gallon of warm, clean water with half a cup of soda ash.
Place your sneakers in a large bucket, then tip the solution over the shoes. Leave them to soak for a minimum of ten minutes, as this makes the canvas soak up the dye better.
Step 3: Drying The Shoes
Once the sneakers have soaked for ten minutes, wring out the rest of the water from the shoes. Leave them out to dry in the sun for one to three hours, or until completely dry.
You won’t need to rinse the soda ash solution from the shoes before this step.
Step 4: Plan Your Design
Look at your shoes and decide on what design you want to create. You can plan what colors and patterns you want to use beforehand, or choose shades at random for a modern appeal.
Stuff your sneakers with some plastic shopping bags at this stage. This will keep the shoes upright, preventing the fabric from falling in while you paint the sneakers.
Step 5: Mix The Dyes
You’ll be using a tie-dye kit to dye your sneakers. You can find these at most craft supply stores. Many of these have a variety of colors included, so you’ll be able to find one that matches your color preferences.
The kit should include all the things you need to dye your sneakers, as well as guidelines on how to mix the dye.
You can also choose to buy dye mix colors individually, then blend the shades with water, according to the instructions included with your dye.
Every dye brand will have different guidelines, but in most cases, you’ll be able to blend the dye with water to make your desired shade. Do this for each separate dye shade.
Step 6: Wear Plastic Gloves
This step will stop the dye from staining your hands. Wear the gloves once the sneakers have fully dried and you’re about to dye them. You should also lay down newspaper or plastic covering to prevent stains on the work surface.
Step 7: Fill Applicator Bottles
Tie-dye kits often contain plastic applicator tubes that contain portions of dye.
Fill these bottles with water, fasten the bottles securely, then shake them to combine the liquids. You can then take the caps off so you can dip the brushes inside.
Step 8: Paper Towel Testing
This step allows you to see the exact color of your dye.
Take a clean paper towel and a rough idea of your intended pattern onto it with a paintbrush and dye.
This allows you to see how the shades will look before you paint your sneakers, so you can be sure you like the design.
For instance, yellow usually looks better mixed with blue than purple. Blue and yellow make green, but purple and yellow can make an unpleasant brown shade.
Step 9: Apply the Lighter Shades
Now you can begin painting! Start with the lightest shades before moving on to the darker ones. Use your paintbrush to pick up a little dye, then apply the color to the sneaker fabric.
Make sure you’ve applied all of the first shades before you apply the next color. This stops the shades from blending, as darker shades can overwhelm paler ones if they are used first.
For example, if you begin with a deep blue shade, then try to dye an area pink, the pink might be hard to notice as the blue is so strong.
It’s best to start with colors like yellow, orange, pink, and pale green. After you’ve applied these, you can start applying red, blue, then purple. Use a small paintbrush to give you more control over the design.
Step 10: Work On Each Shoe At The Same Time
Instead of dyeing one shoe first and working on the last one later, it’s best to work on each sneaker at the same time. This will help the pattern match on each shoe, allowing you to amend any mistakes or imperfections as you go.
For example, you could color the toe area of each shoe before you start on the sides.
Step 11: Cleaning Your Brush
Make sure you dip your brush in clean water in between shades, as this will stop the colors from bleeding.
Pour clean water into a small cup and have it nearby. Dip the brush in the cup every time you swap colors.
If you don’t do this step, you may affect the color of the dye with your previous dye shade.
Step 12: Leave Some Space
Once you paint on the first shade, apply the next color slightly further from the edge of the first shade. Leave around a quarter of an inch between shades, as this leaves room for the shades to run.
As you paint on the following shades, the dye will start blending in, producing a nice ombre look. The gradient may differ depending on the shades you use and your intended design.
Step 13: Blend The Dye
Once you have filled in the entirety of the shoes, find a small, dry paintbrush and dip it in clean water. Position the tip of the brush in between two shades, then move it around to blend the colors.
It’s best to do this step when the dye is wet. Keep mixing the colors until you’re happy with the appearance.
You don’t need to do this step if you already like the way the sneakers look.
Step 14: Curing The Dye
Wrap your sneakers in saran wrap or a clear plastic bag, as this will let the dye set. The plastic will also prevent the design from changing.
No matter what type of plastic you use, ensure that your sneakers are fully covered.
Step 15: Leave To Dry
Leave the sneakers to sit for half a day to a full day. The dye will start setting into the canvas after roughly six hours.
You can clean the sneakers at this stage if you prefer, but the color will soak into the fabric better if left for longer. Leave the sneakers in plastic wrap overnight, or until the next day if you want a bolder finish.
Step 16: Washing The Sneakers
Clean the shoes with your washing machine or by hand washing. Either option is fine as they will both eliminate the chemicals.
Make sure you clean the shoes separately from any other garments, as the dye can color other clothes.
If you’re using a machine, use a regular wash cycle, cold water, and a quarter cap of liquid washing detergent. Make sure you remove the shoes from the machine once the cycle is done.
If you’re hand washing the sneakers, use cold water and between one and three squirts of gentle dish soap. Use a clean washcloth to scrub the sneakers, then rinse until the water runs clear.
Step 17: Drying
Leave the sneakers outside in a sunny location to dry, like a front porch or deck. This normally takes between one and three hours. Don’t use the dryer, as the heat can affect the colors, making them look pale and less bold.
Keep checking on your sneakers every so often to see if they have dried. Bring them indoors once the material is fully dry.
Step 18: Add The Laces
Once the sneakers are completely dry, you can put the laces in. Make sure that the shoes aren’t wet for this step, as the dye may stain the laces.
If you’ve added your laces and are happy with the result, you can go ahead and wear your sneakers as much as you like!
Final Thoughts
Now you know how to tie-dye your sneakers! This method works very well for white, canvas sneakers, but remember that it won’t be the best choice for darker, synthetic shoes.
Make sure you go over the tie-dyeing tips above to ensure your shoes turn out amazing. You can always try practicing your design on clean paper towels if you’re worried about how the design will turn out.

In an effort to get them to avoid excessive screen time ( and arguing! ) I turned to more creative avenues that we have all since grown to love.
I created this website in the hopes of inspiring more families out there to enjoy crafting and enjoy a shared bonding experience over it.
Please enjoy it and hopefully, you’ll find something to make that you can display proudly forever!
- Master Crochet Stitches for Cozy Creations - January 23, 2024
- Half Double Crochet Guide for Cozy Creations - January 23, 2024
- Elevate Your Space with Unique Macrame Creations - January 23, 2024
