Crafting is a great way to entertain the kids and help release their creative energy! Plus, they can make something they are proud of to display in their rooms. You don’t need to spend hundreds of dollars in the craft store to achieve this.
There are so many things you’ve probably overlooked in your home that make great crafting tools. Sometimes the best things are made from the most simple materials such as card, felt, string, and apples. Yes, apples!
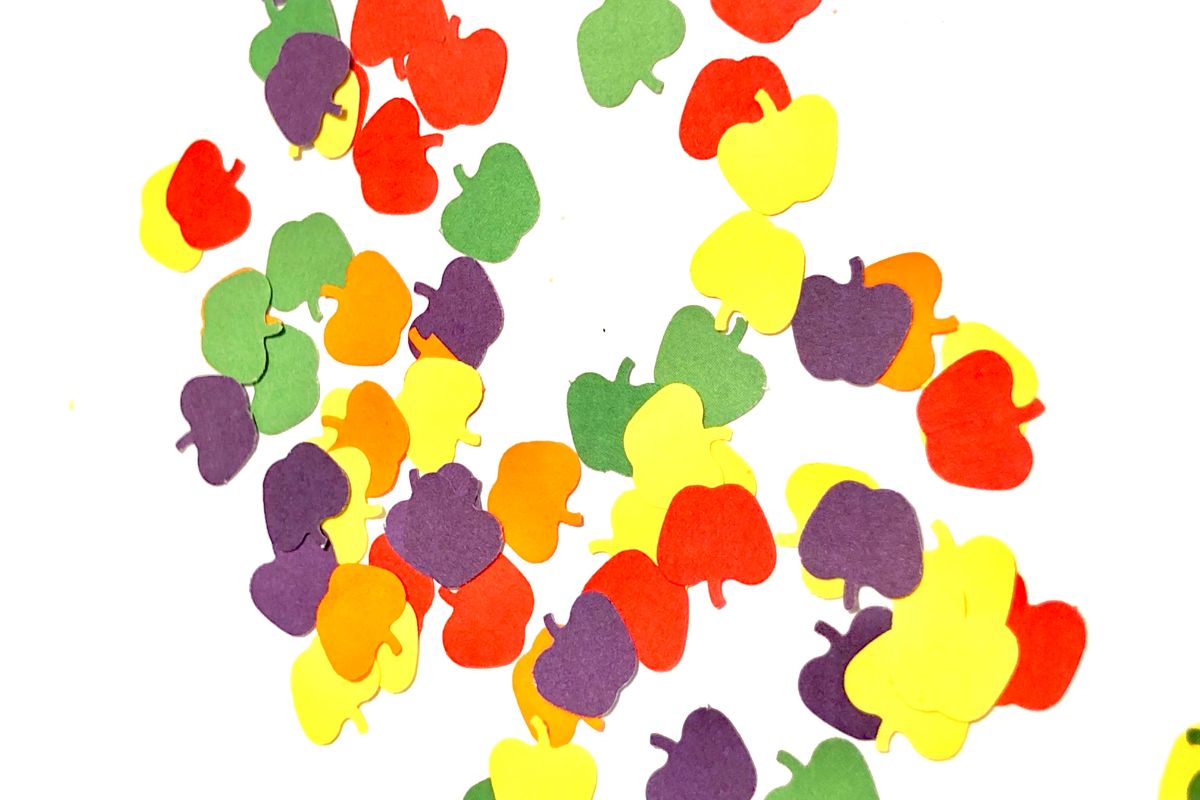
In this article, learn all you need to know about making an apple-stamped wall banner to hang in your home.
What You’ll Need
- Paper Plates
- Acrylic paint colors of your choice
- Twine or string
- A hole punch
- One apple
- Banner triangles – these can be any size, made from paper, cardboard, fabric scraps, or old cloth material
Making Banner Pieces
Using your chosen materials, cut out triangles that are equal in size. For best results, use a template or similar crafting method each time.
When using A4 card, you can use the shorter edge of the card to act as the bottom of the triangle. Draw lines from the bottom corner to the middle of the other side of the card and then cut along these lines.
If the banner is for a specific area, you can determine how many triangles you need to make to fit there with a tape measure.
How To Make An Apple Stamp Banner

Step One
Cut your apple in half, straight down the middle, and remove any loose seeds or flesh that will prevent the side from being as flat as possible.
Step Two
Pour a small amount of paint on the paper plates, each color should have its own plate. Make the banner as colorful as possible or use a simple red and green color scheme for a traditional look.
Press the flat side of the apple half or stamp into the paint (see also “Apple Stamping: Beginner’s Guide“), ensuring you get enough to cover the stamp evenly. Take the stamp and place the flat edge firmly in the center of the pre-cut triangles. Wait for a few seconds and remove the stamp.
Now you should see an apple print on your banner triangles! Depending on the type of material you’ve used, you may have to press a little harder or use more paint to make it look obvious.
Repeat this process on each of the triangles until you have a complete set.
Step Three
Let the paint dry on your banner pieces and clean all the messy bits away. Once the paints dry, it’s time to make some holes in the banner to tie everything together. Your triangle banner pieces should be laid out with the tip pointing down.
Along the top edge of the triangle, make a hole using the hole punch near either corner. Be careful not to make these two close to the edge as the holes are more likely to break or become weak.
Step Four
Lay all the triangle banner pieces out in the order you want to tie them together in. There are two ways to tie these, one is to make a small knot between each end of each banner piece.
Simply cut a small piece of twine and thread it through the left hole of one piece and the right hole of another before tying it in a knot.
Another way to do this is to weave the twine through in one go. Start by threading the twine through the left hole of the first banner piece, and pull the twine around the back and through the right hole of the same piece.
Then you can go forwards through the left hole of the next piece and so on.
Do this until you have connected each and every piece. When you’re done, tie knots at either end to stop the banner from sliding too far to the end.
Ensure there is enough twine leftover on either end to make one last loop so you can hang your banner proudly.
Step Five
Hang your beautiful banner somewhere in your home. You may need some cup hooks or additional materials to hang somewhere, or you may already know the perfect place.
We recommend across the mantle of a fireplace, above the head of the bed, or around the edge of a table.
Step Six (Optional)
For those that want to go a step further and really jazz up your banners, you can use markers or paint to draw stalks onto your apple halves and little pips on the insides.
Glitter and stickers are also great materials to use to make the banner even more colorful and exciting. No two pieces need to be the same.
Variations
There are a few variations to this method. First of all, the banner pieces don’t have to be triangles, but it does help when it comes to hanging them on the twine. Other shapes you can try include:
- Squares
- Circles
- Hearts
- Stars
You can find handy templates online to print out if you don’t fancy trying to draw these freehand.
Although apples work really well here, older children may find this too easy. This is where the humble potato comes in. Potato art is something we’re all taught in school and is a super fun way to make a stamp at home.
How To Make Potato Stamps
In a similar way to making the apple stamp, start by cutting the potato in half. Use a marker to draw your desired shape and cut around with a kitchen knife.
Obviously don’t let the kids do this part. This should leave you with a raised stamp in the shape of your choice.
The Bottom Line
Arts and crafts are a great way to spend an afternoon and an even better way to entertain kids of all ages without the need for screens.
Using a few simple materials such as apples and paint you can make lovely gifts for family and friends or just a little something to brighten up a room.

In an effort to get them to avoid excessive screen time ( and arguing! ) I turned to more creative avenues that we have all since grown to love.
I created this website in the hopes of inspiring more families out there to enjoy crafting and enjoy a shared bonding experience over it.
Please enjoy it and hopefully, you’ll find something to make that you can display proudly forever!
- Master Crochet Stitches for Cozy Creations - January 23, 2024
- Half Double Crochet Guide for Cozy Creations - January 23, 2024
- Elevate Your Space with Unique Macrame Creations - January 23, 2024
