Fall is a special time of year, the leaves are turning beautiful colors, Halloween is right around the corner, and it’s perfectly acceptable to drink hot chocolate every day to stay warm and cozy.
As much as we love fall, it does mean that we may have to spend a little more time indoors when it’s wet and cold. Keeping the kids entertained on a miserable day can seem like a huge challenge.
We can help you to reduce this challenge and banish boredom with a fun art project as they can really get involved and use their senses. Autumn leaves are the perfect subject for this!
Plus, this helps teach the kids about symmetry.
In this article, we will show you how to make pretty squished painted leaf art with your kids.
What Are Squish Painted Leaves?
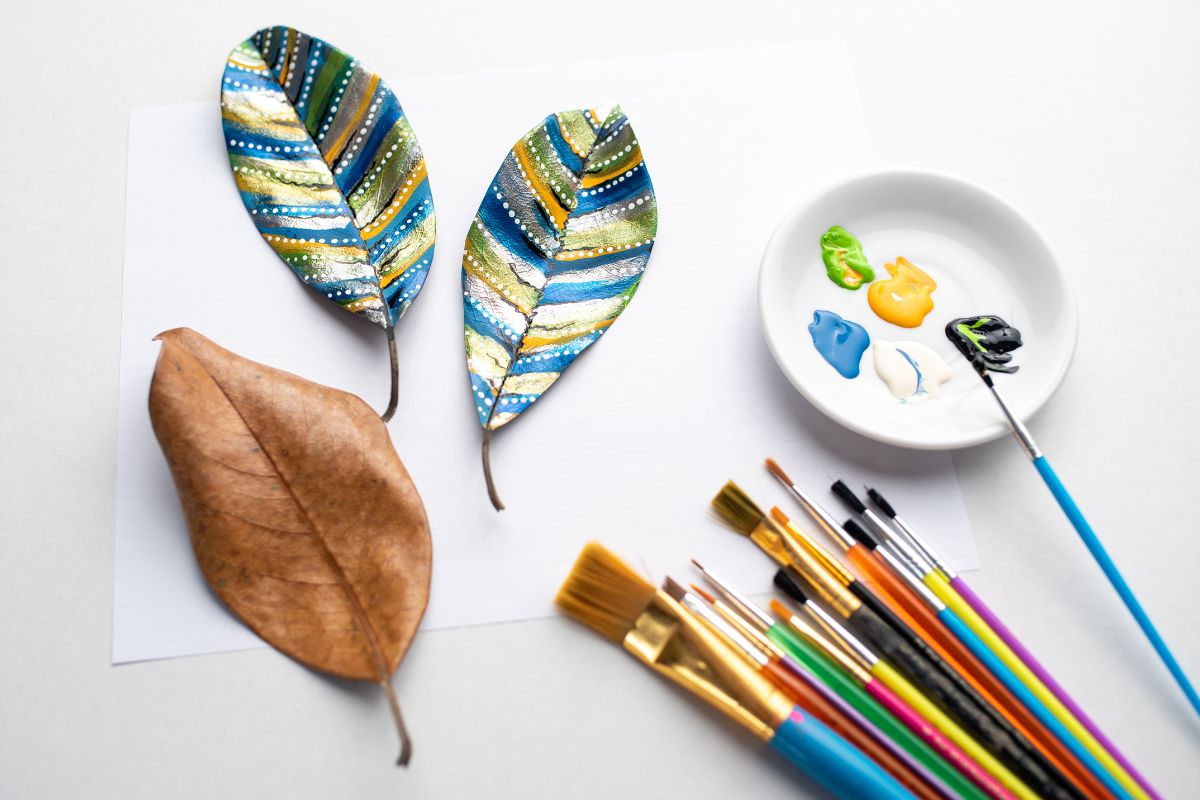
Simply put, squish painted leaves are pieces of artwork that have been created by utilizing symmetry. The squish part just makes it sound super fun! These types of paintings are often taught in art classes but can be easily recreated at home.
The idea of the painting is to spread one side of paper or card with paint to imprint the design created on the other half of the paper. Mixing the paints and thinking of designs is really fun and can challenge your kids to think outside the box.
Instructions
Follow these simple instructions to produce some fun and colorful leaf patterns. To give the kids some inspiration, get them to go outside and find some pretty leaves to recreate with their artwork.
What You’ll Need
- White paper or thick card
- Your choice of colored paints (we suggest autumnal colors such as red, brown, orange, and yellow)
- Scissors
- Pencil
- Leaf template
- Paint brush (optional)
We would also suggest putting down a plastic sheet or newspaper to avoid anything getting paint on it.
Step One
Either trace a leaf shape on a piece of card or download and print a free version online. This can be any type of leaf you like and you can use multiple templates for each child if you wish.
The bigger the better here, it will give your child more room for creativity.
Step Two
Use scissors to cut out the templates. Children may be able to do this with safety scissors if you’re using paper, but it will unlikely cut through the card.
Step Three

Fold the leaves in half and open to create a crease down the middle. Lay the leaf out flat on a hard surface.
Step Four
Squeeze out little drops of paint onto one side of the leaf. You can do this with a paintbrush or straight from the paint bottle. Younger children might need to be supervised here as it can get a little messy.
Step Five
Fold the leaf in half and squish and smoosh the halves around to create a patterned effect inside the card.
Step Six
Time to open up the creation! Gently pull apart the edges of the leaf and open it out so it is as flat as possible. Let the paint dry before adding any additional decorations. Many kinds love to add glitter or details to their leaves.
Repeat these steps until the kids are exhausted from making so many pretty leaves! Younger children may need to be supervised, but this is an activity that will appeal to children of all ages.
Notes
A spoon or fingers can be used on the painted half of the leaf to really get into it. These can also make cool patterns and swirls.
For the older kids you might want to try using a toothpick to drag through the different colored paints to make criss cross patterns.
Variations
If the kids get bored of painting leaves, you can also get them to create other pictures using the squish method. This further imprints the basic ideas of symmetry and shape, and it means they are kept amused for longer.
To successfully create symmetrical art, you need to start with an object that can be divided in half. Circles, squares, and triangles are all great shapes to use for this purpose.
So you’re also teaching the kids about shapes too.
When using these kinds of shapes, there’s no need to cut out anything. Simply fold an A4 piece of paper in half and spread the paint on one side to create a shape.
Here are some fun ideas to use in squish art:
- Bumble bee
- Balloons
- Love hearts
- Butterflies
- Rainbows
- Polka dots
- House
- Abstract patterns
For options like the butterfly, you may want to cut out a template for this to make it more effective. Younger children may not have developed the fine motor skills yet to create half a butterfly.
Displaying Your Squish Painted Leaf
To display the leaves nicely in your home, you can stick them on window panes in the kids rooms with a little blue tac.
If you want to make a real feature, try sticking the leaves onto a thick piece of colored card to make the leaves stand out from the background.
Small leaves can be made into beautiful garlands or wall hangings. When everything is dry, use a hole punch to create a hole in a thick part of the leaf and use some twine to thread through these holes.
This could be the perfect backdrop to your Thanksgiving dinner (see also “How To Make Turkey Spin Art: Thanksgiving Special“).
The Bottom Line
Art projects are always a fun way to keep the kids entertained on a rainy day. These symmetrical squish painted leaves will get everyone excited for fall and will make your home feel so much warmer and festive!
Frequently Asked Questions
How Do You Flatten Children’s Art?
One way to do this is to iron the artwork, you can place a piece of fabric over the top to protect the painting. Always do this on a low silk/wool setting and ensure the steam is turned off.
Go over it a few times and the crinkles will disappear.

In an effort to get them to avoid excessive screen time ( and arguing! ) I turned to more creative avenues that we have all since grown to love.
I created this website in the hopes of inspiring more families out there to enjoy crafting and enjoy a shared bonding experience over it.
Please enjoy it and hopefully, you’ll find something to make that you can display proudly forever!
- Master Crochet Stitches for Cozy Creations - January 23, 2024
- Half Double Crochet Guide for Cozy Creations - January 23, 2024
- Elevate Your Space with Unique Macrame Creations - January 23, 2024
