Do you want to make clear slime but don’t know how? Perhaps your children have asked to make clear slime with you and you are clueless?
Or are you curious about clear slime and want to know more? No matter what the question is that brought you here, we have the answers for you!
Knowing how to make clear slime can be tricky, especially if you have never done it before.
You head online for some guidance but are met with confusing and conflicting information that leaves you unsure who to trust or where to turn.
Frustrated and disappointed, you wonder if you will ever be able to make clear slime.
Well, no more! Today, we are here with the answers you need. Keep reading to find out everything you need to know about clear slime, including a step-by-step guide to making it!
What Is Clear Slime?
Before we dive into today’s article, let’s have a quick recap for those that need it. Clear slime is the clear version of slime, a popular kids’ toy.
Slime was first produced back in the 1970s and was a squishy material that could be molded into any shape you want!
Recently, slime has exploded in popularity, with many people choosing to make their own slime!
It can be molded into shapes, paired with other slimes to make 3-D models or objects, and is a wonderful way for children to play with their hands and develop their imagination.
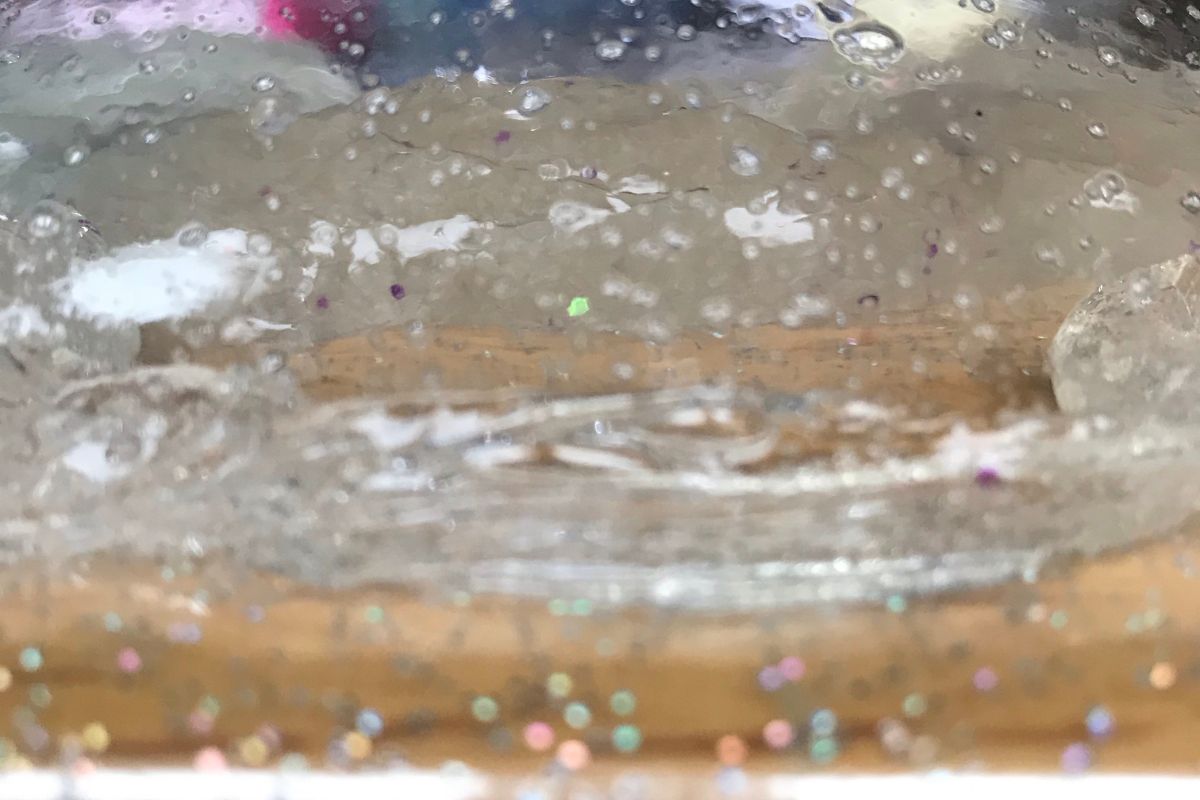
Clear slime has a squishy and malleable texture but is clear in color. It will appear almost transparent, although we also see clear slime that has a slightly milky color.
Don’t worry, our guide today will allow you to create crystal-clear slime that you can see straight through!
It’s different from the bright purple and green slime we often see, and can be used in crafts or for children to play with.
Now that we have briefly established what clear slime is, let’s move on to what brought you here today, and get you the answers that you need!
What Do I Need To Make Clear Slime?
You don’t need many ingredients to make clear slime. We have compiled a brief list below for you to use. You can pick up all of these items at an affordable price in craft stores or online.
We have opted to purchase the items separately, but there are slime-making kits that you can purchase. Make sure you check the slime-making kit before purchasing to see what is included!
To make your clear slime, you will need the following:
- Water
- Borax
- Spoon
- Airtight container
- Clear PVA glue
- Bowl
The most important item is the clear PVA glue, this is how you will create the clear color of the slime! Any other glue will color the slime and you won’t get the crystal clear finish!
Thankfully, clear PVA glue is widely available and affordable, so you don’t need to spend a fortune to achieve clear slime.
Once you have all your materials, we recommend laying them out on a table or the surface you are using to make the slime. You will want everything in an easy to reach location, making it super easy for you to make the slime.
How To Make Clear Slime
Let’s get into what you came here for! You know what clear slime is, you have the materials ready, now it is time to create!
You can follow the step-by-step guide below (and our handy tips) to make clear slime yourself or with your children.
Step 1 – Make The Slime Base
To start, we are making a clear slime base. Pour half a cup of your clear glue into the bowl and add the same amount of water. Mix the water and glue together with your spoon.
Doing so stops the glue hardening quickly and helps the glue to react better with the slime activator (see also “Easy Slime Activator Recipe“)!
You can adjust the amount of glue and water that you add too, depending on how much slime you want to make. Just make sure you use equal amounts of slime and water.
Step 2 – Activate The Slime
Next, you will want to activate the slime. You can buy a slime activator, or you can use the Borax we included in our materials list.
Mix one cup of warm water with a cup of borax until it is dissolved. Be sure to do this separately. This will make enough slime activator for several slimes.
Once prepared, you can add the slime activator a teaspoon at a time. Mix it in as you add it until it starts to form clumps. It might be easier to mix it by hand as it will become sticky.
Keep adding and mixing until you get a stretchy slime. If you find that your slime is a little sticky, you can add some more activator.
Step 3 – Stretch The Slime
By now, the slime won’t be clear and will look a little milky. To get your slime crystal clear, you need to stretch it. Stretch the slime in your hands as thin as you can.
As you stretch the slime, it will become clear. The air bubbles that have found their way in while you stirred will be pulled apart and pop, giving you clear slime!
Step 4 – Let The Slime Set
To finish, you need to set the slime. You can use a vacuum chamber or pop it in an airtight container. This allows the slime to set, without it drying out. We recommend leaving it overnight to set.
The next day, you can remove the slime and use it. The bubbles will have all popped, leaving you with clear slime you can see through!
It’s worth noting that air bubbles will appear in the slime when you play with it. These will impact how clear the slime is but don’t panic.
All you need to do is put the slime back in the airtight container and leave it overnight. The bubbles will pop and your slime will be clear and ready to use again.
Final Thoughts
And there you have it, how you can make clear slime! As you can see, the clear slime is super easy to make and can be done in four steps.
It is the perfect activity to do with your children, or alone. Yes, your hands will get a little messy, but it’s worth it to have lots of clear slime to play with!
Just don’t forget the clear PVA glue and you are good to go.

In an effort to get them to avoid excessive screen time ( and arguing! ) I turned to more creative avenues that we have all since grown to love.
I created this website in the hopes of inspiring more families out there to enjoy crafting and enjoy a shared bonding experience over it.
Please enjoy it and hopefully, you’ll find something to make that you can display proudly forever!
- Master Crochet Stitches for Cozy Creations - January 23, 2024
- Half Double Crochet Guide for Cozy Creations - January 23, 2024
- Elevate Your Space with Unique Macrame Creations - January 23, 2024
