Have you ever wanted to get into tie dyeing, but you do not know where to begin? This guide will give you all the information you need to get started with tie dyeing with the perfect beginner project being tie dyeing T shirts.
These projects are sure to impress, and making tie dye projects can be a fun activity, and is a great way to make personalized gifts. Just making something using someone’s favorite colors can show a lot of care, and the possibilities are endless when it comes to what you can tie dye.
When it comes to tie dyeing, the project which most people want to get started with is making a tie dye shirt. It is where most people’s minds go when they think of tie dye, and this is lucky since this is one of the easiest types of tie dye projects to start with.
These shirts can be a great craft project which you can do with either kids, adults, friends, or family.
You can get a kit to have an easier starting point, or you can just start collecting the dye colors that you want and build your own collection. Part of the reason why we love tie dyeing so much is that there is no way you can mess up, and there are plenty of different directions you can go in.
Even with shirts, there are so many different patterns and styles of tie dye which you can use that it makes it a fun project you can try again and again.
Even though there are so many different ways of tie dyeing shirts, once you know how to do this, you can carry this information over to tie dyeing other objects.
You can tie dye sweatshirts, shorts, socks, underwear, shoes, and even crocs if you want. Throughout this guide we will give you all the information you need on how to get started with tie dyeing and what shirts will be the best to tie dye with.
So, if you want the easiest starting point for a tie dye project, keep reading!
Best Type Of Shirt To Tie Dye?
When it comes to getting successful results from a tie dye project, the most important thing to keep in mind is the material which you are tie dyeing.
This is even more important when you are tie dyeing a shirt since bad results can be even more obvious. To get the best results when tie dyeing a shirt, you want the shirt to be 100% cotton, but if you can not get this, you want the shirt to be at least 60% cotton.
If the cotton percentage gets any lower than this then the colors you get from the final results will not be as vibrant. However, if you are looking to get more pastel results, then maybe this would be preferable.
It is worth noting that the worst material for tie dye is polyester, and this is where you will get the worst results.
You can now find some tie dye kits which work better with polyester, however, most normal tie dye kits you will purchase will not work with polyester, and it will end up ruining your polyester, and wasting your time.
It is also worth noting that you will get the best results when you are tie dyeing a shirt which is a lighter color, and the best color to tie dye is white. However, if you want to tie dye a shirt which has some color on it, keep in mind that the lighter the color, the more clear the dye will show up.
Also, depending on how much color is on the shirt, keep in mind how this will mix with the dye color. If you plan to do a bigger tie dye project, then you will want to ensure that you get your T shirts in a multipack since you will save money and it is generally a more effective method.
Now you know what shirts are the best option when it comes to tie dyeing, we can move onto what other materials you need to get the best results!
Materials Needed To Tie Dye Shirts
Luckily, aside from the dyes, a lot of the materials you need for tie dyeing are things which you might already own.
This is why tie dyeing is seen to be a more accessible craft and something everyone can enjoy. Of course, you will need a medium to tie dye, in this case we are using a cotton white shirt so we can get the best results.
Then you will need a tie dye kit. Some tie dye kits use soda ash, and if this is the case, make sure to use the soda ash correctly to ensure that you get the best results.
Once you understand how tie dyeing works better, you will not need to buy a new kit every time, and you can just top off the supplies individually.
You can find tie dye kits in most craft and art stores, and they are available at most online retailers as well. You will also need rubber bands, these are something you might already have lying around, but make sure to check if the kit you are getting already has them included.
To get the best results out of a tie dye project, you also want to use plastic wrap, make sure it is strong enough to keep the dye secure. To stay clean and to avoid staining, you will need to use rubber gloves.
These again might be included in your tie dye kit, but this is less likely. The final thing you need for your tie dye projects is paper towels to help with the mess as well!
Instructions On How To Tie Dye Shirts
Even if the shirt is brand new, the first thing you want to do is prepare the shirt for the dye which you are using. Because of this you want to wash your shirt.
Even if you think your shirt is already clean, there might be residue of chemicals, or oils which will stop your shirt from accepting any dye.
Make sure to do this step as it can be very frustrating when you get to the end and the project has not worked as well as you would have hoped because of any residue on the medium.
This is a step you can skip if you are really low on time, but if you have time, we strongly recommend doing it so you are not risking anything. Once you have finished washing your shirt you will want to wet your shirt.
Do this in fresh water since you do not want any soap residue in the water as this can also mess with the effectiveness of the process.
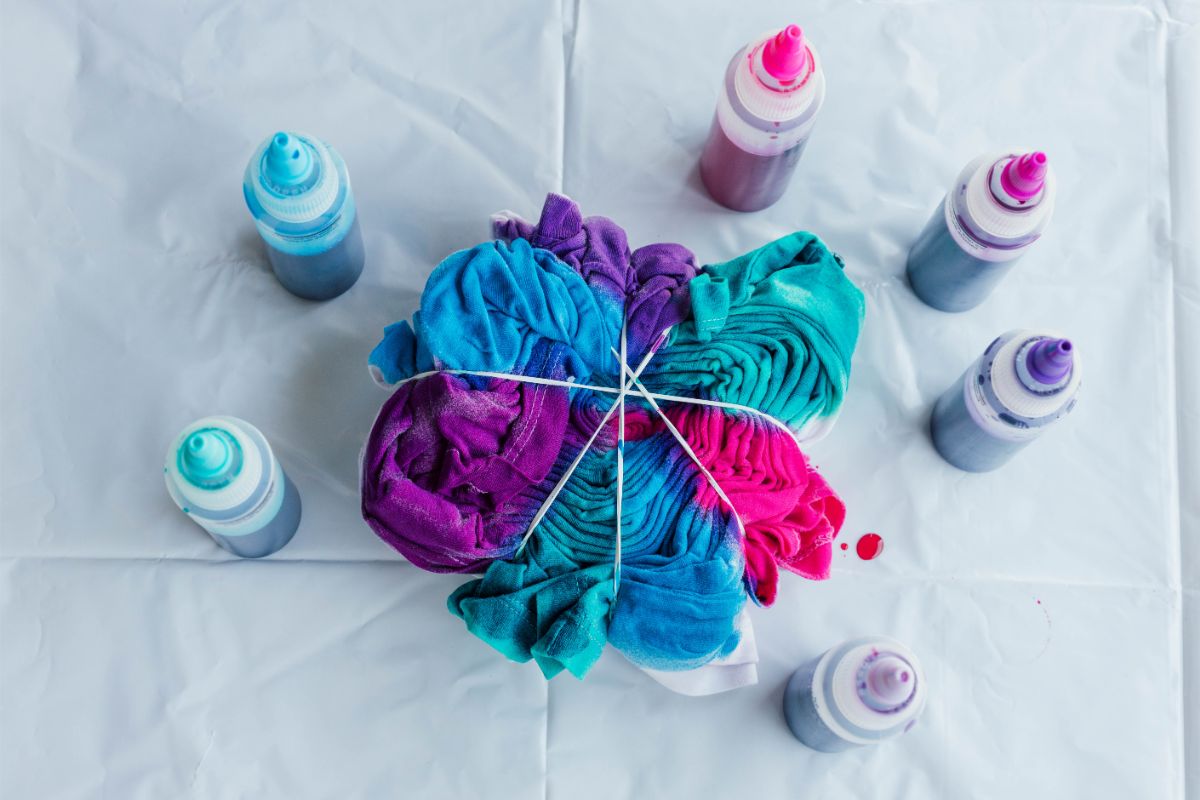
By wetting the shirt we are making it easier to both shape and tie. Once you have done this you want to squeeze out the water, and then scrunch, twist, or fold your shirt in whatever method you want.
This is generally referred to as the crumple method and is the best method to begin with. There is no wrong way to do this, just make sure you are crumpling up your shirt and not leaving anything flat or unfolded.
Once you have shaped your shirt using this method, you want to wrap it up using something to keep it in place. The most simple method of doing this is using rubber bands, but you could even use something like zip tied or string as well, just to make sure it is secure.
You do not want the shirt to be loosely tied as this will lead to poor results.
The ties which you use will act as resists as this is where the dye will be resisted on the shirt helping give the dye its look.
Now, if you are using a more simple tie dye kit which does not use soda ash, then you can skip ahead, but if you are using a kit which does use soda ash, then we recommend following this.
This is because using a soda ash kit can lead to more vibrant colors in the finished product, however, if this is not the look you are going for then you might not want to use the soda ash.
If your kit is using soda ash, this is when you want to mix the ash with the water, and ensure that it is completely dissolved.
Follow the specific instructions on your kit, but with soda ash we have got the best results when dissolving 1 cup of the soda ash in a gallon of water.
Once the ash is dissolved, you want to let your tied up shirt sit and soak in this mix for about 20 minutes. You will want to ensure that you squirt the shirt and flip it over at some point in the process to ensure that the ash is distributed evenly.
This is a better method if you are tie dyeing multiple things at the same time since you can fit quite a lot in a gallon of soda ash solution.
While the shirt is soaking in the soda ash, or if you have skipped that stage, then you want to prepare your dye.
Similarly to with the soda ash, you want to try and just follow the instructions that are on your kit.
But, if the instructions are unclear, you usually will add warm water into your dye bottles.
These bottles will have powdered dye, so all you have to do is fill them up to the indicated line, and then secure the top, and shake it as well. When you are shaking them to mix up the dye with the water, make sure you are holding a paper towel over the top to ensure that nothing leaks.
There are no dye bottles we have used which would not leak even a little after being shaken, and using a paper towel instead of your finger or hand is much more effective and will stop your skin getting dyed.
Also, we strongly recommend that you start wearing the gloves at this point since this dye will start to stain once it is mixed.
Once your dyes are ready, and your shirt has finished soaking in the soda ash solution if you are using it, your shirt will be ready to dye.
First you want to place your shirt onto some plastic wrap to ensure that the dye does not stain anything underneath or around the shirt. Then put on the gloves if you have not done that already, and then begin dying using your lightest color first and working your way up to the darker colors.
You want to apply the dye to wherever you want it, but make sure you use dye on both sides of the shirt. Once you are happy with how the first dye is placed, you want to move onto the second color.
Make sure when you are using the colors to squish and squeeze the dye into your shirt. This will help your colors blend and better spread the color around the shirt.
Between using different colors you also want to wipe up the dye which might have gathered on the plastic wrap, or maybe even use a fresh sheet since this dye is still active and might end up with you getting dye on a part of the shirt you do not want it on.
Then keep working through colors like this, ending up with your darkest color.
Once you are happy with how the shirt is looking, wrap the shirt up using your plastic wrap and then wrap around the shirt. If the wrap is covered in pools of dye, then this is the perfect opportunity to use a fresh sheet to ensure the colors do not mix where you do not want them to.
Once this is done, you want to leave your shirt to stand in the wrap for about 6 hours at least. However, we have gotten some of our best results by leaving the wrap for 24 hours.
The main reason we leave the shirt in the plastic wrap is to ensure that it does not dry out. The plastic will keep the moisture from escaping.
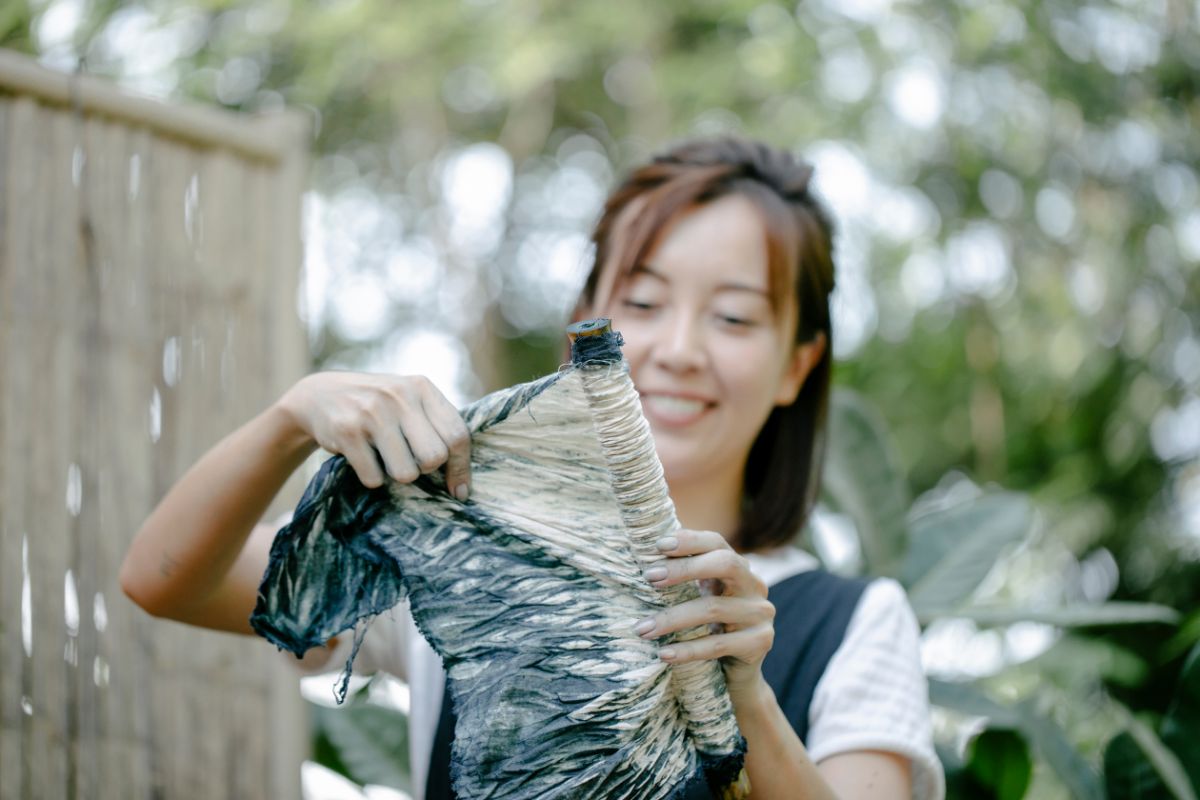
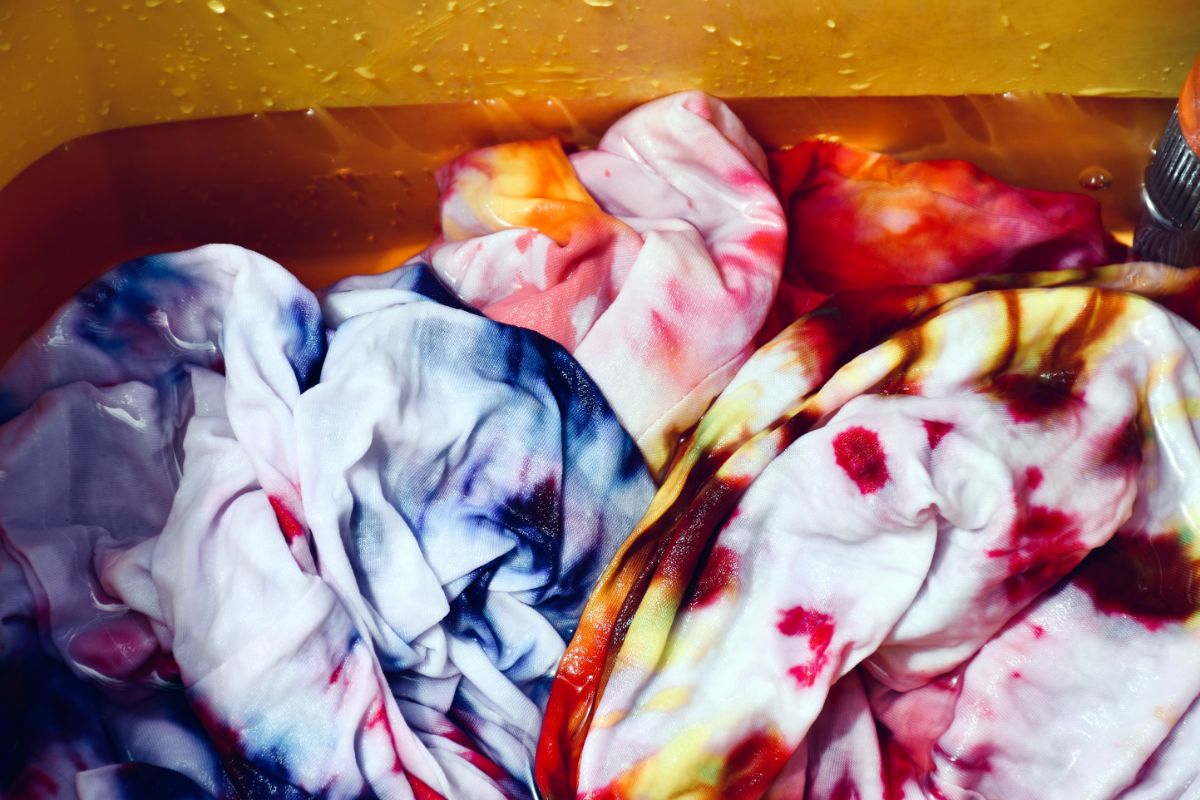
Once you are happy with how long the shirt has been soaking in the wrap, you can rinse out your shirt. The best method we have found for doing this is using cool water over a sink or outdoors.
Do this while the shirt is still tied up. Then once you have gotten some dye out using this method, you want to increase the temperature of the water, and then start taking off the rubber bands.
Some people do this carefully, so the bands can be reused, but if you do not plan to reuse them, you can save some time and cut them out.
However, if you do this make sure to be careful and not accidentally cut the fabric underneath.
You want to keep rinsing the shirt under the water until the water starts to run clear. Once the water is running clear you want to simply throw the shirt in the wash with other shirts which you might have tie dyed at the same time.
Do not wash it with other clothes on the first wash to ensure that any excess dye does not escape.
After this you want to let the shirt dry, and then it will be perfect for wearing whenever you want.
Tie Dye Shirt Designs
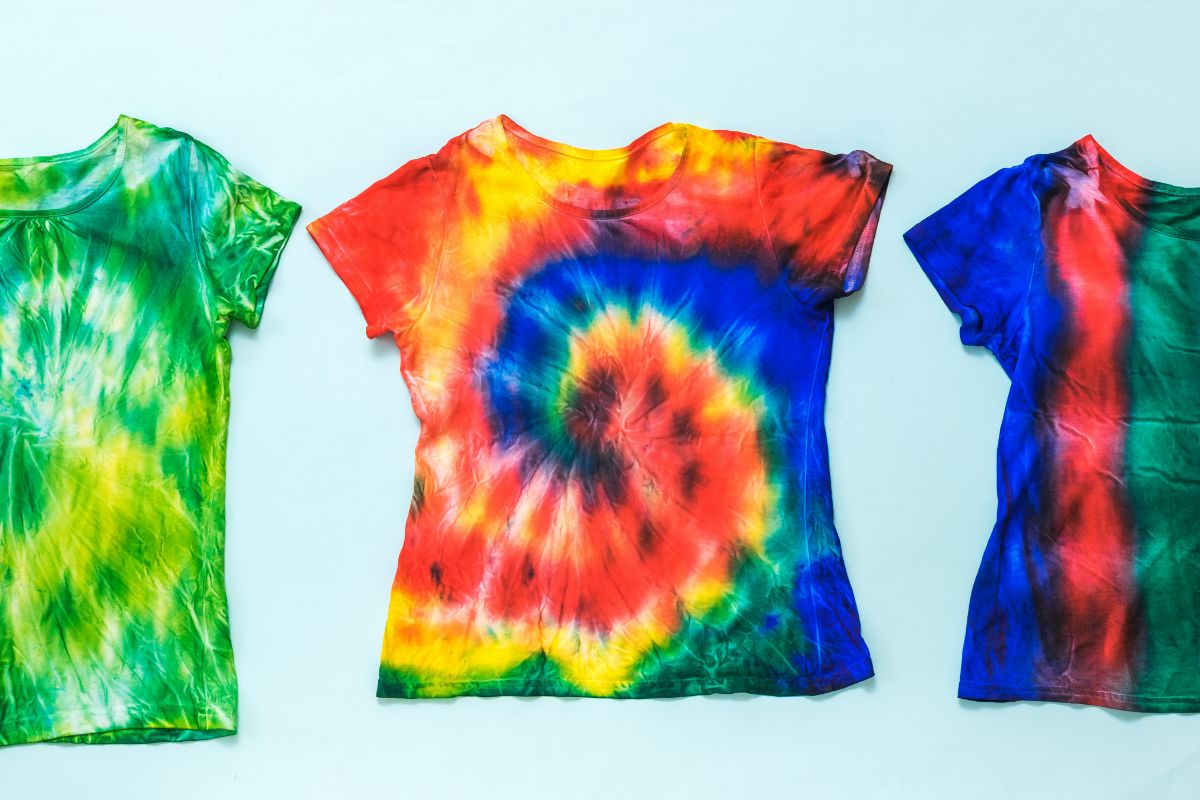
As we mentioned earlier on, there are plenty more patterns you can try when it comes to tie dyeing. You can research some of your own to see what you might enjoy the most, but we will mention just some of our favorites here so you can see what we love the most.
You can make tie dye shirts in a bullseye pattern, and you can center the bullseye however you want, for example putting it in the corner of the shirt.
You can even make stripes when you are tie dyeing.
Furthermore, you can even make more specific shapes or patterns when you are tie dyeing, for example, we have made tie dye shirts which have designs that resemble bats or a pumpkin.
There are also more unconventional methods of tie dyeing to get unique results. For example, you can use ice when tie dyeing to make the dye gather in unique positions. There are plenty of other techniques you can use to get the best results, but these are our favorites.
Let’s go over some of our favorite designs so you can see just how easy these more specific designs can be.
For the bullseye, you want to pinch your shirt in the middle where the bullseye will be centered, and then gather the shirt here.
Then you want to wrap your rubber bands around your shirt so it is in a roll and the bands are about an inch apart. The difference between these bands will be how wide the bands on the circles are.
Then you want to dye each separate section a different color, and keep in mind which section corresponds to each part of the pattern.
Once this is done you can roll the shirt into plastic wrap, and then you can just treat it like any other tie dye project. If you want to center the bullseye on a different part of the shirt, just pinch the shirt from that point, and then repeat the process!
Dyeing Colored Shirts
It is worth pointing out that you can easily dye shirts that have already been dyed a different color. If the shirt you are using is a light color already, all you have to do is add dye on top of this, and then just tie dye it like you would with any other shirt.
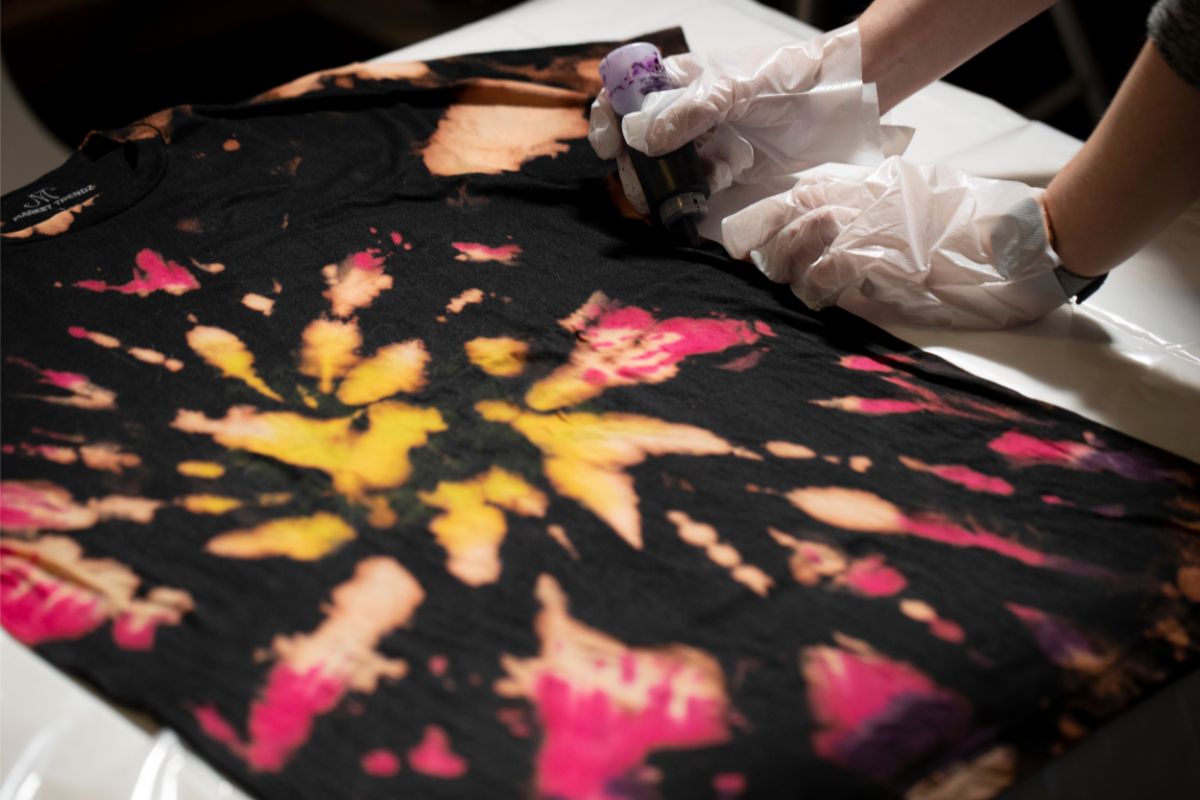
However, if you are tie dyeing a shirt which has a darker color, then you might want to first treat it with a bleach solution. This will remove some of the dye from the shirt, and will also leave a unique color underneath which is usually either orange or red.
This gives you a cool unique reverse tie dye, but you also need to be extra careful since you are working with bleach, and you also have to pay attention to the color choice more.
Washing Tie Dye Shirts
It is worth going over how you should be washing your tie dye shirts once you have finished dyeing them. Once you have finished letting your shirts dye, you want to wash them until the water is running clean.
Our favorite and most effective method for doing this is to run them under cold water while they still have the bands attached, and then once this is done you run them under warm water while taking the bands out and do this until the water runs clear.
You also want to do a wash with them afterward, but for the first wash only do this with other tie dye clothes since there might be some residue dye.
Once you have done this they can be dried and then treated and washed like any other shirts that you own.
Summary
Hopefully this guide has given you a good jumping off point to get started with tie dye. As you can see the process is not as complicated as it may seem, and beginner techniques are incredibly easy.
We recommend starting off with a tie dye kit since these can include pieces which you will find useful if you continue to tie dye, and depending on the set you get, you could get a pretty wide variety of colors as well.
Make sure to take all the precautions you can to avoid staining and dye spreading. Cleaning up fabric dye can be incredibly expensive, so make sure to be careful instead of paying the price.

In an effort to get them to avoid excessive screen time ( and arguing! ) I turned to more creative avenues that we have all since grown to love.
I created this website in the hopes of inspiring more families out there to enjoy crafting and enjoy a shared bonding experience over it.
Please enjoy it and hopefully, you’ll find something to make that you can display proudly forever!
- Master Crochet Stitches for Cozy Creations - January 23, 2024
- Half Double Crochet Guide for Cozy Creations - January 23, 2024
- Elevate Your Space with Unique Macrame Creations - January 23, 2024
