We love working with crepe paper because it is very different from other types of cardstock paper. This is because it can take on different shapes incredibly easily and can attain a certain look quite simply.
This means that you can often get a look when creating projects with crepe paper which would be impossible to get with a different medium.
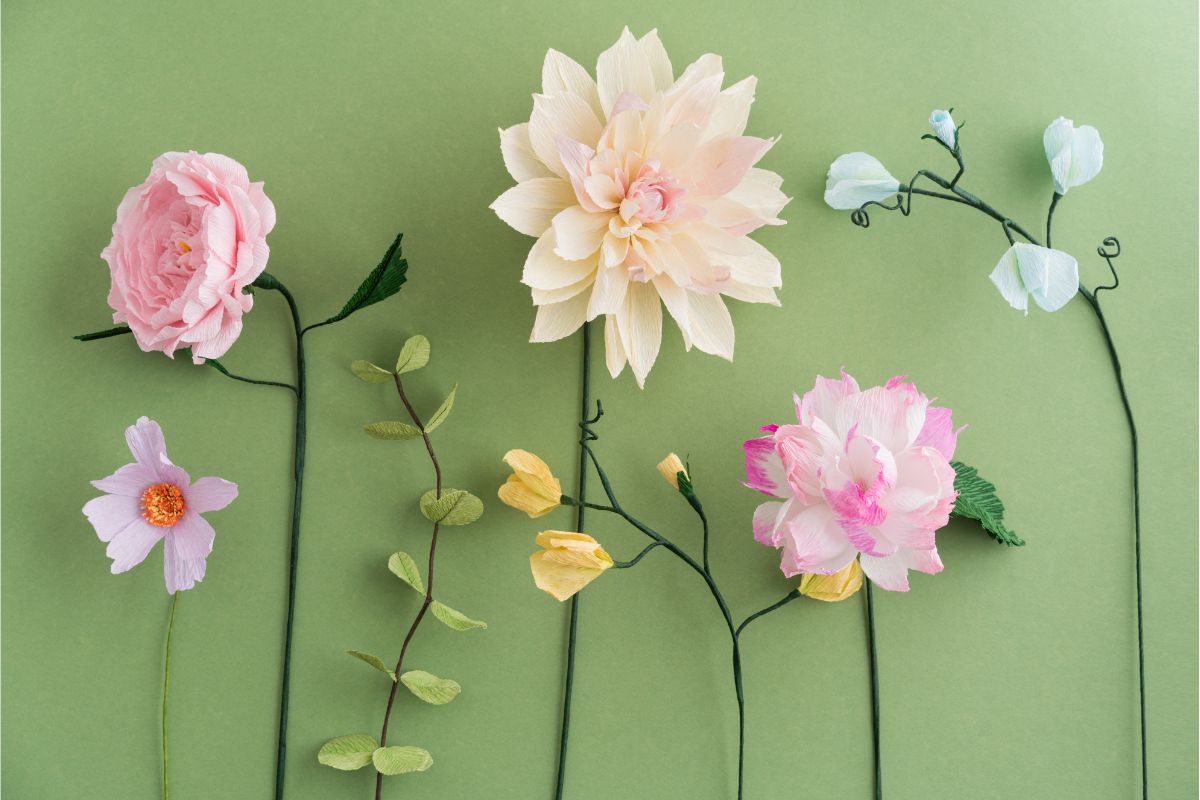
One of the best examples of this is how crepe paper can easily recreate the fluffiness and airiness of flowers. Making flowers from crepe paper will give you an unbeatable look which you can not make with any other type of paper.
One question people have often when it comes to working with crepe paper and making crepe paper flowers is how long these flowers last since quite a lot of work goes into making them.
The truth is that crepe paper flowers can actually last for quite a long time, lasting for years if you know how to look after them.
This is because while crepe paper is fragile, if you know what it is fragile to, you can easily protect it and keep it looking as good as possible. You will want to keep in mind that the main enemies when working with crepe paper are sunlight and moisture.
Because of this when storing your crepe paper flowers you will want to ensure they are kept somewhere which has great ventilation, is not humid, and is not in direct sunlight. If you do this the flowers will last for a good amount of time.
Before you start immediately working on more complex flowers, you will want to practice your technique to start with.
You will want to get a good feel for the crepe paper, you can do this by pulling it, stretching it, and just working with it.
Once you have done this you can start moving onto more and more advanced techniques. That is why we have recommended this guide as a perfect starting point.
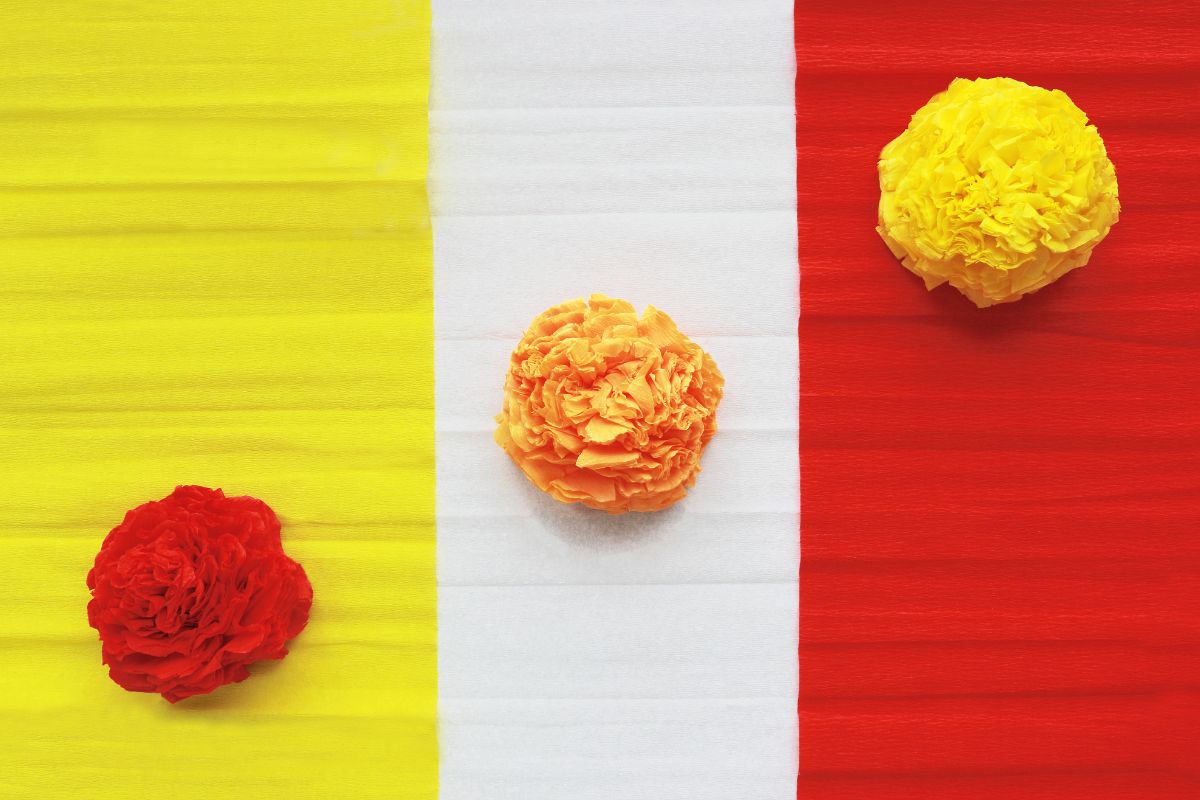
This guide will teach you how to make a more simple medium sized flower which is the perfect starting point when it comes to working with crepe paper.
In spite of this project’s simplicity, it is still a stunning final result, and making these flowers can still be very rewarding. So, if you are intrigued, keep reading!
Choose The Right Crepe Paper
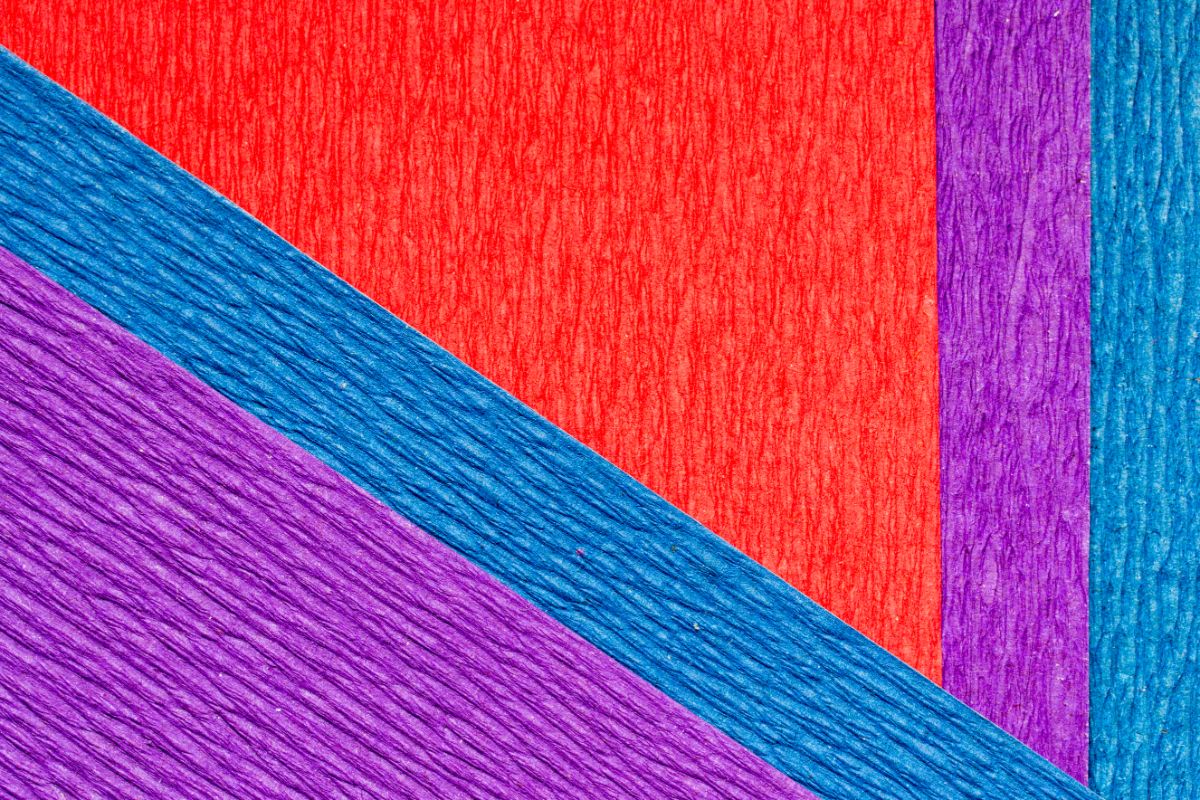
The first thing you want to do when it comes to making crepe paper flowers is to choose the right crepe paper for the project.
You will want to ensure that you are using crepe paper which is more heavy and good quality. This is because of the size of the flower petals we are creating. We want these petals to be able to hold their shape, and to do this they will need some good structural integrity.
Because of this avoid just using more lightweight thin paper. If you are not familiar with the different types of crepe paper, then we recommend talking to staff at your local craft store and they should be able to point you in the right direction when it comes to the crepe paper you need for this project.
If you are looking for a good reference point for the flower design you are trying to work with, the design we are making is based on peonies, specifically the shape of the petals of a peony.
However, the stretching technique which we are going to teach is used in a lot of crepe paper crafts especially when creating flowers.
There are some common mistakes you can make when working with crepe paper, because of this, work slowly the first time and ensure you are not making any simple mistakes. For this project we recommend that you use crepe paper which is between 140 and 180 gsm.
Prepare Your Base
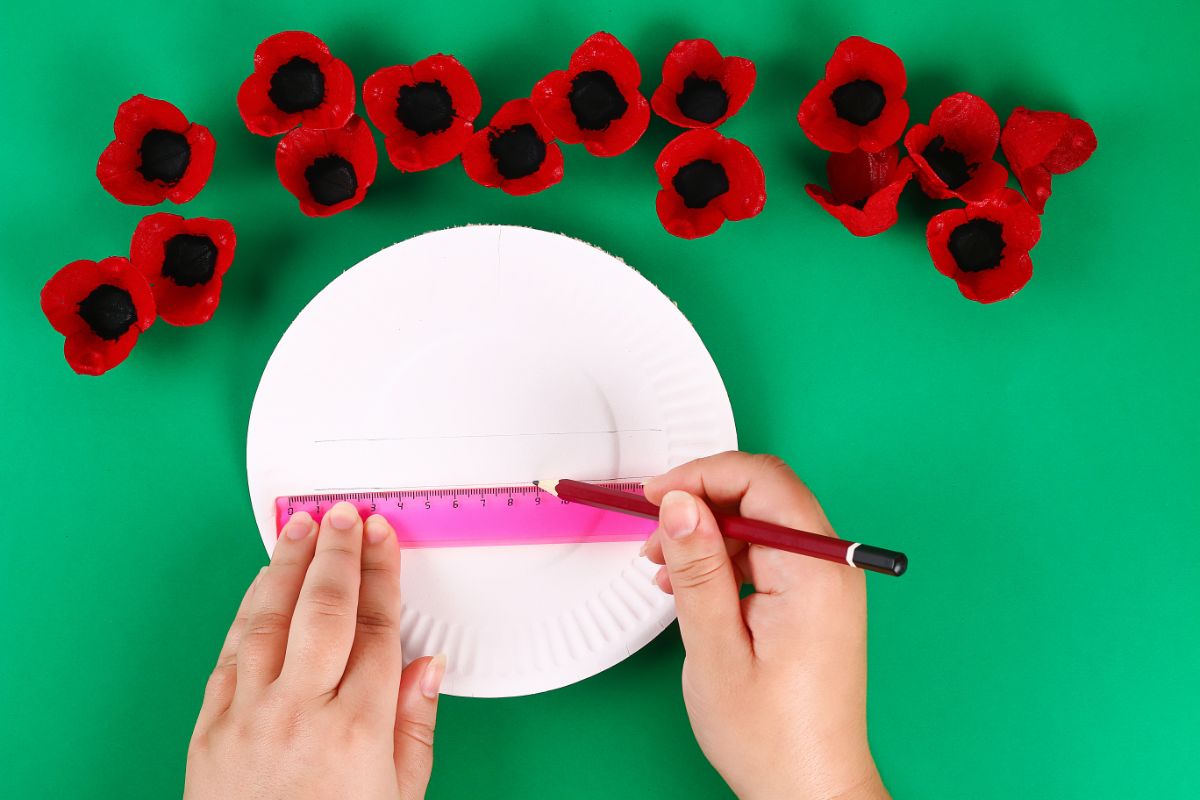
Once you are happy with the style of crepe paper you have chosen, you will need to get a heavier piece of cardstock, or just cardboard for making your base with.
The main thing to keep in mind with the base is that you want it to not be flimsy and to be thick. If you end up using paper which is too flimsy and thin for the base, then your final product will struggle to hold its shape and will eventually fall apart.
Because of this make sure you end up choosing something more solid. Once you have sourced a strong enough base, you want to make a base which is a circle which is about 4 inches or 10 cm in diameter. We recommend you find a circle shaped object you can use as a stencil.
Candle lids for smaller candles often work great for this! Once you have done this, glue the base circle onto the base color crepe paper for the flower and then cut off the excess around it. This gives the base the right appearance for the flower project.
Cut And Stretch Your Petals
To make this part of the process as simple as possible, we recommend that you cut your paper roll in half first.
Once you have done this you want to measure your petal crepe paper into pieces that are 7 inches in height, and cut this height strip along the length of the roll, then end up cutting this strip in 3.25 inch wide blank pieces.
You should be able to get about 15 pieces by cutting the paper up like this. Then you want to cut a strip which is 6.5 inches high, then cut this into 10 pieces with a similar 3.25 inch width.
Once you have got all these blanks, make sure to keep the different heights separate since they can be a little easy to mix up. Once you have each of the blanks prepared you can cut these into metals.
Because the shape of these petals is quite simple you do not need to use a stencil like you would for cardstock flowers. We recommend as a time saving tip that you cut 2 petals at once.
This will save you a lot of time, but try not to do more than 2 at a time since this can be a lot trickier to cut and the edges of the paper will not be as crisp either.
So to do this fold two of your blanks in half and step from the lower edge at about half an inch. Then you want to cut up to the middle spot and then around the top of this.
This way you will get a tall tear shaped petal with a flat base to make it simple to work with. Once you have got your petals you will then be at a point where you can shape the petals.
To do this you want to twist the upper edge of your petal. We do this to help with making the petal look a little more natural than it would flat.
You will want to gently scrunch and twist the top as this will make the petal curly. We recommend lightly testing on a couple, and maybe make a couple extra petal blanks the first time so you can get it just how you like.
You could even leave it flat, or you can make it as curled at the top as you want. Once you are happy with the curling or lack thereof at the top of the petal we can stretch them.
You only want to stretch the middle part of the petal and you want to avoid stretching either the top or the bottom of the petal. Make sure you are not overstretching the crepe paper either.
You want to stretch the crepe paper smoothly and evenly, and then just keep doing this for all the petals. Once this is done you are ready to assemble the flower.
Assemble Your Flower
Each row of your flower will be made of five petals. You want to flip the base and evenly distribute 5 petals so they will curl around into the front.
Then you can turn it over and keep doing rows on the front. Do this with 5 rows until they are all overlapping in the center giving you that delicate flower shape.
Finishing Touches
For the center use a different color of paper to make a pistil and stamens. For the pistil use 3 strips being 4 inches long and 0.75 inches wide. Curl these into a stamen shape and then surround these with a fringe strip to create the stamens!

In an effort to get them to avoid excessive screen time ( and arguing! ) I turned to more creative avenues that we have all since grown to love.
I created this website in the hopes of inspiring more families out there to enjoy crafting and enjoy a shared bonding experience over it.
Please enjoy it and hopefully, you’ll find something to make that you can display proudly forever!
- Master Crochet Stitches for Cozy Creations - January 23, 2024
- Half Double Crochet Guide for Cozy Creations - January 23, 2024
- Elevate Your Space with Unique Macrame Creations - January 23, 2024
