Copper is one of my favorite metals for jewelry design. Wire wraps are easy to shape, look fantastic, and allow you to get really creative; however, I find that the bare copper finish doesn’t have a lot of synergy with the rusticity of wrap designs.
The solution? Using liver of sulfur to give the design a found-in-the-earth aesthetic with a synthetic patina. It’s super easy to do, and the results can be truly breathtaking!
However, it’s a process of many steps that must be followed in order, otherwise, you risk completely ruining your jewelry and having to start again from scratch — Boo!
Not to worry, though, as I’m going to guide you through the process right here, right now. Stick with me, and that new design of yours will be looking like a gorgeous ancient treasure in no time!
What You’ll Need
Before we dive into the guide, you’ll need to amass the following:
- Liver of sulfur — can be purchased in gel form or as a solid. I much prefer the gel, but each to their own.
- Two plastic containers big enough to submerge your entire design in
- Some hot water
- Baking soda
- A piece of plastic ctlery
- A tumbler or manual cleaning equipment
Synthetic Copper Patina Using Liver Of Sulfur: A Step-By-Step Guide
With all the bits and bobs ready to go, we can finally begin the beautification process — Hooray!
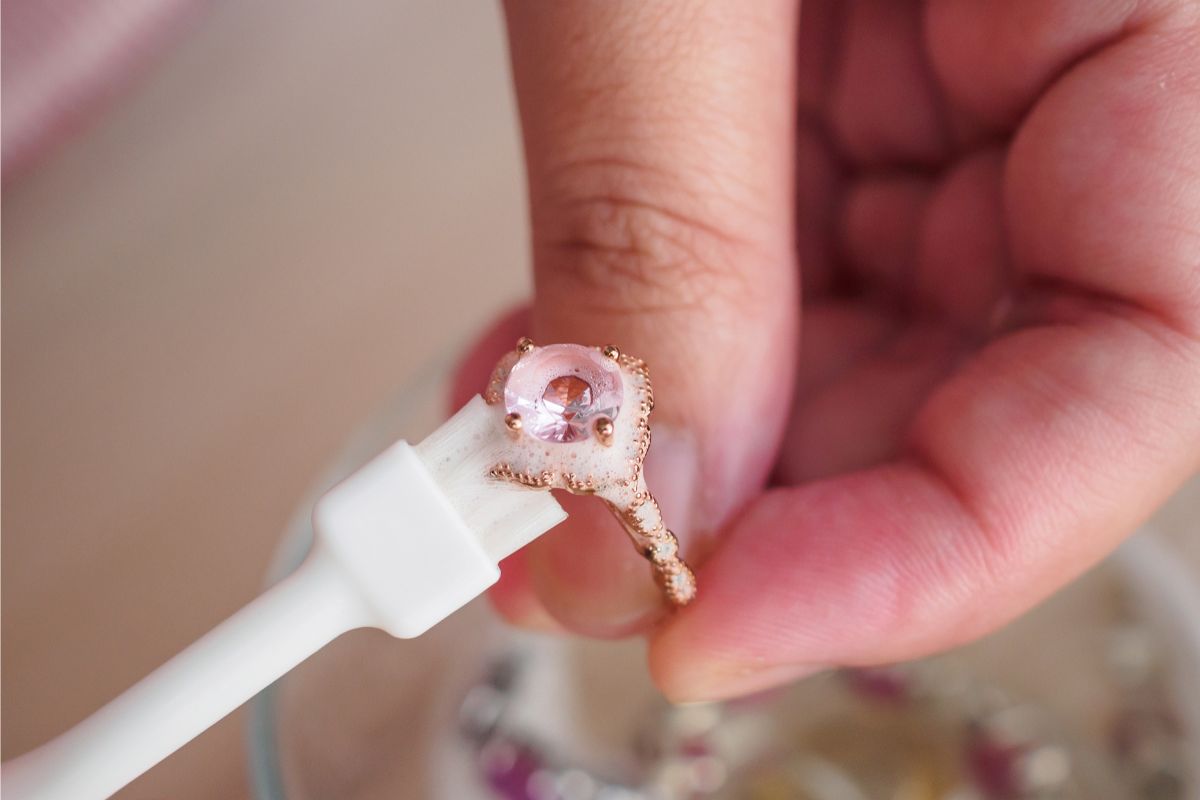
Step 1 — Cleaning Your Jewelry
First thing’s first; you need to get that piece of jewelry squeaky clean and polished. I use a tumbler for this, but you can absolutely do it the manual way if that’s your only option.
You need your copper to be completely stripped of debris in order to patina it evenly, so give it a good once over before moving on to the next step.
Step 2 — Preparing Patina Solution
Take one of your plastic containers and fill it with enough water to cover your jewelry, but don’t put your design in just yet.
Grab your liver of sulfur and add a few drops to the water. And when I say “a few” drops, I really mean it. You won’t need more than three.
Once it’s in there, use a piece of plastic cutlery to agitate the solution until it’s a solid yellow color throughout.
This stuff really stinks to high heaven, so even though it’s not toxic, do yourself a favor and prepare the solution in an extremely well-ventilated area.
Step 3 — Submerging Your Copper
Now’s the time to let the liver of sulfur do its work, but before you do, be sure to find out if any gems, crystals, or other minerals incorporated in your design can handle the dip.
When you’re ready, carefully place your jewelry into the liver of sulfur, then shift it about in the container using your plastic cutlery. This ensures any air bubbles are shaken loose and the liquid reaches all accessible surfaces.
Step 4 — Recovering Your Copper
Copper only needs a few seconds to pick up a patina in liver of sulfur, so don’t go anywhere. After 15–30 seconds, use plastic cutlery to recover your jewelry.
Note that if you’re after a very subtle patina, you should retrieve the copper earlier, and if you like a particularly dark patina, you should leave it in for a few seconds longer.
I much prefer a darker shade, as it gives the wire more depth after scrubbing and polishing. If you’re not sure what you’re after, play it by eye. When it reaches a shade that you like, pull it out.
Step 5 — Preparing Your Neutralizing Bath
This sounds more daunting than it is. All you need to do here is grab your second plastic container, pour in some hot water, stir in a couple of teaspoons of baking soda, and voilà; that’s your neutralizing bath sorted.
Step 6 — Neutralizing Your Copper
Drop your jewelry into the neutralizing bath and let it rest for 3–5 minutes.
Step 7 — Rinse Your Copper
Remove your jewelry from the neutralizing bath, give it a rinse under some running water, then towel it dry.
Step 8 — Prepare Your Steel Wool
Grab some fine steel wool (I use #0000), add a few small drops of dish soap, hold it under a tap with a trickle of water flowing, then squeeze the wool between your fingers to get a good lather going.
Step 9 — Scrubbing Your Copper
Using your sudsy steel wool, gently scrub the entire surface of your jewelry. Don’t worry about getting in all the nooks and crannies; a few general passes with the wire wool will be sufficient.
The goal is to reveal the natural hue of the copper on the most visible surfaces, while the hard-to-reach areas stay dark and shadowy. The longer you scrub, the more contrast between light and dark you’ll achieve.
To monitor progress, periodically rinse the soap from your piece so you can see it clearly.
Step 10 — Rinse & Dry
No special techniques here — Once you’re happy with the shading on your piece, rinse it well then towel it dry.
Step 11 — Polishing
Your design should be looking pretty awesome by now, but it could be better!
Polish it to a shine to really bring it to life. Again, you can use a tumbler or simply polish manually. As long as you attain that super eye-grabbing finish, it’s all good.
It will still look antiquated when polished, as the gradient between bare copper and the patina will be present; however, it will have a satisfying luster that serves to emphasize the play of light and the darkness of shadows.
Step 12 — Disposing Of The Liver Of Sulfur Solution
When you’re done with your patina solution, place a lid on the container and allow it a few days to self-neutralize. Once it’s clear with a white surface, it’s ready to be poured down the drain.
Final Thoughts
You can make some truly stunning pieces with this patina method, and as you now know, you don’t need much practice or equipment to do it well, which is definitely a bonus.
It’s a fantastic way to add a unique element to your identical designs, giving each of them that something special the wearer will really appreciate, even if you make and sell them en masse.

In an effort to get them to avoid excessive screen time ( and arguing! ) I turned to more creative avenues that we have all since grown to love.
I created this website in the hopes of inspiring more families out there to enjoy crafting and enjoy a shared bonding experience over it.
Please enjoy it and hopefully, you’ll find something to make that you can display proudly forever!
- Master Crochet Stitches for Cozy Creations - January 23, 2024
- Half Double Crochet Guide for Cozy Creations - January 23, 2024
- Elevate Your Space with Unique Macrame Creations - January 23, 2024
