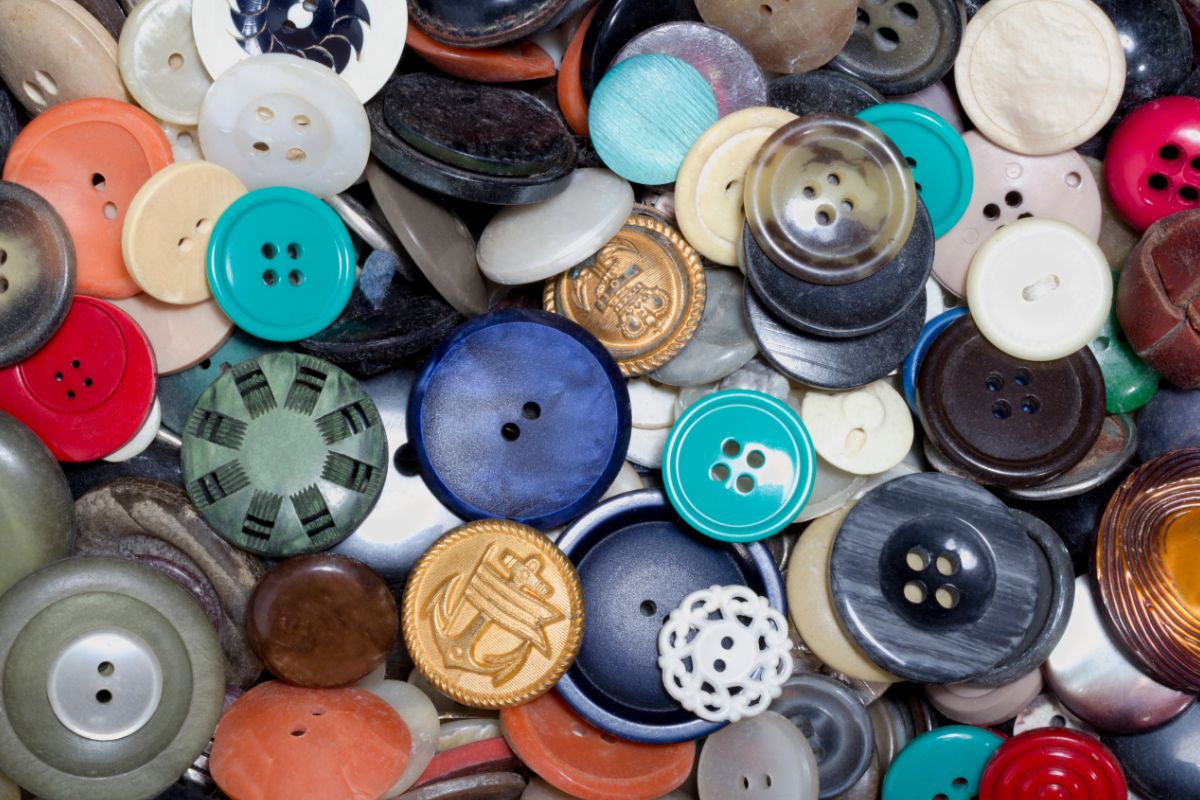
Buttons are a great way to express your individuality, so why not try making your own at home? They’re easy to make and can be completely customized in any color, pattern, or size you want!
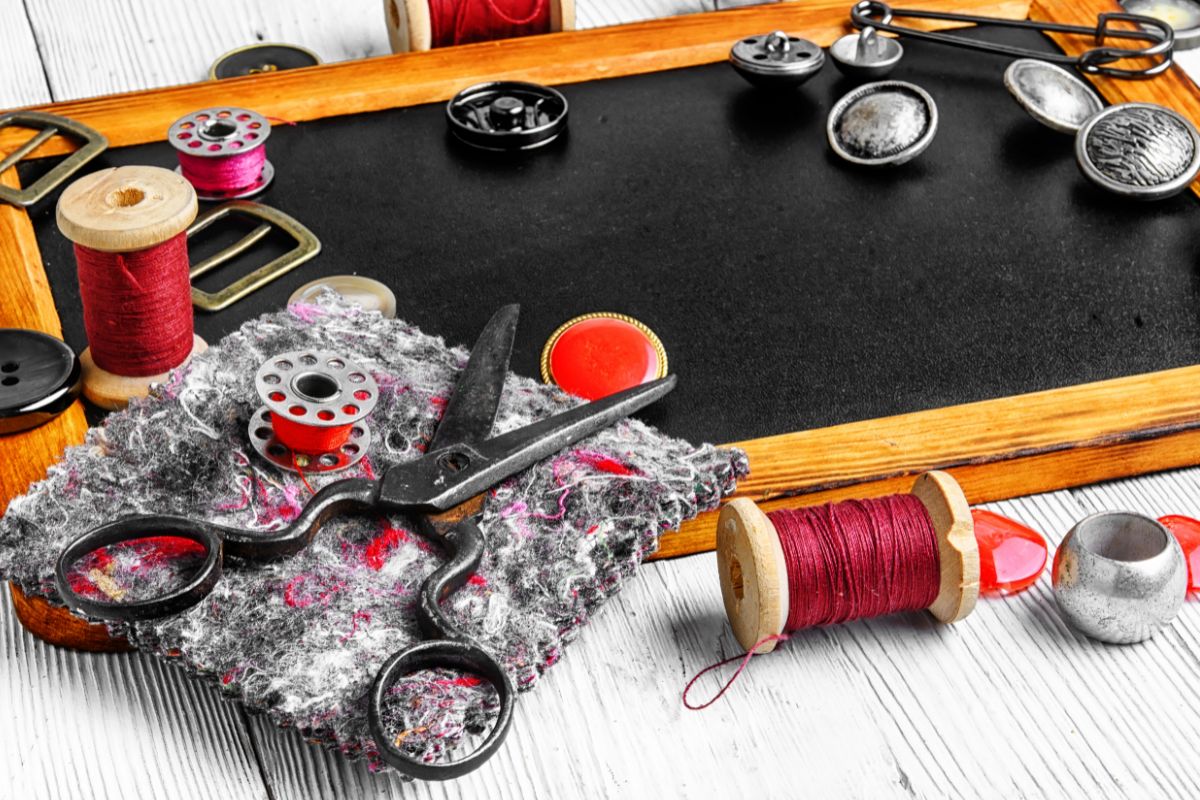
If you want to learn how to make your own buttons, we have this incredible guide to help you do just that. We’ll tell you all the materials you’ll need, how to make buttons, both with and without a machine.
How To Make Buttons Without A Machine?
If you don’t have a button maker and don’t plan on purchasing one, you can make simple buttons using supplies you can get from any craft store. With a bit of practice, you’ll be able to create some decent buttons.
What You’ll Need?
- Paper button template, can be found free online
- Printer or markers
- Snap-in button casing
- Pin back, if not included with casing
- Scissors or circle cutter
Directions
- Create your button design. You can either print out your paper template and draw straight onto the paper with a marker, or you can create your artwork on a design program, like Photoshop, and print it out. Make sure that your design fits the size and shape of the button casing, then cut it out.
- Open the snap-in button casing. You can find these online or at your local craft store. They should include a back with an opening for the pin and a plastic front.
- Place your design in the button. Make sure it’s the right size and fits well against the clear plastic front. Then, snap the backing onto the pin.
- If needed, insert the pin into the backing. The pin backing might not have the pin attached, so if it doesn’t, insert the pin provided into the opening.
How To Make Buttons With A Machine?
Making buttons with a machine is sure to give you some good results. They are slightly more complex than making buttons without a machine, but with our button maker buyer’s guide below, you’ll be able to find one that’s perfect for you.
What You’ll Need?
- Paper button template, can be found free online
- Button maker
- Scissors or circle cutter
- Button base, backing, and plastic cover, should be included with the button maker
Directions
- Purchase a button maker. You can find button makers of varying qualities online, however, if you want to make lots of high quality buttons, we recommend doing your research to find something that will give you a good final product.
- Using your template, cut out the design you created earlier. Make sure it’s the right size and shape before cutting it.
- Place the button base in the button maker. Place the base on side one of the machine.
- Place your design on top. There should be lines on the side of your button maker to help you center the design properly.
- Place the plastic cover on top. This is also called a mylar circle.
- Position your machine. Some button makers have a rotating function. If this applies to yours, rotate the base so that the design is under the press. Others have a sliding mechanism, so slide the base under the press if you have this kind of button maker.
- Pull the lever down. Hold the base and pull down the lever until you feel some resistance.
- Take the backing. The backing will have two different sides; one side has the pin and the other has a zig-zag wire or metal bar. You should have the pin side facing down and the bar or zig-zag facing upwards when placing into side two of the machine.
- Rotate or slide the base again. The backing should then be under the press.
- Pull down the lever again.
- Rotate or slide the base once more. This will reveal your new button!
How To Make Cloth Buttons?
These cloth buttons are the perfect answer if you have any leftover fabric. They look so cute, easy to make, and best of all, made of recycled materials!
What You’ll Need?
- Pencil
- Fabric
- Scissors
- Metal self-cover buttons
- Strong glue
- Pin backs
Directions
- Create your template. Draw a circle around the button, allowing some space around the perimeter, on the fabric after removing the wire from the interior of the button’s front.
- Position the fabric. Align the front of the button after placing the fabric face down on a level surface. Adjust as necessary by hooking the extra cloth over the button’s back. Once everything is lined up, slide the back of the button over the top and secure it.
- Glue the pin back. Use glue to attach the pin back to the back of the button, making sure it’s centered, and give it some time to dry.
How To Make Bottle Cap Buttons?
Bottle caps always go to waste, so why not repurpose them into a cool button? What better way to pay homage to your favorite beverage!
What You’ll Need?
- Bottle cap
- Custom design on paper
- Scissors or circle cutter
- Pin back
- Hot glue
- Mod Podge
Directions
- Prepare your design. Choose your design and cut a circle that fits your chosen bottle cap.
- Add Mod Podge. Apply a small amount of Mod Podge inside the bottle cap.
- Position your design. Place your design into the bottle cap and cover with more Mod Podge.
- Smooth it out. Poke the air bubbles with a toothpick to get an even surface once the paper is covered with Mod Podge.
- Allow to dry. Let the bottle cap dry overnight.
- Glue the pin back. Using hot glue, adhere the pin back to the other side of the bottle cap.
What To Look For In A Button Maker?
If you want to make lots of buttons, then you should definitely look for a button maker that can get the job done well. Here are some things you should consider when looking for the best button maker for you.
Purpose
You must first take into account why you are purchasing the machine. You should select the top-of-the-line, high-end units if you want one for your business. However, if it’s for your routine DIY projects, you can choose a basic device, which shouldn’t be too expensive.
A high-end button maker can endure several uses without losing strength. However, frequent usage of a basic button maker is not recommended.
Easy Of Use
Purchasing a button maker that is overly complicated if you have no idea how to use it is pointless. Therefore, you need to find a button maker that you can use without getting stressed out.
It needs to be simple to put together and operate. The maker must include an understandable set of instructions if you are absolutely unfamiliar with this kind of equipment.
Construction
The machine’s durability will depend on its material. To ensure a button-making machine lasts a long time, we advise choosing one constructed of cast iron, stainless steel, or aluminum. Never choose anything other than metal for the sliding plates.
This increases its sturdiness and resilience. Acrylic or plastic can be used for the base, but if you can find a high-quality button maker that is entirely made of metal, you should pick that one over all others.
Sizing
Another factor to consider is the size the button maker allows. You should choose a machine that can handle nearly any button size if you work in the apparel or fabric industry. There are various buttons that range in size from 1.5 inches to 3 inches.
A good machine should include replaceable molds that let you customize the button’s diameter. Even varied button shapes can be accommodated by some machines. When picking a button maker, you should unquestionably look for this feature.
Cutter
You can trim the button to the correct shape with the circle cutter on the button making machine. Although it’s not a requirement, this feature is worth taking into account if you want your buttons to have a distinctive round shape.
You should pick a machine with a separate cutter if you want it to have this capability. As a result, some will be sold without a cutter, while others will have one attached.
Using A Button Maker Safely
It’s true that button-making machines appear simple and safe to use. However, you must exercise caution when using these tools. Having said that, here is some advice on operating a button maker machine safely.
- Children should be supervised when using the machine to avoid accidental injury. You should also not leave the machine alone with a child.
- Button making involves small parts, so keep children away from them to minimize the risk of choking.
- Handle the pins with care to avoid getting pricked.
- Throw away any pins that have caused injury.
- Watch your fingers near the dies, especially when you press the lever down, to avoid injury.
- Keep your button maker away from the edge of the table when using it. It can easily fall over the edge when the lever is pressed down.
- Use the right size pins for the button size so they don’t prick you when being worn.
- Do not store the machine somewhere that you’ll struggle to get it down from. These machines can be heavy and leave you with a nasty head injury if you have to reach up high to get it.
- Always carry the button maker with both hands so you don’t drop it.
- Follow the instructions on the assembling guide of the button maker and take notice of the manufacturer’s safety instructions.
Final Thoughts
It doesn’t matter whether you have a button maker or not; you can still make some amazing buttons to show off your individuality and style! With this guide, you’ll be able to make all kinds of buttons and find the perfect button maker if you want to take your button making to the next level!

In an effort to get them to avoid excessive screen time ( and arguing! ) I turned to more creative avenues that we have all since grown to love.
I created this website in the hopes of inspiring more families out there to enjoy crafting and enjoy a shared bonding experience over it.
Please enjoy it and hopefully, you’ll find something to make that you can display proudly forever!
- Master Crochet Stitches for Cozy Creations - January 23, 2024
- Half Double Crochet Guide for Cozy Creations - January 23, 2024
- Elevate Your Space with Unique Macrame Creations - January 23, 2024
