This is a fun, creative, and engaging activity suitable for all ages. Cotton swabs are readily available and easy to come by. You can make any number of them as a group.
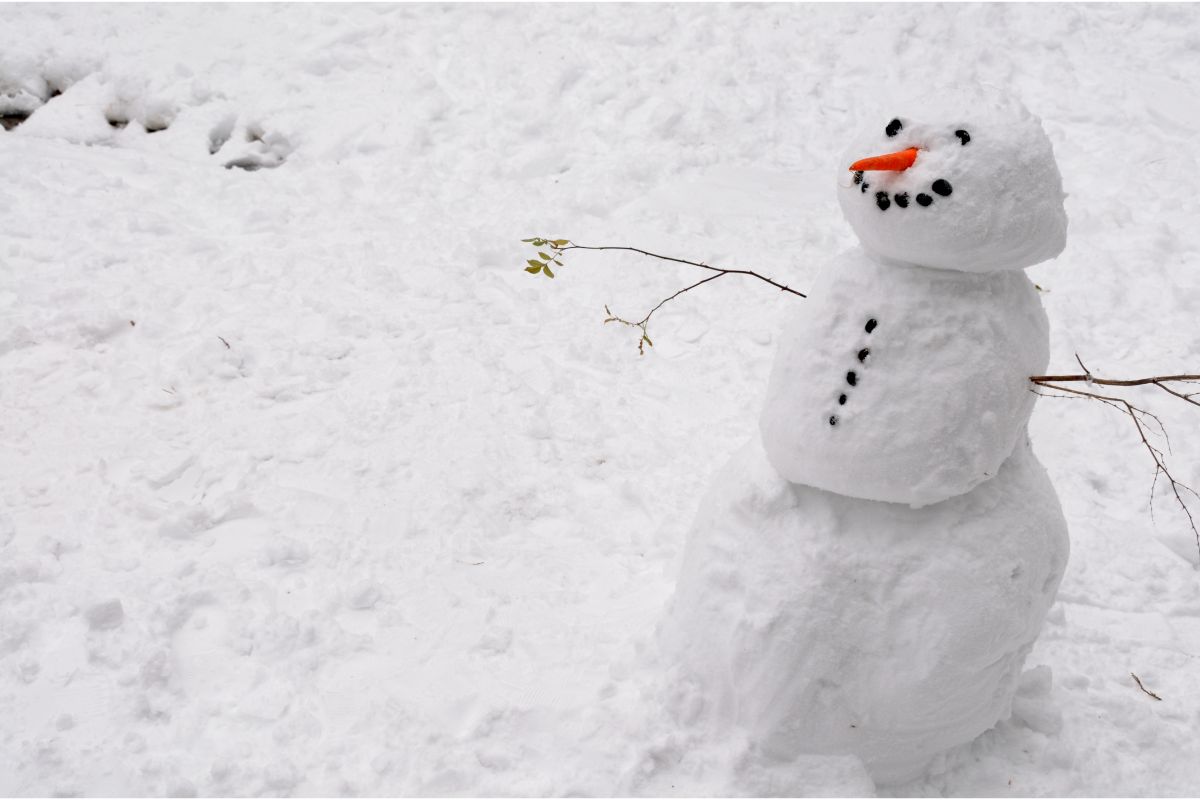
This is a fun snowman craft to make. You can make it with just a few materials. This is a great craft to bring in the winter. This snowman is perfect to decorate the fireplace.

This guide will be covering everything you need to know about making your decorations, specifically making a cotton swab snowman painting.
This can be a great opportunity to get the supplies out and get in the mood for Christmas properly. These are also some great decorations on a budget, find out more.
Snowman Painting
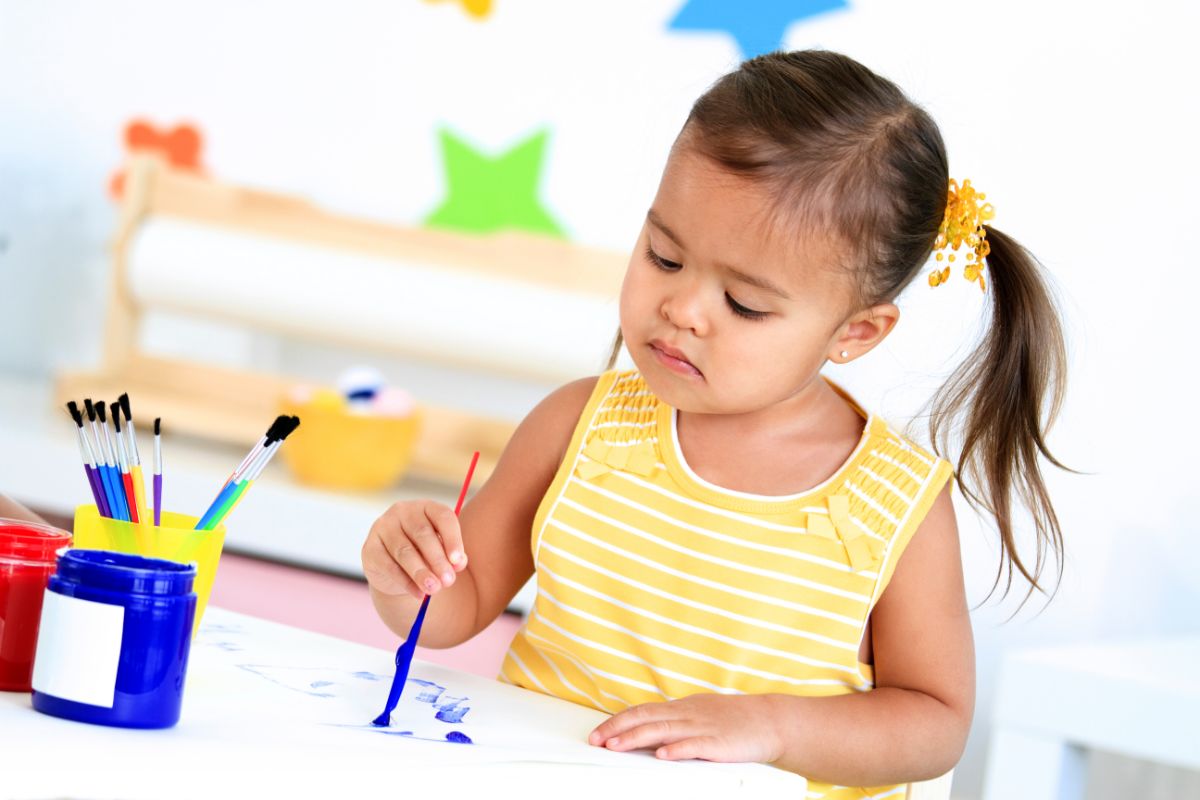
This is a great project to get your children excited about Christmas and also get them working on their creativity.
Supplies
- Full sheets of construction paper, one per child
- White and black paint
- Cotton balls
- Clothespins
- Cotton swabs
- Gluesticks
- Small pieces of orange, black, and brown construction paper
Step-By-Step Guide
1. You will first need your construction paper. Draw out three different pieces – one small, one medium, and one larger circle. This will be the main structure for your snowman.
You can make these circles with a template to make sure they are perfect, or you can free-hand them.
2. Now you can move on to painting the snowmen white. For this, you won’t be using paintbrushes, but you can make your own to add to the fun. All you have to do is add cotton balls onto clothespins.
Once you have made your ‘’paint brushes’’ you can dip them in white paint and cover your snowman shape.
3. Now you can move on to using the black paint which will be used for the eyes. You can use a cotton bud for the eyes because it will be easier to make small circle shapes.
4. You will have to wait until after this. You need a decent amount of time for the paint to dry before you can start decorating anymore. This is the perfect time to grab yourself and the kids something to eat or read a book with them.
This will not take too long, just make sure you’re not in a really cold room.
5. For the nose, you will have to cut out the triangle shapes for children who are very young or have some safety scissors ready for older children. You can then glue these onto the dry snowman in the place you want them.
You can also cut out small, black hats to fit on the top of your snowmen.
6. This is now the opportunity to either give your children all of the pieces to glue down or help them cut out the shapes.
This is a great project where you can just leave the kids to it. It is one of the best ways to get them to be creative and crafty all on their own. You need to let their imagination run wild, let them create their masterpiece.
You can also give them lots of different decorations to make their pieces their own and more unique. You can add glitter, diamontes, pipe cleaners, and many other options to help your children make it pretty.

Tips To Remember
Remember to get some safety scissors if you want your children to cut their shapes. It all depends on their age, but it will help them learn more about cutting skills and different shapes on their own.
You also need to remember to talk them through everything because this is a great learning process for your children. You need to help them understand everything that is happening and what everything is.
They will be able to remember this every year at Christmas time, and it could even become a tradition for you.
Remember that you will need different colored pieces of paper. You will need paper for the template, orange paper for the nose, and black for the hat. You can use any paper and color them in if you don’t have time to go out and get them.
You also need to remember to make the snowman’s arms. This will be the same process. You can either get the specific brown paper for the branches, or you can color them in.
This is also great for kids’ motor skills and it might even be the first time they have used safety scissors or have done any craft before. They will learn how to glue, how to cut, and different shapes.
It will also help with their listening skills because they need to learn the process of it all and figure out what they are doing.
Conclusion
Overall, this is a great opportunity to get active with your children in terms of arts and crafts. This will allow them to learn some great motor skills while also having lots of fun.
Make sure you are prepared before you start the activity because it can become a messy one with paint if you do get an old sheet and place it on the floor and the table.
Hopefully, this guide has provided you with a clear step-by-step guide on how to have lots of fun with your children while you watch them create something great!
It is important to start little traditions in your family which include crafty projects around Christmas time that you can look back on and smile.
These are also the perfect projects to keep hung up around your home and you can track them every year to look at how they change. You could even look at doing different projects like Christmas trees and elves – the list is endless.
The main part is the fun and learning of beneficial motor skills.
- Master Crochet Stitches for Cozy Creations - January 23, 2024
- Half Double Crochet Guide for Cozy Creations - January 23, 2024
- Elevate Your Space with Unique Macrame Creations - January 23, 2024

