Do you want to make a reversible knit hat but don’t know how? Maybe you are looking for something new to create with your Sentro knitting machine?
Or are you curious and want to know more? No matter the question that brought you here, we have the answers for you!
Learning how to make a knitted hat, especially a reversible one can be tricky. Even with a knitted machine and plenty of tutorials in your back pocket, you can easily find yourself overwhelmed.
So you head online for some clarity, but are met with conflicting advice that leaves you even more confused!
Frustrated, you wonder if you will ever know how to make a reversible knit hat with a Sentro knitting machine.
Well, no more! Today, we are here with the answers you need. Keep reading to find out how to make a reversible knit hat using your Sentro knitting machine.
We have all the information you need and a step-by-step guide that you can follow. Today, you will become a knitting machine expert!
What Is A Sentro Knitting Machine?
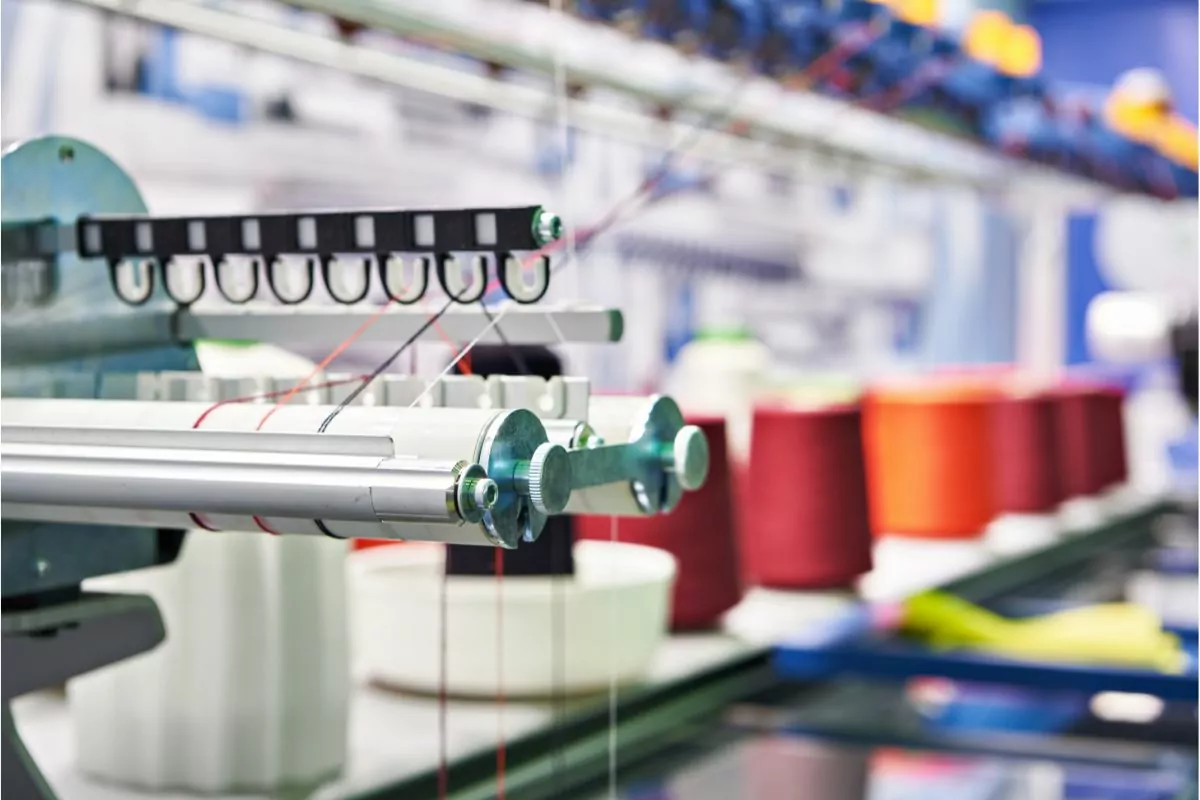
Before we dive into the article, let’s have a quick recap for those that need it. The Sentro knitting machine is an affordable hand crank knitting machine.
The circular knitting machine allows you to spin knit projects easily.
If you want to create knit projects and fiber crafts quickly, then it is the machine for you!
The machines come in a range of needle sizes, allowing you to create different sized projects with ease. We have the 48 needle machine, which is the largest and perfect for adult-sized hats or larger crafts.
What we love about the knitting machine is how affordable it is. It’s ideal for any budget. There are other affordable options out there too like the Loops and Threads Knitting machine and the Addi Knitting Machine.
These are all good options, but we do prefer the Sentro. Make sure you opt for the Sentro with the row counter.
It automatically keeps track of the number of knit rows, saving you the need to keep track or use stitch markers.
What Is A Reversible Knitted Hat?
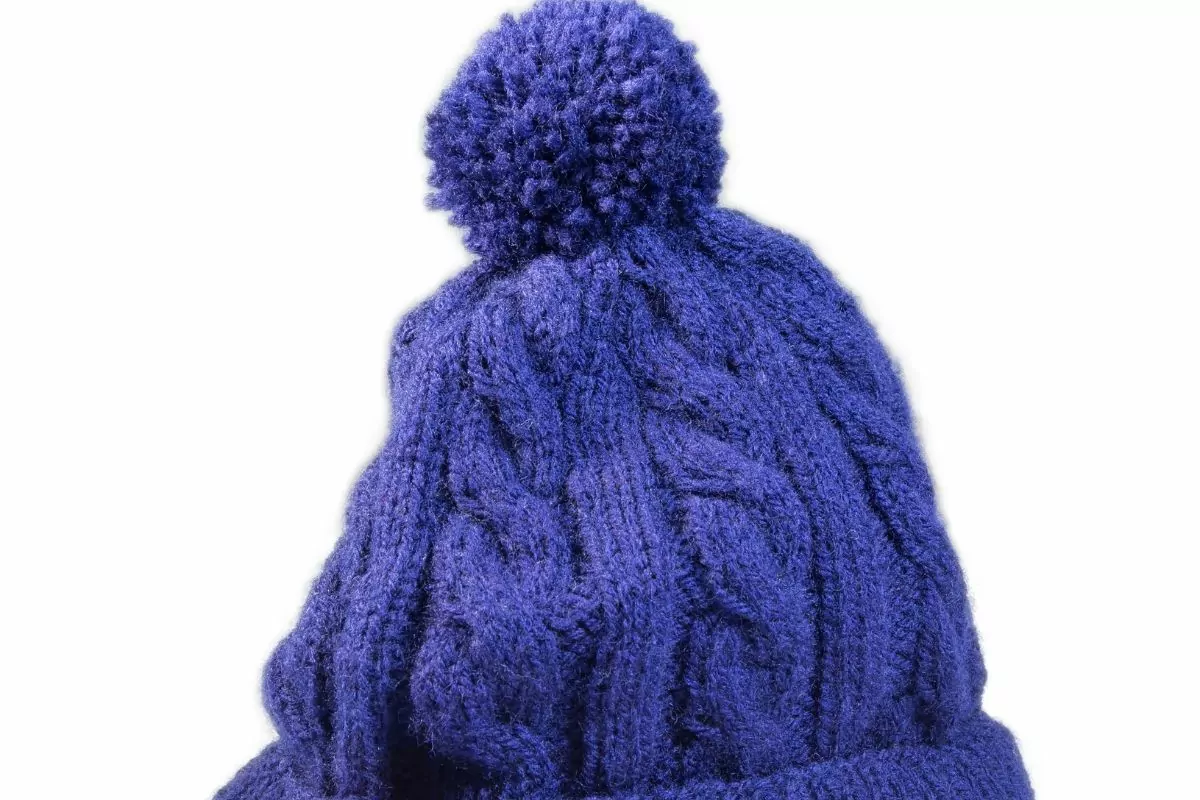
This might seem self-explanatory, but a reversible knitted hat is a knitted hat that is reversible. It allows you to wear it two ways, giving you plenty of options!
Reversible knitted hats are typically beanies but can be any shape that can be turned inside out.
The inside color and pattern can then be worn, essentially giving you two hats in one! It’s a wonderful craft to create and makes the perfect gift for friends or family.
Typically, reversible knitted hats will have a light color on one side and a dark color on the other side.
This gives you two options, allowing the hat to be worn with a range of colors and patterns. Simply turn the hat inside out and you have a new one to wear!
What Do I Need To Make A Reversible Knit Hat On A Sentro Knitting Machine?
Now that we have done our recaps, let’s dive into what brought you here! Below we have a list of the materials you need to create the reversible hat with your knitting machine.
Most of these can be purchased easily in store or online, allowing you to get your craft started as quickly as possible! Let’s take a look at what you need with our list below.
- Sentr Knitting Machine (we used 48 needle size)
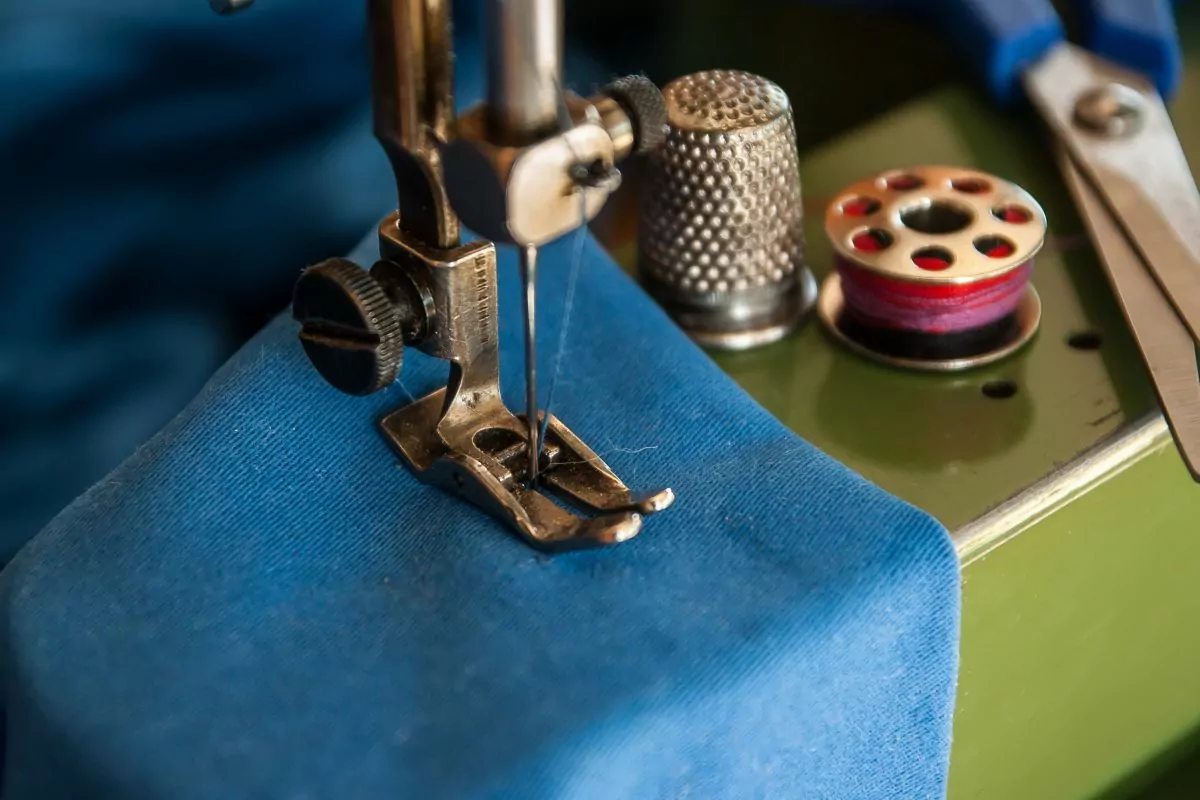
- Plastic needle (this comes with your machine)
- Scissors
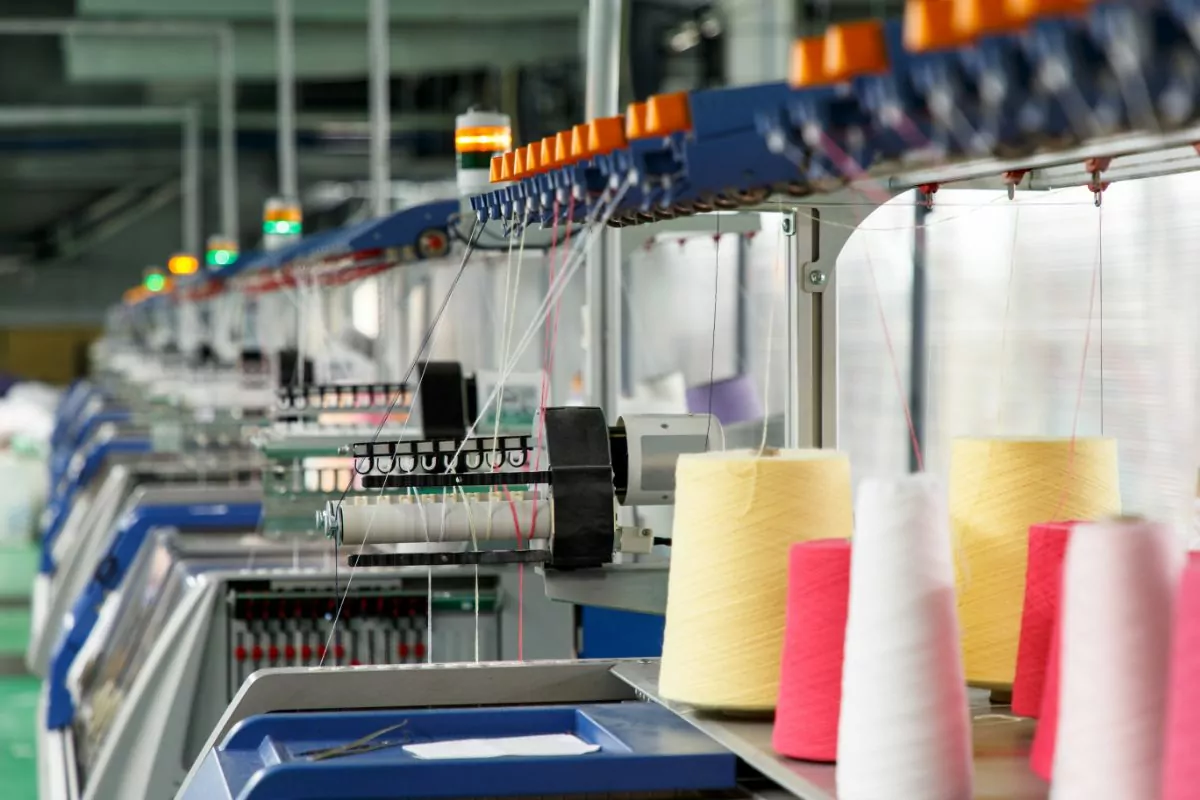
- Yarn in two different colors of your choice
- Yarn bowl
As you can see, you don’t need much to make your hat! We recommend you opt for worsted weight or thinner when choosing your
This is the best thickness for your hat and will allow you to create it easily.
We found it best to use three strands at a time of fingering weight alpaca
You also don’t need a
You can usually find these at an affordable price in craft stores or online if you would like to use one.
Once you have all your materials ready, be sure to lay them out on your table or surface you are using. This allows you to have everything you need within easy reach, making it even easier for you to make the hat.
How To Use Sentro Knitting Machine To Knit A Tube
Now that you have your materials, it is time to get to grips with your knitting machine and start knitting! The following step-by-step guide will show you how to knit a tube with your Sentro knitting machine.
Once you have mastered this, it can be used to create a reversible knit hat or any other craft you like. So let’s check out how you can do this now.
Step 1 – Select Your Setting
No matter the project you are making with your circular knitting machine, they all start the same way.
To start, you need to clear your row counter. You do this by pressing the black button next to the counter. Next, set the machine to T for the tube.
Step 2 – Knit The First Row
Knitting the first row on your Sentro knitting machine is different to your other rows, so make sure you follow our guidance carefully. The first three to four rounds are the most important, so be sure to take extra care!
To start the first round, find the white needle and place it in front of the
Next, measure a foot of
The white needle is your starting and ending point so make sure you can knit a complete row with the
We used three strands of
If you plan to use two strands of
Next, turn the crank on the knitting machine slightly. You want the next needle to move in front of the
This is where we recommend using a
You can use any bowl you have to hand, or purchase a
Turn the crank again to move the next needle in front of you. The
As you pass the
Be sure to check as you are passing the
Continue the pattern of passing the
Odd numbers are for the
Keep the pattern going until you reach the white needle again. At this point, the counter will now read 001. Make sure to check that all your
Step 3 – Knit The Next Few Rows
Now that the first row is complete, it is time to knit the other rows! Instead of alternating between passing the
Work slowly why you do this. Crank the machine slowly as you move around the machine, checking that the
Repeat until you are back at the white needle. At the end of the second row, you will not need to hold the
You can pull the
Step 3 – Put Your Yarn In The Tensioner
Once the
Each hole provides a different level of tension, giving you plenty of flexibility and variety for other projects. Set the
Once it is set, you can crank the knitting machine for another few rounds. As you go, work slowly, checking for dropped stitches.
We recommend taking your time on the first three to four rows. These are the most important and where you don’t want any mistakes!
After this point, you can work a little quicker. You will most likely have fallen into a routine by then, making it easier for you to work quickly too.
And that is how you knit a tube using your Sentro knitting machine! It’s not as tricky as you first thought, is it? From here, all you need to decide is what project you want to create!
We carried on from this point and created a reversible knitted hat. So let’s carry on and get you the steps you need to follow to do the same.
How To Knit A Reversible Beanie With A Sentro
Let’s dive into it! To make your beanie, you will need to have completed the three steps we showed you above.
If you have not done so, check them up above and return here once you have done all three steps.
Once you have, you can follow these steps below to create a reversible beanie using your Sentro knitting machine!
Step 1 – Knit 50 Rows
You will need to use the instructions from our earlier steps to knit a total of 50 rows. Use a single color of yearn to do this and continue until the white needle ends on the right.
Cut the end leaving a foot of extra
Remember, we used three strands at once as we were working with a thinner
Step 2 – Change The Yarn
For your hat to be reversible, you will want a different color! So it is time to change the
Place it near the middle of the knitting machine. It should be between the wheat needle and the needle to the left of it.
Take your next color
Next, hold the
We recommend resetting the counter to zero here. This will help you count the rows for your next color without needing to keep track of yourself.
As we are working with numbers that are easy to multiply, you don’t necessarily need to do this, but we found it easier.
Step 3 – Knit 50 Rows
With your next color now in place, you will want to knit another fifty rows. If you reset your counter, you will want to knit until it hits fifty. Or if you haven’t reset it, you will want to continue until the counter reads 100.
End the last rows with your
Measure another 2 feet of this
Step 4 – Remove The Hat
Next, you need to remove the hat from the Sentro knitting machine. To do this, thread your plastic needle with the
Then, take the needle on the left of the white needle and push the plastic needle through the loop. Move from the middle of the machine to the outside. Next, pull the
Continue doing this for each needle. Lift the loops onto the plastic needle as you go.
After you have done a few of these, you will have more room to work with. You should be able to lift a few loops at once too, making the task even easier!
Take care here though. You don’t want to drop any loops now! Work slowly at the start until you have mastered it, and then you can pick up the pace.
As you gather all the loops, try to keep them fairly loose. This will help us to close any openings without making the gaps too small or tight to work with!
The hat should now come free of the knitting machine and you can finish your hard work.
Step 5 – Finish The Hat
We are almost at the end now! To finish your reversible hat pull the hat inside out and get the ends of the
Tie the ends into a knot. Make sure this is tight and secure, as it will close the loop of the stitch.
You don’t want to tie it too tight or too loose, but just enough that it matches the other stitches in the hat. Once you have made the secure knot, you can cut off the ends.
Next, pull the knit tube out of the right side partially, just so the ends of each color meet. It is now time to close both ends. It is easier to do this one at a time, work slowly here if you have never done this before.
Take one end on the inside and pull the end of the
Make sure you are very careful here! You don’t want to pull the circle too tight as it could break the
Once the hole is closed on the inside, take the end of the
Again, work slowly here to close the side of the second color. Continue to pull carefully and slowly before tying the ends together and securing with a knot.
Next, cut the
Thread your remaining
You will want your needle to come out part way between the beanie and cut off the excess
Now your beanie is complete!
If you want to, you can add a pom pom to the top of the beanie. This does add a nice touch and isn’t too difficult to do. You will do this after the beanie has been completed.
If you have never made a pom pom or attached one to a beanie before, there are plenty of helpful guides and video tutorials online that you can take advantage of!
How Can I Style My Reversible Knitted Beanie?
There are a few ways that you can style your reversible knitted beanie. The first is to wear it in either solid color. If you are using the outside solid color, then you simply pull the beanie on your head and you are good to go!
To wear the inside color, flip the beanie inside out. The inside color will now be on the outside and can be pulled over your head and worn.
Your other option is to create a different colored brim. You can do this for either color. Simply put the beanie on your head and turn up the bottom of the hat. You can turn it up slightly, or create a thick brim, it’s your choice!
This will reveal the inside color and give you a wonderful contrast. You now have a two-color beanie! You can reverse the beanie and do the same too, allowing you to change the color of your hat with ease.
If you plan to wear your hat this way, we suggest you think carefully about the two colors that you want to use for your hat. You want them to be colors that complement each other well.
Consider carefully the color
You can always use the color wheel or color theory guides to help you pick the best colors for your reversible beanie!
Final Thoughts
And there you have it, a step-by-step guide that will allow you to create a reversible knitted hat using your Sentro knitting machine!
As you can see, it isn’t too hard to do, provided that you work slowly and follow the steps that we have given you.
Make sure you check the tension on your machine and that each stitch has gone right down before moving on to ensure that your hat isn’t too loose with any dropped stitches.
Good luck!
Frequently Asked Questions
Before you leave be sure to check out our brief FAQ section to get your last-minute queries answered!
What Is The Difference Between The Sentro Knitting Machine, Addi Knitting Machine, And The Loops Or Threads?
Other than the color, it seems there is little difference between the Sentro and Loops and Threads knitting machines.
The Addi Knitting Machine does have some differences. It is made from metal, offering enhanced durability.
All three of the knitting machines are hand crank machines, but motors can be added if you want to make any adjustments yourself.
If you are planning to regularly use a knitting machine, it might be worth spending more to get the Addi Machine.
However, if you are looking for a machine to use purely for crafting, then theSentro is a wonderful option! It is affordable, just like the Loops and Threads.
Either will be perfect for crafting or use as a hobby, so there is little difference between them.
What Size Sentro Knitting Machine Should I Get?
The size knitting machine you get depends on what you want to use your knitting machine for. Sentro machines come in a variety of sizes, such as a 22 needle, 40 needle, and 48 needle.
To make large adult hats, you will want a 48 machine. Smaller hats can be made with a 40 needle machine. Smaller items again, like stuffed animals, leg warmers, and socks can be made with a 22 needle machine.
Make sure you consider carefully what you want to create with your Sentro knitting machine to buy the right size for you.
Is The Counter Worth It?
Yes, the counter is worth it! It helps you keep track of the rows, preventing you from needing to keep track of yourself. All you need to do is look at the counter and you will know where you are and what you have left to do.
It’s far easier than keeping count yourself, especially for bigger pieces or if you find yourself losing track easily.

In an effort to get them to avoid excessive screen time ( and arguing! ) I turned to more creative avenues that we have all since grown to love.
I created this website in the hopes of inspiring more families out there to enjoy crafting and enjoy a shared bonding experience over it.
Please enjoy it and hopefully, you’ll find something to make that you can display proudly forever!
- Master Crochet Stitches for Cozy Creations - January 23, 2024
- Half Double Crochet Guide for Cozy Creations - January 23, 2024
- Elevate Your Space with Unique Macrame Creations - January 23, 2024