Have you heard about ice tie dye and want to know more? Maybe you are looking for a new craft to try? Or are you curious and want to know more? No matter the question that brought you here, we have the answers for you!
Finding a new craft can be tricky, especially if you are new to crafting.
You will hear about or see hundreds of appealing crafts online, but can never find instructions to go with them! And not everyone likes to follow along to a few pictures.
You search to see if there is more guidance out there, but after hours of searching, you are still without answers. Frustrated and disappointed, you wonder if you will ever find a new craft and instructions you can follow.
Well, no more! Today, we are here with the answers for you. Keep reading for our complete guide to ice tie-dye! This new craft is a wonderful way to tie-dye your clothes and fabrics, creating beautiful new patterns for you to enjoy.
What Is Ice Tie Dye?
Before we dive in, let’s have a quick recap for those that need it! Ice tie-dye is an alternative tie-dye technique that can be used on anything!
The method is different from traditional tie-dye, where you would mix dye powder with water to create a liquid dye. This dye is then added to clothing, one color at a time.
But with ice tie-dye, you don’t mix the powder with water. Instead, the powder is sprinkled over ice. When the ice melts, it mixes with powder and spreads into your clothes or fabric.
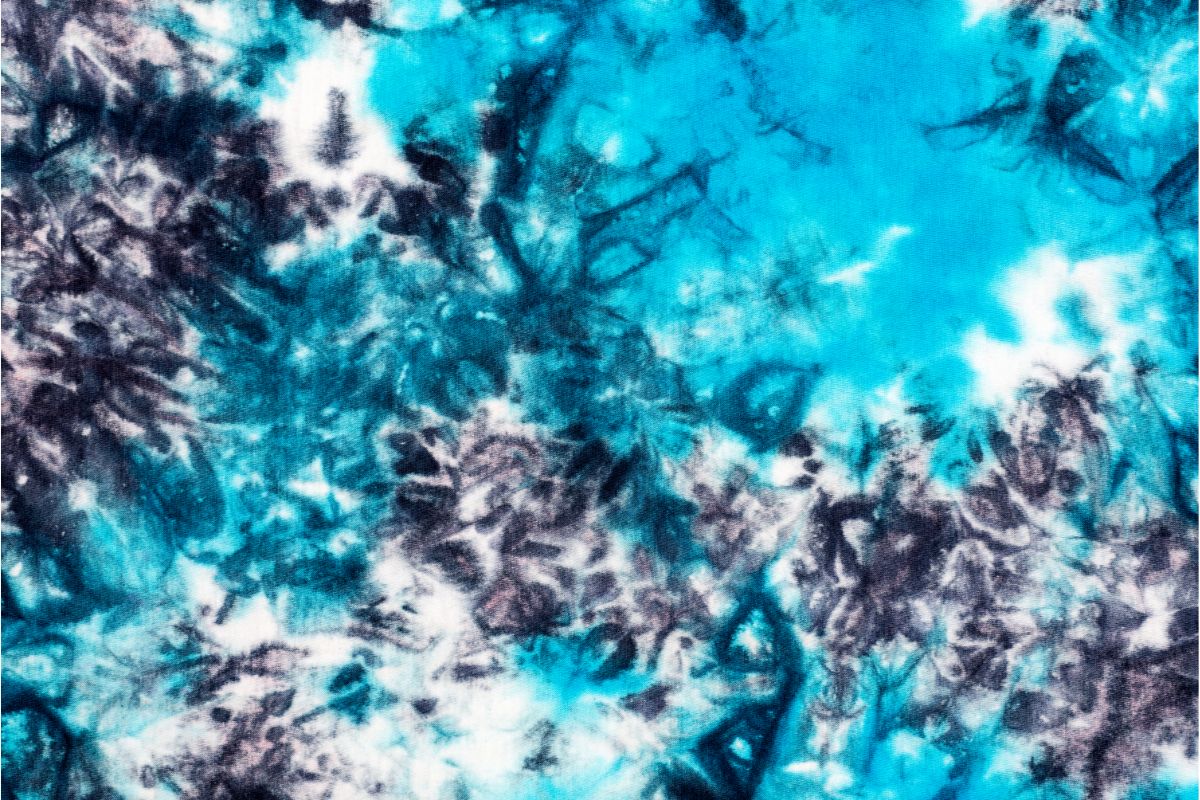
The colors can mix together when doing so, creating watercolor and marble effects you are sure to love!
Now that we have established what ice tie-dye is, let’s move on to look at how you can do ice tie-dye!
What Do I Need For Ice Tie Dye?
What do you need for your ice tie-dye craft? We have a list below that you can use to gather your supplies and start the craft!
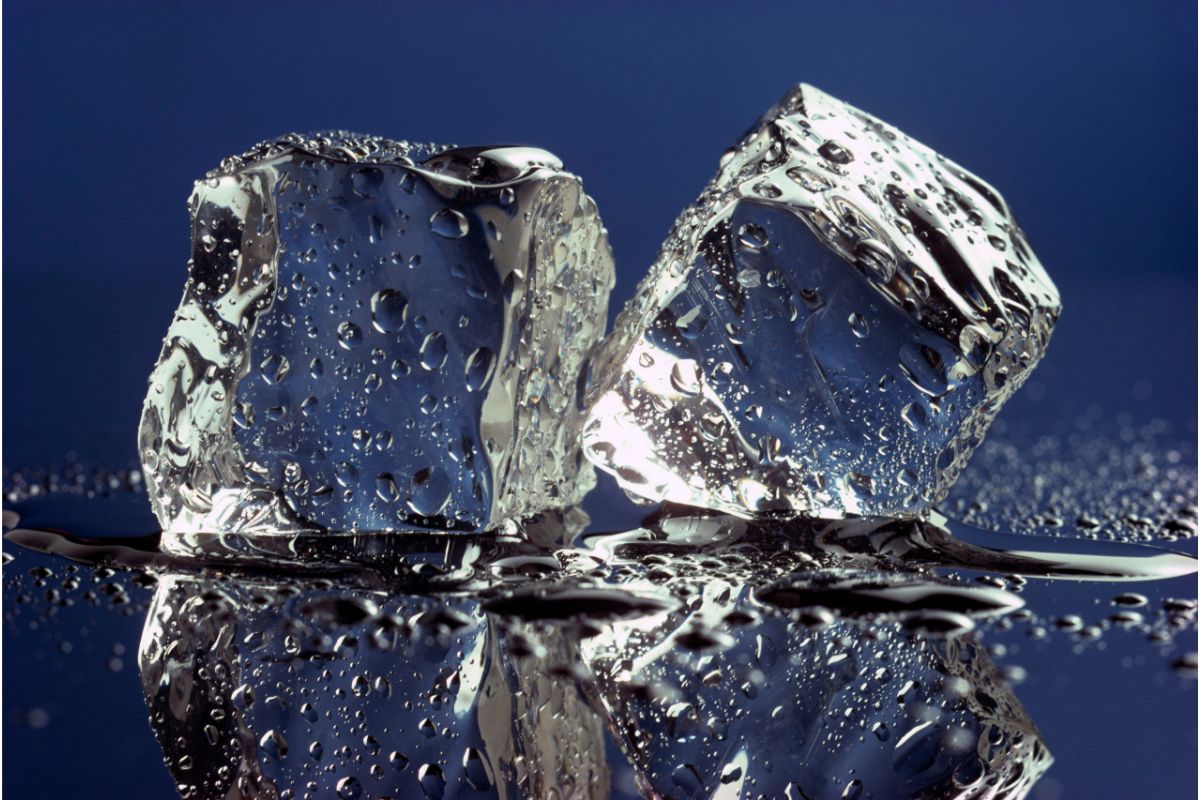
- Ice
- Dish or bowl
- Face mask
- Wire rack or empty containers
- Rubber bands or zip ties
- Soda ash
- Tie-dye kit
- White cotton shirt (or other white clothing/fabric)
- Spoon (optional)
Most of these items are easy for you to source and shouldn’t cost too much. We recommend purchasing a tie-dye kit as it can work out cheaper than purchasing the dyes separately.
Keep an eye out for kits that come with soda ash. This will save you some money and you won’t need to track soda ash down separately!
Once you have your items, you are ready to get going!
How To Ice Tie Dye (Step-By-Step)
Let’s dive right into it! Below we have a step-by-step guide for you to follow to teach you how to ice tie-dye. Get your equipment at the ready and let’s get crafting!
Step 1 – Prep The Shirt
To start, you will want to soak your shirt or clothing you are using. Mix 1 cup of soda ash with a gallon of water and place in a bowl or container. Soak your shirt in the mixture.
Soda ash here helps the colors become more vibrant, so be sure to add some to your water!
Once soaked, squeeze out the excess and scrunch your shirt like you are doing a crumple dye. Use zip ties or rubber bands to secure the scrunched shirt.
Step 2 – Prep The Ice Dye
Next, it’s time to prepare the ice dye! While you are doing this, place your shirt in a dish or bowl. You will want to elevate the shirt when you do this. To elevate it. You can use a wire rack or empty yogurt containers turned upside down.
Elevating the shirt ensures that the melted ice will not touch the shirt.
You will want the shirt to be high enough that the melted ice does not cover it. Make sure any containers or bowls you are using are not used for food after you have done the ice tie-dye.
Once elevated, you will want to cover the shirt with ice cubes. Ensure you have covered the entire surface of the shirt before moving on.
Step 3 – Add Your Dye
It’s time to add the dye! Here you will want to put on a face mask before starting and ventilate the room well.
The dye should not be inhaled by you or any pets, so make sure they are out of the room and you have the correct protective equipment on!
Once you are protected, you can add the dye! Take the lightest color from your kit and sprinkle it over your ice. You can use a spoon to do this, or you can shake it from the bottle if you are using a tie-dye kit.
Next, take your next color and sprinkle more dye over the ice. Repeat the process until you have used all the colors you want to use. The colors will mix as the ice melts, so make sure you are only using colors that you want to mix together.
Remember your color wheel here to ensure you are creating colors you want to see (see also “How To Create The Color Purple“)!
The more dye you add, the deeper your color will be. For a watercolor effect dye, you will want to use less dye.
Once you have added the color you want, leave the ice to melt. How long this takes depends on the temperature of your room and how much ice you have used. We found it took around 12 hours for all the ice to melt, so don’t panic if it takes a while!
After just a few minutes you should notice the ice starting to melt and drip onto the shirt.
Step 4 – Leave And Rinse
Once the ice has melted, you want to leave the dye to set. We recommend leaving it for 24 hours, but be sure to check on the tie-dye kit to see how long they recommend you leave it.
You can then remove the shirt from the dish and rinse it in the sink. Do so until the water runs clear before putting it in the washing machine. Make sure the first wash is done with other tie-dyed clothes so that any remaining dye does not ruin other clothes.
Once the shirt is washed and dried, it is ready to wear!
Another Way To Ice Tie Dye
If that method does not appeal to you, we have another option to try! Check out our step-by-step guide below that will walk you through the process now.
Step 1 – Place Your Shirt In The Bowl
To start, place your shirt directly into the container or bowl. As you put the shirt in, it will crumple a little anyway. You can add some extra crumples too if you wish.
You will still want the shirt to be elevated with either empty yogurt containers or a wire rack. Take your time here to position the shirt so that it is elevated and balanced across the pots or rack.
Add extra crumples again if you want, but there is no need to secure them with bands or zip ties.
Step 2 – Add Ice
Next, add your tie to the top of the shirt. Start where the yogurt containers are to secure the shirt. Placing the ice on the shirt where it isn’t supported underneath will cause the ice to weigh down the shirt.
Step 3 – Add Your Dye
Add your dye as we did in the earlier method. You can sprinkle the dye over, or you can place it in rows, where the colors are in stripes rather than overlapping one another.
It’s up to you how you do this, just make sure to work in a ventilated area with a face mask!
Step 4 – Let The Ice Melt
Like the earlier method, leave the ice to melt. This can take a while, so don’t panic. After the ice has melted, leave the dye to set for 24 hours. You can keep the shirt in the bowl for this time if you wish, draining the water away.
To finish, rinse your shirt under the sink. Do this until the water runs clear.
You can then place your shirt in the washing machine before wearing it. Again, make sure you wash the tie-dye shirt alone or with other tie-dyed items to avoid any excess dye ruining your clothes.
Once washed and dried, it is ready to wear!
Final Thoughts
And there you have it, two methods you can follow to tie-dye your shirts using ice!
This method is easier than traditional tie-dye as you don’t need to mix the powder and allows you to create beautiful clothing or accessories. Why not try it today and see what wonderful creations you will make?

In an effort to get them to avoid excessive screen time ( and arguing! ) I turned to more creative avenues that we have all since grown to love.
I created this website in the hopes of inspiring more families out there to enjoy crafting and enjoy a shared bonding experience over it.
Please enjoy it and hopefully, you’ll find something to make that you can display proudly forever!
- Master Crochet Stitches for Cozy Creations - January 23, 2024
- Half Double Crochet Guide for Cozy Creations - January 23, 2024
- Elevate Your Space with Unique Macrame Creations - January 23, 2024
