The delightful world of sensory play! Today, we are diving into the enchanting realm of hot cocoa sensory play for toddlers. But before we embark on this exciting adventure, let’s talk about safety.
We understand that toddlers have an innate curiosity and often explore the world around them by putting things in their mouths. That’s why it’s crucial to ensure that the materials used in sensory play are taste-safe.
In this blog post, we will introduce you to a taste-safe moon sand recipe that not only allows your little ones to create sandballs and form objects but also provides them with a sensory experience resembling hot cocoa. However, it’s important to note that while this moon sand recipe is safe to taste, it’s not intended for consumption. If your toddler is prone to tasting everything, we recommend taking an extra precautionary step by baking the flour before using it in the recipe to ensure its safety.
So, grab your aprons, gather your ingredients, and get ready to embark on a wonderful journey of sensory exploration with our hot cocoa-inspired sensory play for toddlers. Let’s dive in and create memories that will warm both your hearts and their imaginations!
Supplies Needed
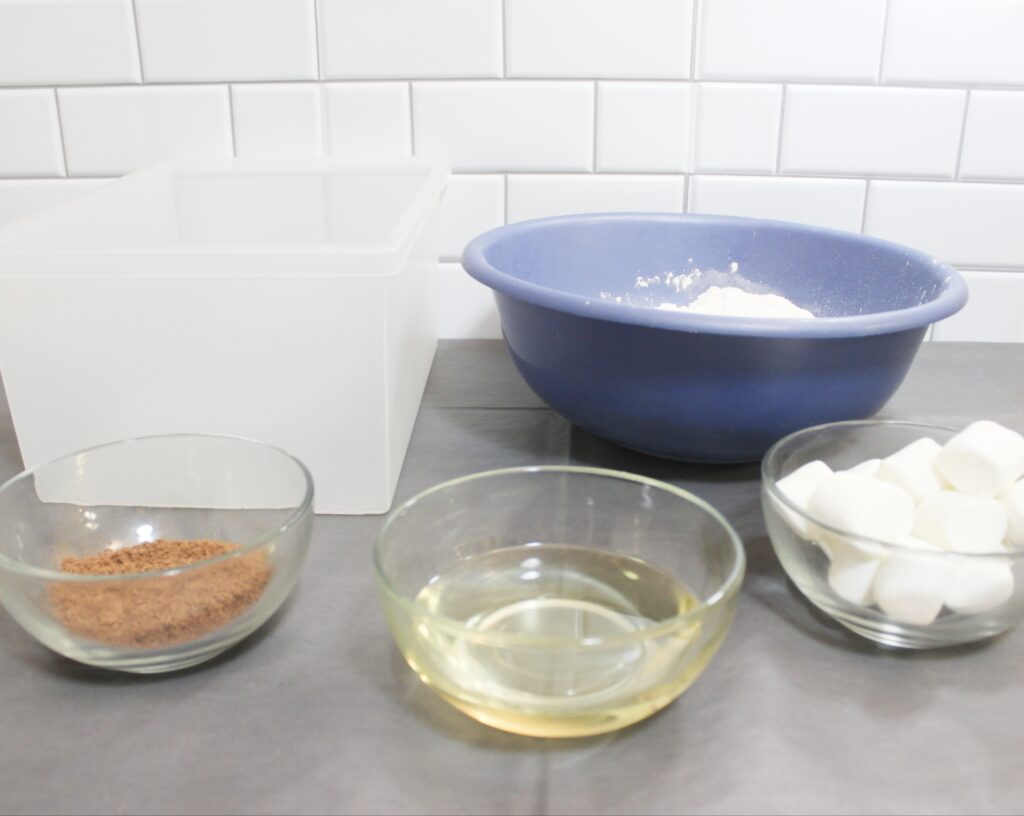
To create our enticing hot cocoa sensory play experience, let’s gather all the supplies you’ll need. Here’s a list of what you’ll want to have on hand:
- 8 cups of Flour: This will serve as the base for our taste-safe moon sand. Make sure to opt for all-purpose flour, as it provides the best texture for sensory play.
- 1 cup of Oil: You can use any cooking oil of your choice, such as vegetable oil or canola oil. The oil will help bind the flour together, creating a moldable and enjoyable sensory material.
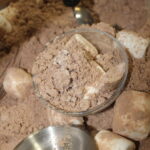
- 1 cup of Cocoa Powder: To infuse our sensory play with the rich aroma of hot cocoa, we’ll add cocoa powder to the mix. This will give the moon sand a delightful chocolatey appearance and scent.
- Handful of Marshmallows: For an extra touch of authenticity, add a handful of miniature marshmallows to the sensory play setup. They can be used as decorative elements or incorporated into your little one’s creative play.
- Container for Sensory Play: Select a large container or tray that is suitable for containing the moon sand and providing ample space for exploration. A shallow plastic bin or a sensory table will work perfectly.
- Tablecloth: To keep your play area tidy and make clean-up easier, consider laying down a tablecloth or a waterproof mat underneath the sensory play area. This will help contain any mess that might occur during the play session.
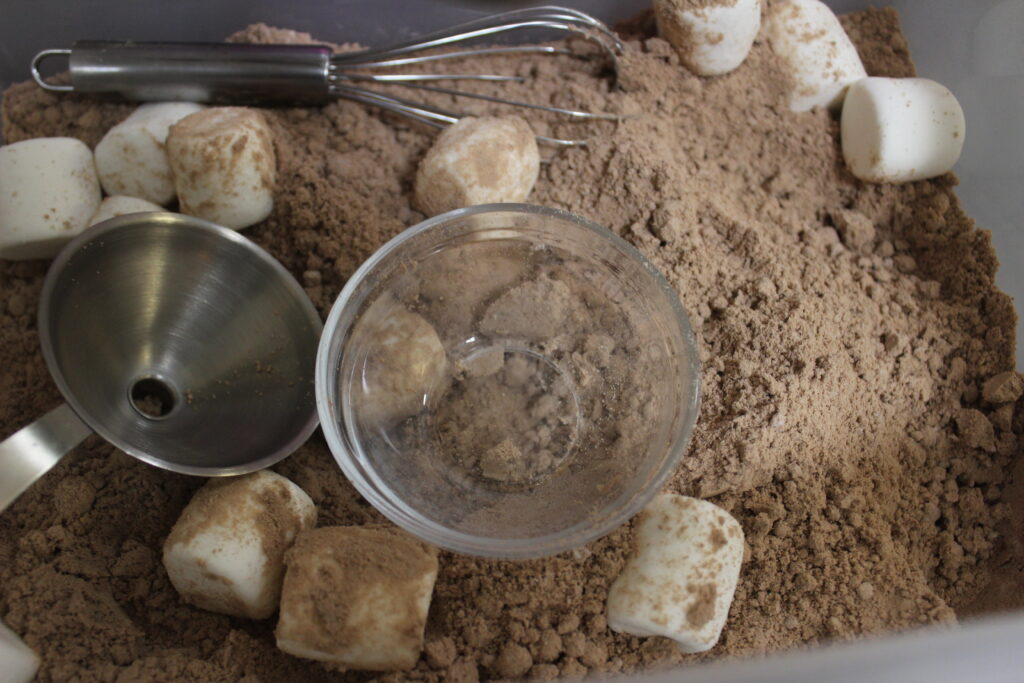
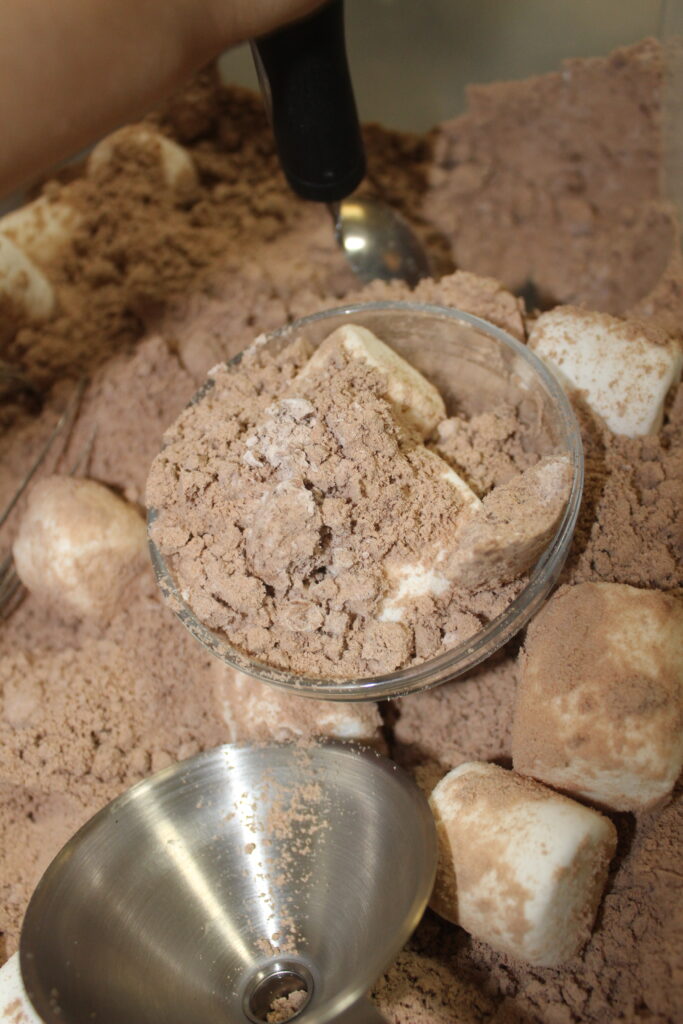
- Spoons, Bowls, etc.: Prepare a variety of utensils such as spoons, bowls, scoops, or even toy kitchen tools. These items will enhance your child’s imaginative play, allowing them to pour, mix, and engage with the sensory materials in different ways.
With these supplies at your fingertips, you’re all set to create a delightful hot cocoa sensory play experience for your little ones. Let their imaginations run wild as they dive into this wonderful sensory adventure!
Step-by-step Instructions for Hot Cocoa Sensory Play
Let’s get started on creating your hot cocoa sensory play!
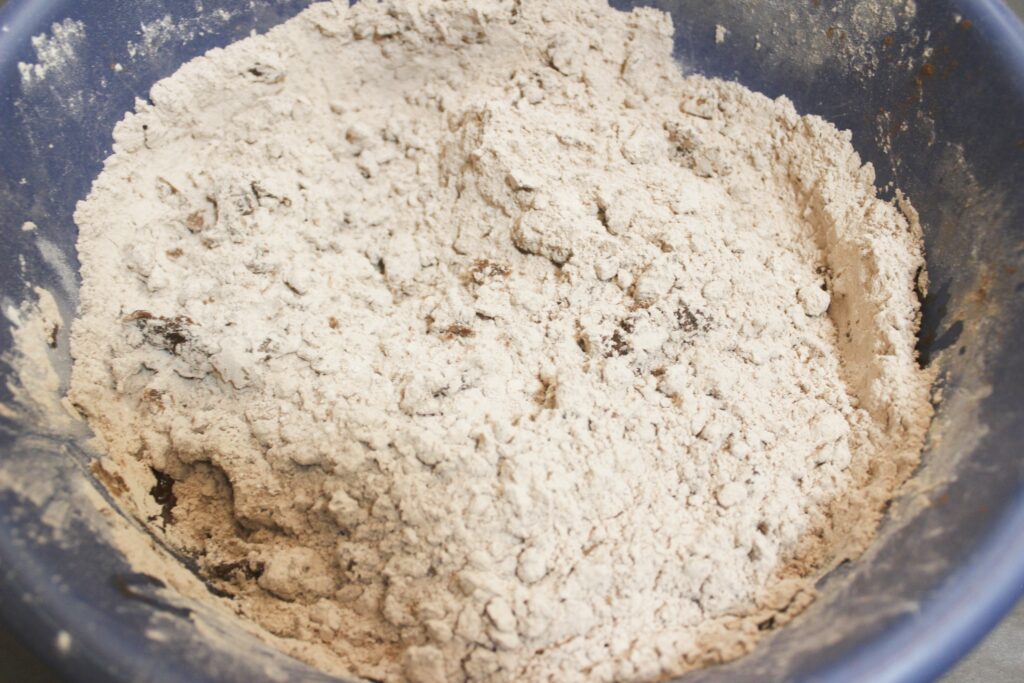
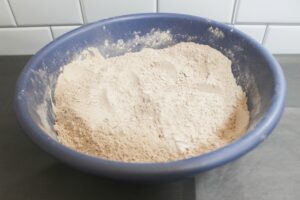
Step One: Begin by preparing a large bowl. Pour in 8 cups of flour, which will serve as the base for our moon sand.

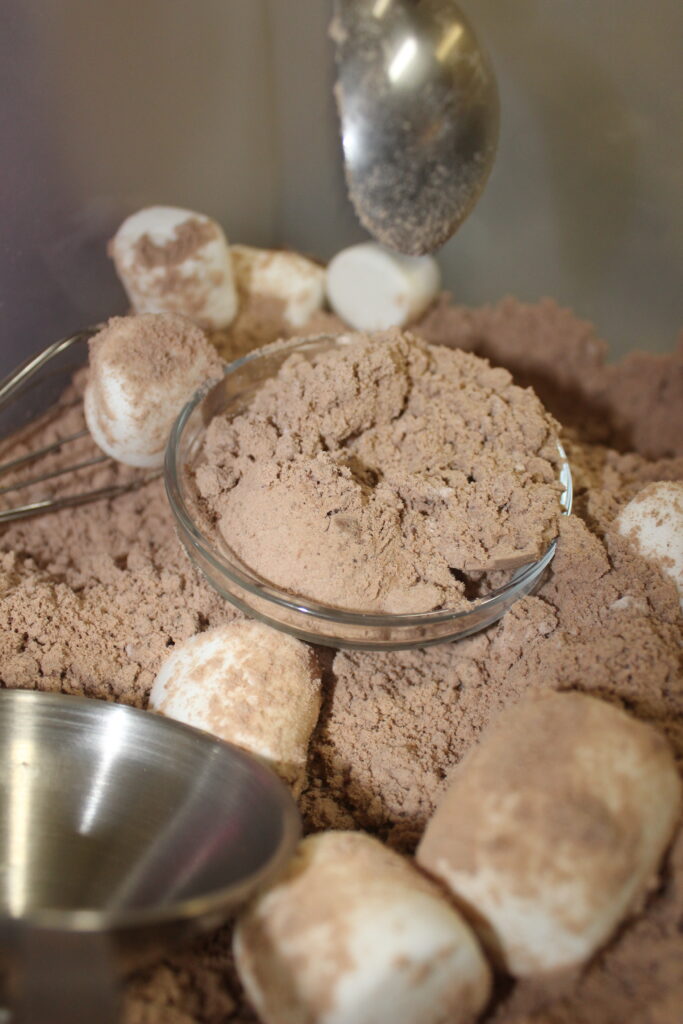
Step Two: Next, add 1 cup of cocoa powder to the flour. Mix it thoroughly until the color resembles the shade of hot cocoa. Depending on your preference, you can add more cocoa powder to achieve a darker brown color.
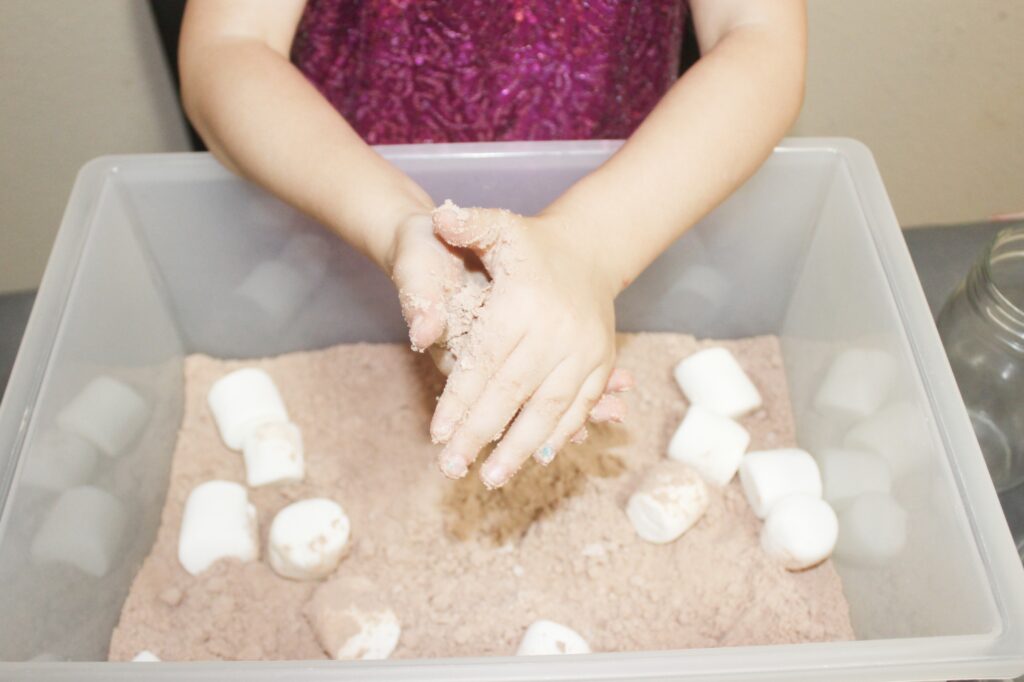
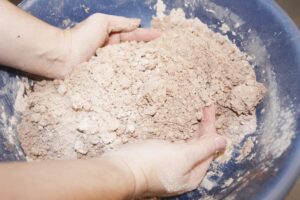
Step Three: Once the cocoa powder is incorporated, it’s time to introduce the oil. Pour in 1 cup of oil into the bowl. Using your hands, mix the ingredients well until the oil is evenly distributed. Keep mixing until the mixture reaches a moldable consistency, allowing you to squish and shape it into balls.

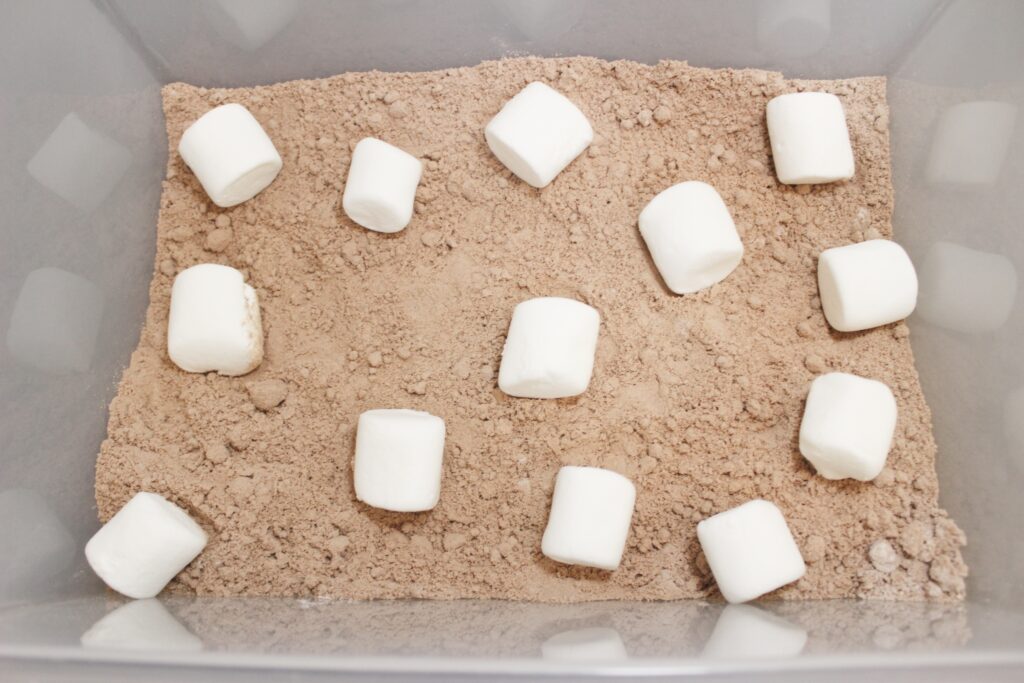
Step Four: Now, it’s time to add some marshmallows to enhance the sensory play experience. Toss in a handful of miniature marshmallows into the mixture. These marshmallows will add a touch of whimsy and resemble marshmallows floating on top of a cup of hot cocoa.
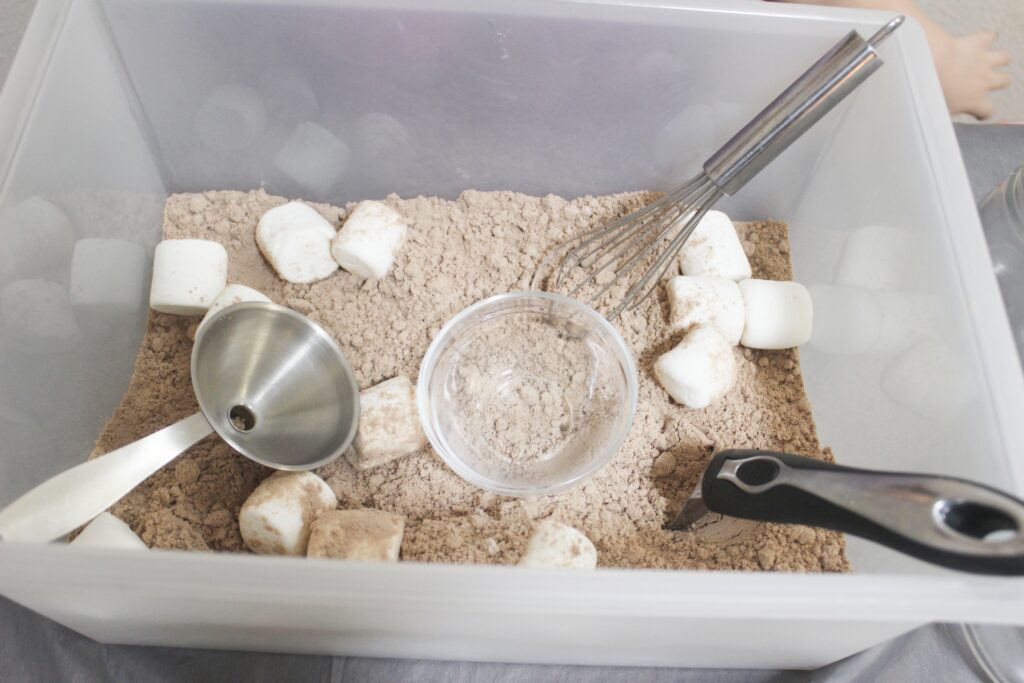
Step Five: Finally, gather any additional items you’ve prepared for the sensory play. This could include spoons, bowls, toy mugs, or even pretend whipped cream. Set them out alongside the “hot cocoa” moon sand for your little ones to explore and enjoy.
With these simple steps, you’ve created a delightful sensory play experience that resembles a cup of hot cocoa. Encourage your toddlers to let their imaginations soar as they squish, mold, and play with the sensory materials. This activity promises to bring joy, creativity, and sensory exploration to their playtime. Enjoy this wonderful adventure of hot cocoa-inspired sensory play with your little ones!
Sensory Play Tips and Ticks
As you engage in the hot cocoa sensory play with your toddlers, here are some helpful tips and tricks to enhance the experience:
- Create a designated play area: Set up a specific area for sensory play, whether it’s a sensory table, a large plastic bin, or a designated corner of the room. This will contain the materials and make it easier for your little ones to explore and play freely.
- Use a tablecloth or mat: Place a tablecloth or waterproof mat underneath the play area to catch any spills or messes. This will make cleanup much simpler and protect your floors or surfaces.
- Encourage sensory exploration: Encourage your toddlers to use their senses fully. Let them touch, smell, and even listen to the sound of the moon sand as they play. This will enhance their sensory development and provide a richer play experience.
- Incorporate different textures: To add more sensory stimulation, you can introduce additional elements to the play area. Consider adding a small bowl of water for wet sand-like textures, or include textured toys like small shovels or sifters. This variety will keep the play engaging and exciting.
- Play with the moon sand: Join in on the fun and play alongside your little ones. Show them how to mold the moon sand into different shapes or create sandballs. This will not only foster bonding but also encourage their creativity and imagination.
- Extend the play with storytelling: Use the hot cocoa theme as an opportunity for storytelling. Encourage your toddlers to imagine and create stories around their hot cocoa adventures. They can pretend to serve hot cocoa to their stuffed animals or go on imaginary winter adventures. This will enhance their language skills and make the playtime even more immersive.
- Supervise the play: While the moon sand recipe is taste safe, it’s important to always supervise toddlers during sensory play. Ensure they do not put excessive amounts of moon sand in their mouths and remind them that it’s for play purposes only.
- Clean up and storage: After the play session, gather all the materials and store them properly for future use. The moon sand can be stored in an airtight container or resealable bags to maintain its freshness and usability.
Remember, the primary goal of sensory play is to provide an engaging and stimulating experience for your toddlers. Enjoy the process, embrace their curiosity, and create lasting memories through the magical world of hot cocoa sensory play!
Hot Cocoa Sensory Play Recipe
Hot Cocoa Sensory Play
Equipment
- container
- spoons, bowls, cups etc. for playing with
Materials
- 8 cups flour
- 1 cup oil
- 1 cu cup cocoa powder
- marshmallows
Instructions
- Put flour in a large bowl
- Addin the cocoa powder and mix until the color you desire

- Pour in the oil and mix well with your hands. Keep mixing until you can squish the sand to make a ball.
- Addin your marshmallows, and items for playing

- Start playing and enjoy!

FAQ
What supplies for hot cocoa sensory play?
1. 8 cups flour
2. 1 cup oil
3. 1 cup cocoa powder
4. Handful of marshmallows
5. Container for sensory play
6. Tablecloth
7. Spoons, bowls, etc. for playing with
How do you make hot cocoa sensory play?
1. Put your flour in a large bowl.
2. Add in the cocoa powder and mix until the color you desire. You may need to add more to get a darker brown.
3. Pour in the oil and mix well with your hands. Keep mixing until you can squish the sand to make a ball.
4. Add in your marshmallows, and items for playing with the “hot cocoa” and enjoy!
Conclusion
Hot cocoa sensory play for toddlers offers a delightful and immersive experience that engages their senses, sparks creativity, and fosters imaginative play. By following the step-by-step instructions and incorporating the suggested tips and tricks, you can create a safe and enjoyable playtime activity.
Through this taste-safe moon sand recipe, your little ones can explore the texture, color, and aroma of hot cocoa while molding sandballs, creating objects, or simply enjoying the sensory feel of the moon sand. The addition of marshmallows and accompanying play items further enhances their imaginative play and adds a touch of whimsy to the experience.
As you engage in this sensory adventure, remember to supervise your toddlers, encourage sensory exploration, and join in on the fun. Through storytelling and interactive play, you can enhance their language skills and strengthen the parent-child bond.
After the play session, clean up and store the materials for future use, ensuring their longevity and the opportunity for repeated play experiences.
Hot cocoa sensory play provides a wonderful opportunity for your toddlers to indulge in imaginative play, sensory exploration, and creative expression. So, gather your supplies, create your sensory play area, and let the magic of hot cocoa sensory play unfold, bringing joy, laughter, and delightful memories to your little ones’ early childhood experiences. Enjoy the journey!

In an effort to get them to avoid excessive screen time ( and arguing! ) I turned to more creative avenues that we have all since grown to love.
I created this website in the hopes of inspiring more families out there to enjoy crafting and enjoy a shared bonding experience over it.
Please enjoy it and hopefully, you’ll find something to make that you can display proudly forever!
- Master Crochet Stitches for Cozy Creations - January 23, 2024
- Half Double Crochet Guide for Cozy Creations - January 23, 2024
- Elevate Your Space with Unique Macrame Creations - January 23, 2024
