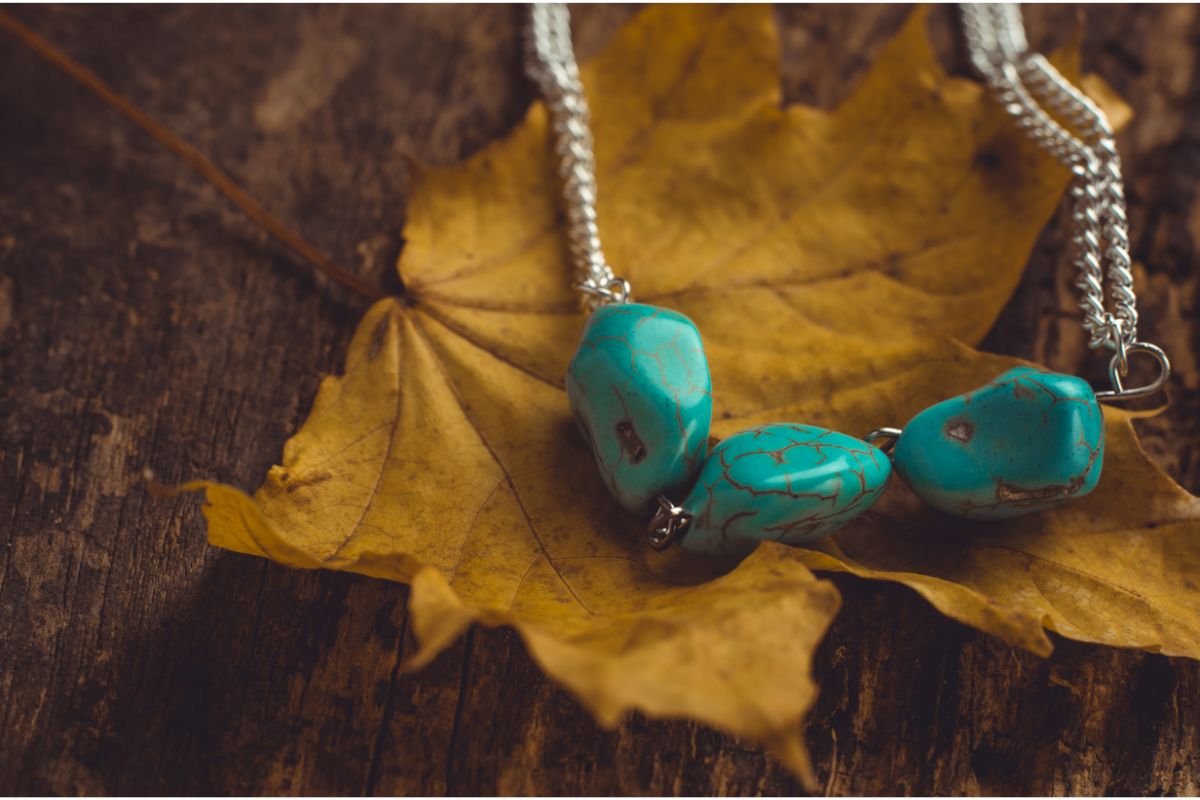
A lot of people collect crystals, as well as unique stones, sea shells, and interesting rocks from trips around the world.
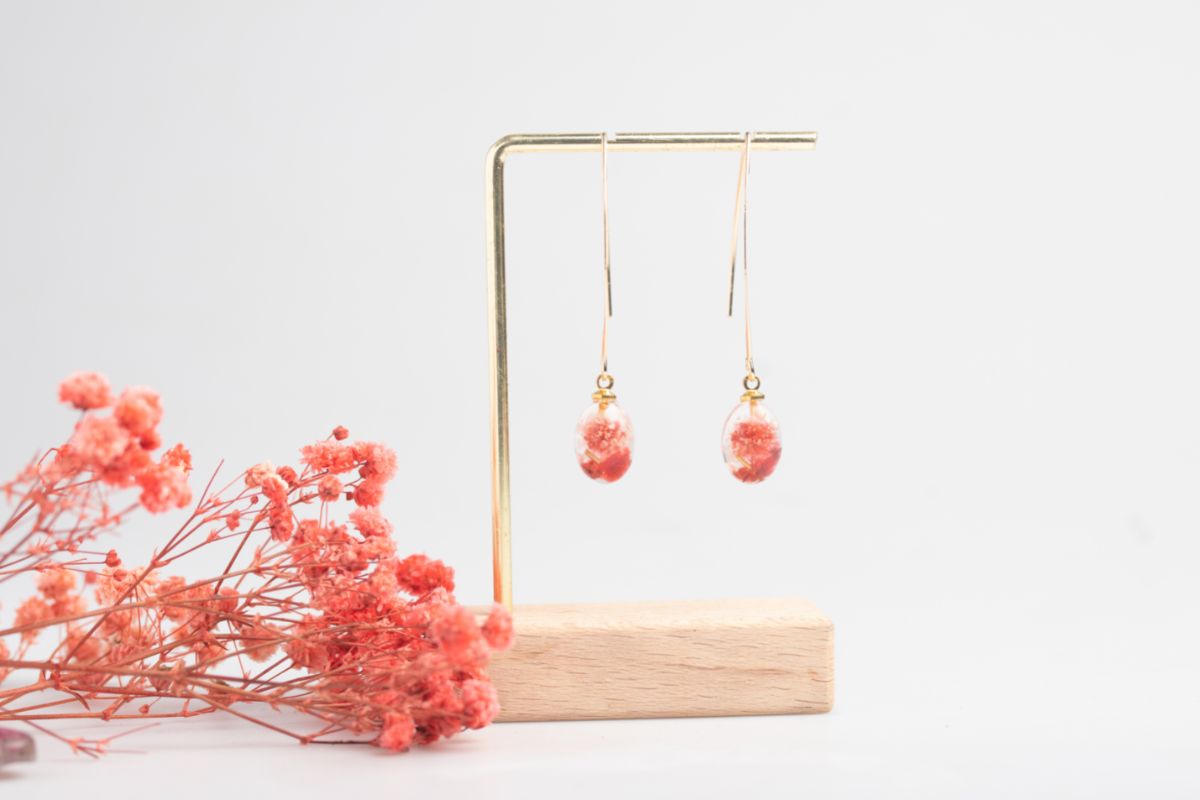
These may look lovely on your mantelpiece, but another thing you can do is make them into pretty jewelry pieces. Wire-wrapped crystal pendants are very popular and make good gifts to your loved ones, as well as yourself!
You’ll learn how to wire-wrap crystals properly in this post. This method works well for both big and small stones (see also “Guide To Wire-Wrapping Stones Without Holes“), even if they aren’t completely symmetrical in form.
Irregular crystals and stones manage to look more intriguing, especially if they are a little rough around the edges. This is a simple and fun project to get stuck into, and you won’t even need a lot of supplies to do it! Keep reading to find out how to wire-wrap crystals!
Wire Wrapping Tips
Before we get started, here are some general wire-wrapping tips that may help you with this project.
Wire Materials
Jewelry-making wire is available in many different finishes. The majority of jewelry supply providers stock wires (see also “How To Make Wire Jewelry For Beginners“) which are ideal for wire wrapping, like brass, sterling silver, gold, and copper.
If you’re new to wire wrapping, practice on less expensive alloys, like brass or copper. Aluminum wire or craft wires can be too soft and won’t hold, while stainless steel wires may be too rigid and stiff to work with.
File The Ends
Cutting jewelry wire can leave behind sharper edges which can be dangerous. Make sure you examine your wire and use a flat needle file to smooth down any sharper edges.
Keep Closing Loops
One of the primary concerns related to wire wrapping stones is that you need to keep closing the loops in the wire. This will make sure that the stones are kept securely in place.
Fortunately, the good thing about wire wrapping crystal jewelry is coming up with practical, yet creative ways of closing the loops. This can create some attractive and interesting pieces.
Method: How To Wire Wrap A Crystal
Now we can get into the main method!
If your crystal is of average size, you’ll need two jewelry wires that are one foot in length. If your crystal is longer, or you want to wear it as a pendant around your neck, you’ll need to double the length of the wires.
This project works best with simple stones that aren’t fully polished. However, it’s more important that you like the stone you’re working with. Follow these steps to wire-wrap your crystal.
Step 1: Position The Wires
Gather the wires and position them parallel to one another. Locate the center, then twist to connect the wires. Keep winding until the wires have been wound four or five times. This will act as the base of the ‘bowl’ which will store the crystal.
You can change the length of the distorted piece, based on how big or small your stone is. Assess the width required by placing the stone by the cords for reference.
Step 2: Add The Crystal
Next, position the base or the tip of the crystal next to the inside edge of the spun wires. There should be a V-shaped area here that will store the end of the stone.
If you’re working with a smaller, pillar stone that stands freely on a surface, or a smaller raw stone that has an uneven form, extend the room next to the twisted location so the two wires can hold the bottom.
Step 3: Twist The Other Side
Once the base of the raw stone is held, start twisting the pair of wires once more on the other side of the stone. Curve the already-twisted part sideways, allowing it to hug the stone.
Step 4: Front And Back
Once you’ve curved one side equally so it matches the other side, split the wires and start turning them on either side. The spinning and winding will now happen on the back and front of the stone.
Focus on one side first, then ensure that the twisted coil is firmly secure and fastened before you start working on the other side.
Remember that the wire needs to be secure as you twist it, as you are creating a cage housing for your stone. If the twisted area becomes loose while you’re on the move, you may lose your precious crystal while you’re working or doing household tasks.
Step 5: Get To The Top
Keep twisting the wire on each side of the stone, up until you get to the top. Remember that you will need to push the stone downwards while you operate on the wires. This will ensure that the tip of the stone will remain secure.
If you don’t, the stone may travel upwards, leaving an unattractive space in the cage housing when you finish the wiring.
Step 6: Create A Bail
After your wires get to the top of the stone, you’ll need to make a bail. This looks like two rabbit ear lines wrapped with the rest of the wire.
You may find that there’s lots of wire left over once you’ve made the housing. This is intentional, as the bail will perform as the cap or tightener of the jewelry. This will fasten the stone and provide two rings to which you can attach a metal chain or cord. This will turn the crystal into a piece of jewelry, like a necklace or bracelet.
Final Thoughts
Now you understand how to wire-wrap a crystal!
This method works great for making necklaces, but you can also use it to make bracelets and smaller crystal earrings. It also works well for making standalone ornaments (see also “How To Make Christmas Popsicle Stick Ornaments“), like Christmas tree decorations or shelf decor.
Keep experimenting with different crystals and wire metals. You never know what you might come up with!

In an effort to get them to avoid excessive screen time ( and arguing! ) I turned to more creative avenues that we have all since grown to love.
I created this website in the hopes of inspiring more families out there to enjoy crafting and enjoy a shared bonding experience over it.
Please enjoy it and hopefully, you’ll find something to make that you can display proudly forever!
- Master Crochet Stitches for Cozy Creations - January 23, 2024
- Half Double Crochet Guide for Cozy Creations - January 23, 2024
- Elevate Your Space with Unique Macrame Creations - January 23, 2024
