If you’re just getting started out with your wire wrapping journey, then first of all, congratulations, it’s an incredibly rewarding and diverting hobby. Second of all, you probably have a whole bunch of questions related to your first project.
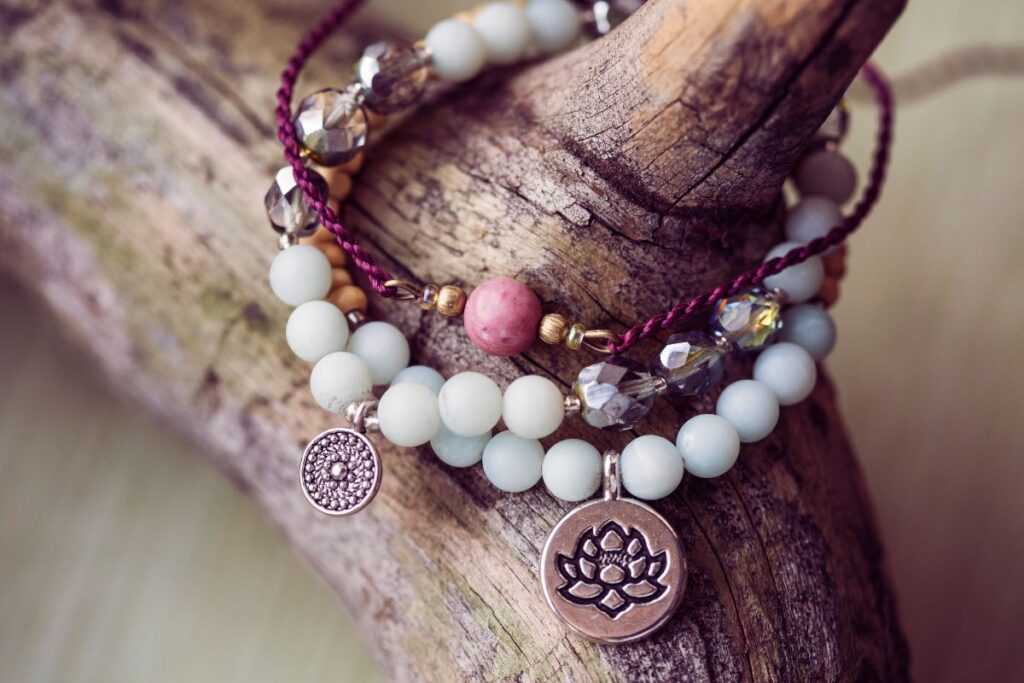
When it comes to wire wrapping, the recommended project for beginners is to start out with bead pendants. These are an incredibly easy introduction to the craft, and can help you to get the hang of the process, without having to worry about your items slipping out of the wire.
If this is something that you’re interested in getting started with, then you’ve come to the right place. Below, we’ve compiled a handy guide that will take you through each of the steps for making your own bead pendant.
To find out more, simply keep reading below.
Guide For Wrapping A Bead Pendant
Step 1
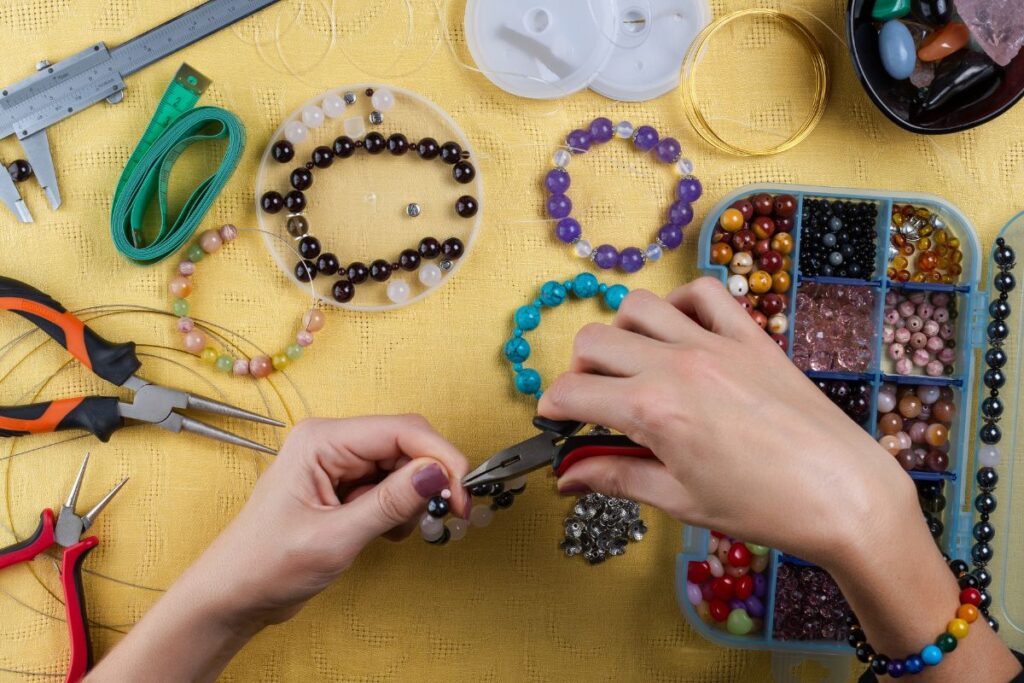
In order to get started with your new project, the first thing you’re going to need to do is to make sure that you’ve got all of the materials at hand.
You’re going to need a gauge wire of your choosing, that’s approximately 1 to 15 inches long. You will also require a needle nose plier, a round nose plier, a wire cutter, and a jump ring.
Chances are that you already have all of these in hand, as these cutters usually come together as a part of a beginners set.
Step 2
After you’ve got all of these items together, the next thing you’re going to want to do is to make sure that you cut your wire at the appropriate length. This should be approximately 15 inches.
After you’ve done this, go ahead and grab your needle nose pliers, and make a bend at the top, approximately 5 inches into the length of the wire.
After you’ve made your bend, you’re going to want to grab your round nose pliers, which are responsible for creating circular shapes in the wire. Loop them around the wire at the thinnest point, so that you have a super small circle to work with.
Remove the round nose pliers, and you’ll have your circle.
Step 3
The next step is to position your pliers on the surface of the circle, to keep it steady throughout the wrapping process. After you’ve used your pliers to steady the wire, you’re then going to start wrapping it around.
You will do this by grabbing the shorter end of the wire, then wrapping it around the longer piece 6 – 10 times. The amount or wraps that you want is completely up to you and the look that you’re trying to achieve.
Step 4
After you’ve done your wrapping, you’re then going to need to go ahead and grab your bead, and feed it through the wire. After you’ve slotted the bead through the wire, you can then go ahead and create a bend at the top end of the bead.
This is the tricky part, and it involves coiling the long end of your wire around the surface of the bead, so that it frames it neatly.
Once you’ve made a half circle around the bead with your wire, you can then go ahead and start looping it around the coil again. After you’ve done this, you’ll be able to go back and continue making a full circle around the bead.
Keep doing this until you’re satisfied with the number of loops around the bead.
Step 5
The last and final step is to cut the wire with your pliers once you’re satisfied with the way your bead looks. Make sure that you’re cutting it super close to the base, so that it’s not exposed in any way.
After you’ve cut it, you can then go ahead and tuck the end of the wire with your pliers if there’s anything sticking out.
That’s it! You’ve finished making your first bead wrap. You can use it as a pendant, and attach it to any kind of chain that you like.
Frequently Asked Questions
Now that we’ve covered our bead wrapping tutorial, we can move on to discuss our frequently asked questions. These questions will cover a whole bunch of different things about wire wrapping, so we’d recommend that you read through them.
What Is Wire Wrapping?
For those who have stumbled across this article, and have no idea what wire wrapping really is, we’d like to cover this briefly. Wire wrapping is a method of making jewelry and other decorative items by using a metal wire to create various shapes and patterns.
You can make all sorts of intricate designs using wire wrapping, and you can also wrap a whole host of different items too. As you will have seen from the subject of this article, beads are a popular wrapping option for beginners, as they’re fairly easy to get started with.
As you move along with your wire wrapping journey, however, you’ll be able to wrap items which are considered more difficult, such as oddly shaped tumblestones, or rough crystals.
What Are The Basic Tools I Need To Get Started With Wire Wrapping?
This is probably the question that we get asked most often, and it pertains to some of the key items that you need to get started with wire wrapping.
In order to get started with wire wrapping, you will need a few key tools in your belt. This includes a wire cutter, a needle nose plier, and a round nose plier. These are all essential when it comes to making any kind of wire wrapping project, and they’re all used in the tutorial above.
The good news is that you don’t need to go hunting all of these down individually, as they can be bought as part of a set.
In addition to these key tools, you’re also going to need to purchase your wire. You can buy your wrapping wire in a number of different colors and materials, but we’d recommend that beginners start with stainless steel, as it’s inexpensive, and good for practicing with.
Choose a stainless steel wire that has a gauge of approximately 18 – 25, as this is a really easy thickness level to work with.
Finally, you’ll also need to go ahead and grab some beads, or some items to place inside your wire wrapping.
How Do I Polish My Wire Wrapped Jewelry?
Chances are that if you’ve had your wire wrapped jewelry for a while, that it’s begun to look a little bit tarnished. Don’t worry, this is completely normal and happens with stainless steel after a while.
In order to polish stainless steel jewelry we would recommend using a combination of water, and white wine vinegar. Mix these components together in a spray bottle, and simply spray on to a cloth, and use this to polish your jewelry.
Final Thoughts
To sum up, bead pendants are one of the easiest and most enjoyable projects for those who are new to wire wrapping. We hope that you found this guide helpful, and we wish you all of the best on your jewelry making journey.

In an effort to get them to avoid excessive screen time ( and arguing! ) I turned to more creative avenues that we have all since grown to love.
I created this website in the hopes of inspiring more families out there to enjoy crafting and enjoy a shared bonding experience over it.
Please enjoy it and hopefully, you’ll find something to make that you can display proudly forever!
- Master Crochet Stitches for Cozy Creations - January 23, 2024
- Half Double Crochet Guide for Cozy Creations - January 23, 2024
- Elevate Your Space with Unique Macrame Creations - January 23, 2024
