If you’re looking for a fun Valentine’s craft to do with your partner, or you want to give them a handmade gift to show them how much you love them, then this is the perfect craft for you!

This bright and festive heart tie dye pattern can be made in just a few simple steps and using some basic materials.
It’s the ideal design for a personalized Valentine’s Day shirt, or for wearing on any other day when you’re feeling the love!
One of the most unique ways to celebrate a variety of festivals is by making tie-dyed shirts. And since Valentine’s Day is just around the corner, now is the perfect time to make some Valentine-themed crafts!
The best thing about tie-dye crafts is that you can customize the design to include any colors and patterns, or work on any article of clothing or fabric you choose!
While in this craft we drew the heart on a tank top, you are free to use this technique on whatever piece of clothing you prefer, be it a regular t-shirt, shorts, a sweatshirt, or anything else.
Here we are going to show you an easy step-by-step guide on how to make the perfect Valentine-themed tie-dye craft.
At the end, we will also show you some top tips to try out so that your design comes out perfectly every time!
Let’s get into the craft!
Tie Dye Valentines Shirt
You Will Need:
- White tank top or t-shirt – these must be made from 100% cotton to get the best results.
- Rubber bands or zip ties – zip ties always work better to get cleaner lines, but rubber bands are fine as well.
- Washable markers – you will use these to trace your design onto the shirt
- Tie Die Kit – we recommend using tie dye kits that include soda ash, but you can also use one-step kits. You can get both of these options on Amazon. Make sure to purchase a kit that includes black tie dye (see also “How To Make Reverse Tie Dye (Bleach Tie Dye)“).
- Tie-dye heart template – using a template is the best way to get a clean design.
- Plastic wrap
- Rubber gloves
- Paper towels
How To Make A Heart-Shaped Tie-Dye Pattern
Wash The Shirt
Before even starting the craft, you need to make sure that your tank top or shirt has been washed. This will remove any chemicals or other substances that might hinder the dye from penetrating the fabric.
As is the case with mist tie-dye designs, if you have just cleaned the item, you should leave it wet; otherwise, you should get it wet so it’s at least damp when you dye it.
Create The Heart-Shaped Tie Dye Pattern
Begin by folding the shirt or tank top in half lengthwise. When you fold it like this, you will end up with a perfectly symmetrical design.
Utilizing a washable marker, sketch the first half of a heart along the fold. Drawing can be pretty difficult for a lot of people, so if you want to make your life a bit easier then try ruining this downloadable tie-dye heart template instead. After you have cut out the template, you can simply trace it.
Fold The Shirt
After you have finished drawing your design, fold the shirt down the line of the heart, beginning at one end of the outline. Make sure that the line of the fold stays straight at all times; otherwise, the remainder of the shirt will have to bend and twist to accommodate the line.
You also have the option of stitching along the line you drew and then pulling the thread to scrunch it up, which takes longer but might make the final design crisper and with better lines.
Secure The Shirt With Zip Ties/Rubber Bands
To keep the line from unraveling, bind it with a zip tie or a rubber band. Zip ties are typically the most user-friendly option.
The next part of the craft is up to you really, as from here you have two options. The first is to use the classic scrunching method to bundle up the shirt and zip-tie it together. This random method is not only very easy to do but pretty fun as well.
The second possibility is to carry through the heart pattern all the way to the back of the shirt. To accomplish this, fold the remaining portion of the shirt in the way that it seems like it wants to be folded.
Beginning at the bottom and working your way up to gather the pleats created by the zip tie can be helpful. After that, do this from the top of the design.
Everything will eventually be gathered to one side of the zip tie, at which point you will be able to add more ties to hold everything together.
Spread the additional ties out so that there is an inch or two of space between each one all the way along the shirt or tank top.
Soak The Top
Submerge the tank top in a solution consisting of water and soda ash for at least twenty minutes.
Be sure to follow the directions that come with your kit, but the ratio of soda ash to water is normally 1 cup to 1 gallon of water. Check to see that the soda ash has been completely dissolved before adding your shirt to the solution.
Once the right amount of time has passed, you can remove the shirt and squeeze out any extra liquid, leaving the shirt damp but not completely dry.
Preparing The Dye
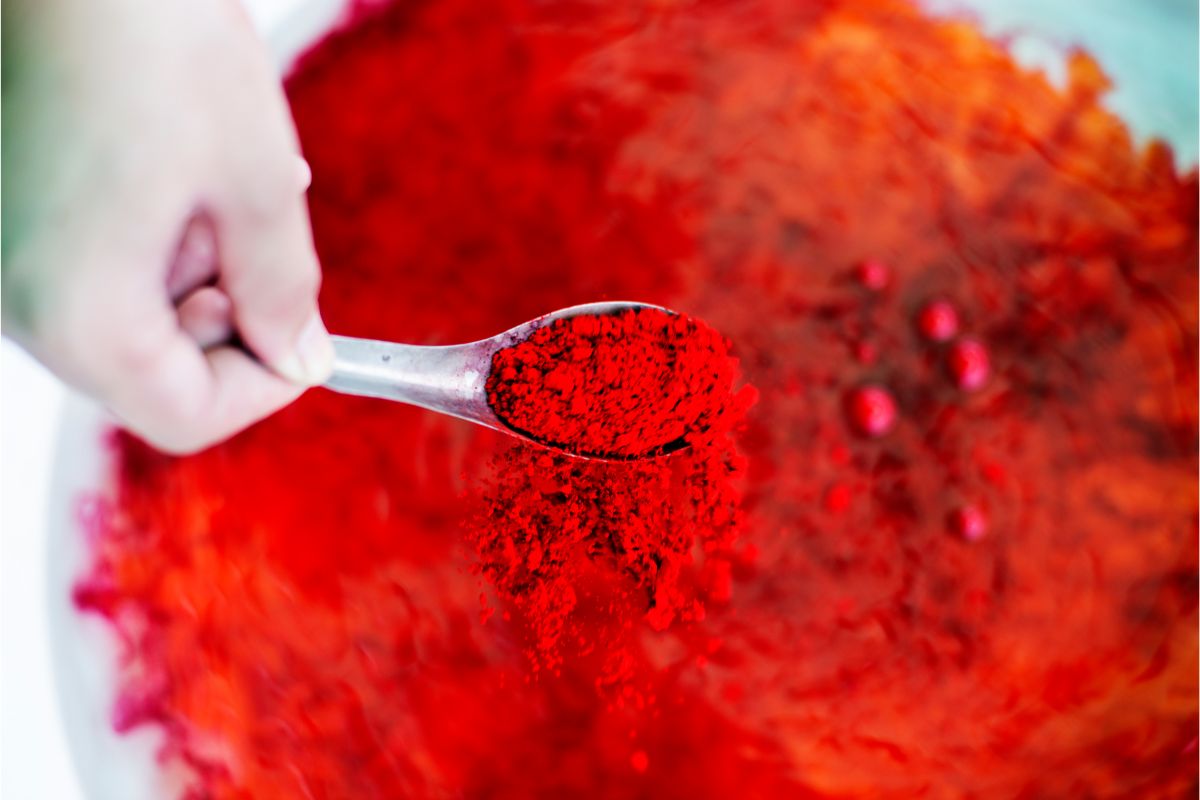
While you’re waiting for your shirt to soak, you can get the dye ready. To prepare, the dye, follow the directions that came with your tie dye kit. In most cases, you start by filling the bottles with warm water, and then you shake them until the powdered dye is dissolved.
You’re free to create your own color combinations and store them in a cup or an additional bottle (see also “How To Create The Color Purple“).
If you’re not sure what colors to use or are a bit worried about how they’ll look when on the shirt, then you can do a color tear. A drop of dye can be tested by placing it on a piece of paper towel and seeing how the color spreads. The same process will happen to your shirt.
Dye The Shirt
Put on some gloves and then cover your workspace with some plastic wrap. Dye can get messy, and it of course can dye anything it touches with that color, so you will want to protect your work surface as much as possible.
Using a squeezy bottle, spoon, or eye dropper, you can add your first color option to the first section of the shirt. This will be the major heart that is at the center of the design.
Remember to turn the shirt over and apply dye to the opposite side. You can also work the dye into the fabric of the shirt to ensure that it’s completely soaked.
Keep applying the dye to each part that is separated by the zip ties. If you’re making a rainbow design then this will be pretty easy as you just add a different color to each section. Planning a design with a color gradient will take a bit more effort, but can produce stunning results.
Make sure that you spread out the creases so that the dye can get in between them. Otherwise, you run the risk of having an excessive amount of white parts. Keep working the color into the remaining parts of the cloth.
When switching between colors, wipe the dye from the plastic wrap with a paper towel. If you don’t take precautions like this, the dye can spread to areas you don’t want it to.
Once you’re done, wrap everything in plastic wrap and allow it to sit at room temperature for at least six hours, but ideally for a full day.
Rinse And Wear
Once your shirt has sat in the dye for a day, give it a quick rinse in the sink using first cold water and then warm water. Keep the cable ties/rubber bands on for the first rinse.
For the second rinse, remove the ties and keep rining the shirt under warm, clean water until the water becomes clear.
After that, toss it into the washing machine along with the other clothing that has been tie-dyed. Then, simply put it in the dryer, and your heart tie-dye tank top or shirt will be ready to wear!
Top Tips For Tie Dye
Tie Dye is a super fun craft that both adults and kids enjoy doing. If you want to try this Valentine’s craft, then follow some of these top tips to make your design even better!
Have The Right Set Up
You can’t make a good tie-dye design if your workspace is cramped or messy. You will not only need a spacious work area to make your tie-dye, but you will also need a spot to put your item so that it can dry.
It takes around six hours for the color to completely dry and become stable, but for the best results, you should wait a full day.
The first thing you should do is line your workspace with a plastic cover (or paper that needs to be recycled, such as wrapping paper, newspaper, or packing paper).
To dry your shirt, you should put it outside, in the garage, or somewhere else where you won’t mind a drop or two of dye falling.
Choose The Best Supplies
Like a lot of things, the more you spend on the materials for this craft, the better it will turn out. Arts & crafts are supposed to be fun and accessible for everyone though, so it’s fine if you don’t want to blow your budget just make this design.
What we cannot recommend enough though is at least buying a raised baking rack to put the shirt on as you dye it. This stops the color from spreading into areas where you don’t want it to go.
Tongs are also an excellent tool to use for gently taking up your product and turning it over so that you may apply color to the reverse side.
Wet Or Damp Fabric?
There’s a lot of confusion for people new to tie-dying as to whether your clothes/fabric should be damp or wet when you dye it.
How wet the fabric is will have a huge impact on how the final design will look.
Dry fabric is essential for producing clean lines; but, if you are working with dense fabric, such as bulky t-shirts, the dye probably won’t penetrate as deeply as it would if the fabric were damp.
You’ll wind up with a lot of empty white space.
When you’re dying something, a good option is to start with a wet fabric, and always have a spray bottle of water nearby so that you can keep it wet while you add color.
You don’t want it to be completely drenched, as this can cause the color to spread too much and bleed into areas that you don’t want it to. It will also cause the colors to become less vibrant.
Wash The Material Before Dying
Washing your material before starting this craft is essential. If you try to dye the garment without first washing it, you run the risk of the dye coming off in the wash.
Washing also removes the stiffness from the material, making it easier for the dye to penetrate the fabric.
Wash on the regular cycle, then take it out of the machine and squeeze out any extra water. The fabric will then have just the right amount of moisture in it!
Rubber Bands Or Zip Ties?
Rubberbands will do for this craft, but zip ties are even better! Rubber bands are included in every single tie-dye kit, and they are highly recommended for beginners.
When you grow your skills in this craft, you’ll want to switch to using zip ties. You will notice that the lines are a lot clearer and that they are much simpler to attach and remove.
Summary
Making your loved ones a tie-dyed Valentine’s shirt is the perfect way to express your love for them through a unique, handmade gift.
You could even do this craft with your partner, as a fun date-night activity could be making a tie-dye shirt for each other.
This is also a very fun craft to try making with young children, as tye-dying is all about expressing creativity and letting your imagination run wild!

In an effort to get them to avoid excessive screen time ( and arguing! ) I turned to more creative avenues that we have all since grown to love.
I created this website in the hopes of inspiring more families out there to enjoy crafting and enjoy a shared bonding experience over it.
Please enjoy it and hopefully, you’ll find something to make that you can display proudly forever!
- Master Crochet Stitches for Cozy Creations - January 23, 2024
- Half Double Crochet Guide for Cozy Creations - January 23, 2024
- Elevate Your Space with Unique Macrame Creations - January 23, 2024
