If you’ve been looking for a fun and easy project that you can undertake today without the need of additional supplies, you’ve come to the right place.
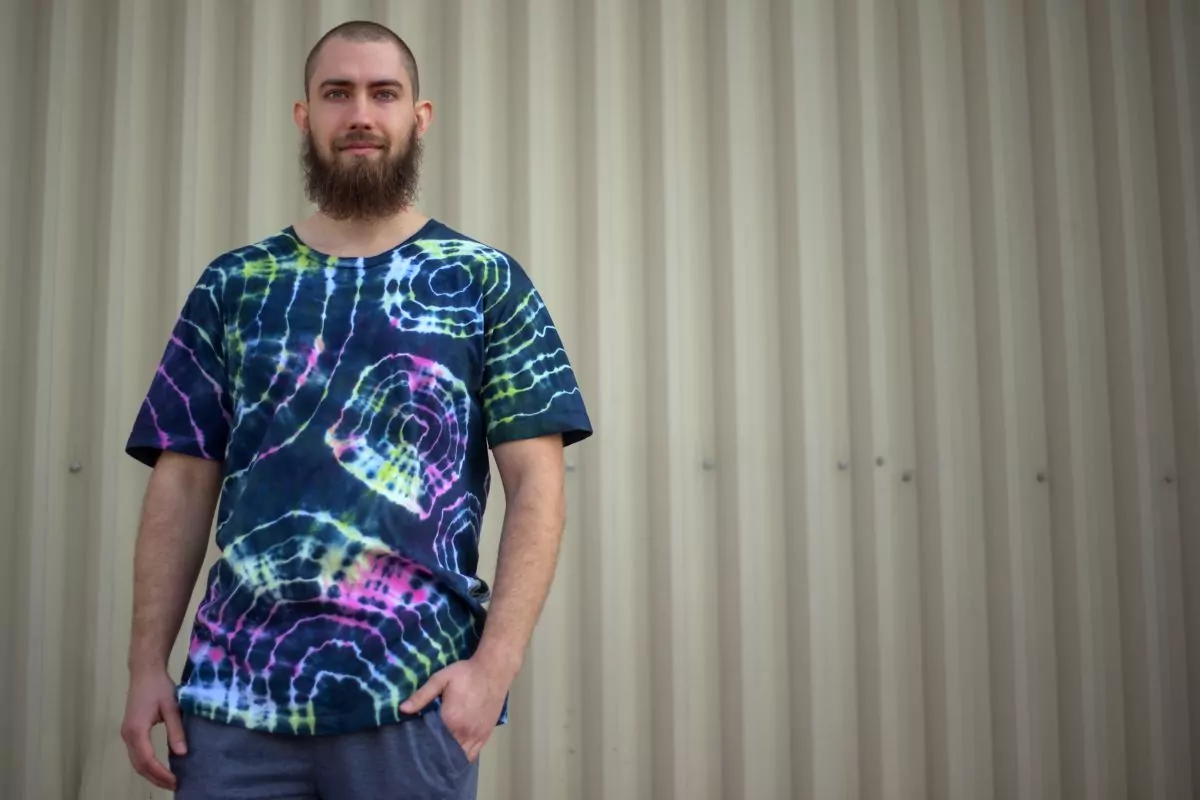
Most of us probably presume that tie dye is a time consuming process, as well as being messy because of the colors, but this method only requires one item – bleach.
For those of you who aren’t familiar with reverse tie dye, it’s essentially a process whereby you remove the color from a clothing garment by bleaching it.
You can use all of the same patterns as you might with regular tie dye, but you don’t need to go out and purchase the additional dye colors.
Below, we’ll take you step by step, and show you how you can recreate some funky tie dye patterns yourself. As well as this, we’ll share all of our tips and tricks for getting your tie dye perfect each time.
To find out more, simply keep reading below.
What Exactly Is Reverse Tie Dye?
So, before we jump straight in, let’s take a closer look at what exactly reverse tie dye is for those who aren’t familiar.
Tie dye is essentially a process whereby a garment (normally a T-shirt, is folded in a variety of different ways to create a series of different shapes and patterns.
Any area of the T-shirt that isn’t folded up, or held by an elastic band, will subsequently remain the original color, and not be saturated with the dye.
Reverse tie dye, on the other hand, doesn’t require the use of any additional dyes to make some beautiful patterns and prints. All you’ll need to make your tie dye is some household bleach.
Any portion of the T-shirt that isn’t exposed to the bleach will retain the original color, and will then act as the portion that creates the patterns on the T-shirts.
Below, we will show you how to make a few specific patterns in detail. But remember, you’re not just limited to the ones discussed below. In fact, almost every regular tie dye pattern will work for this method too, so be as creative as you like!
As long as you’ve got the basics of the method down, you’ll be totally good to go.
What You’ll Need For Your Reverse Tie Dye
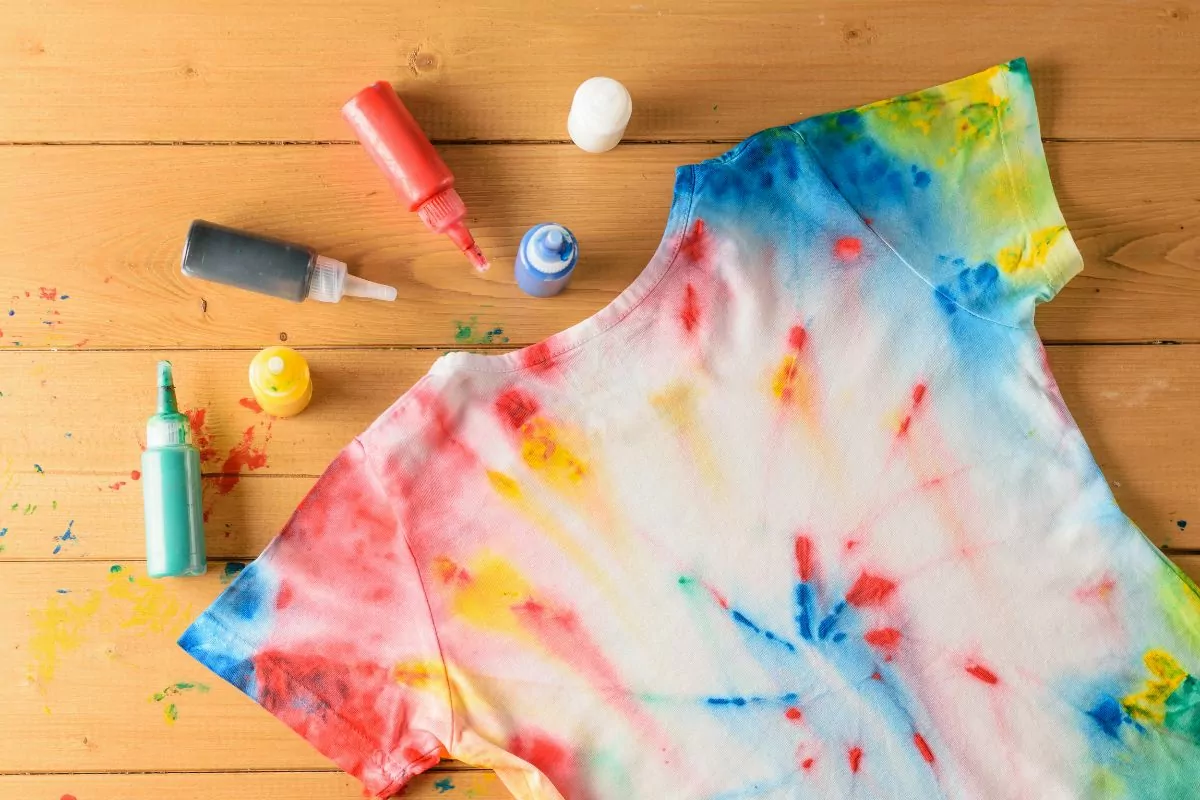
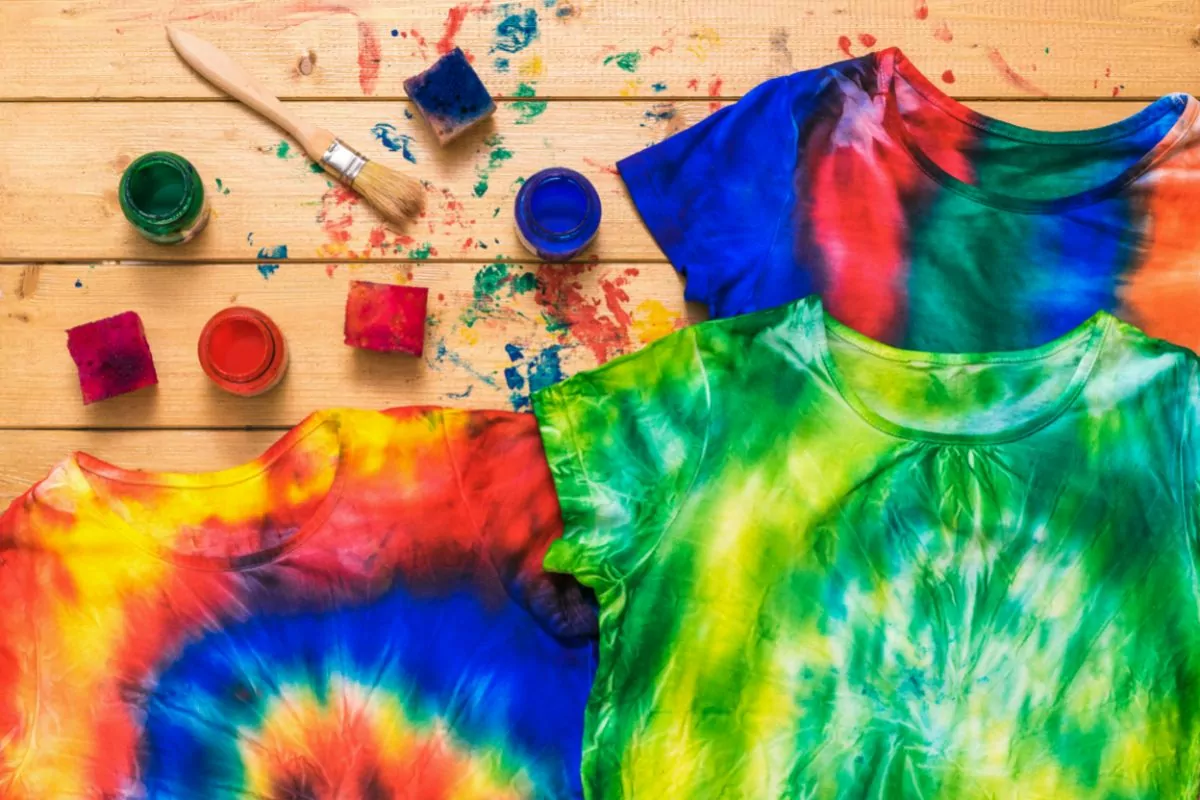
So, before we jump into some of the fun patterns you can create with your reverse tie dye, we should take a look at the supplies you’ll require. As we mentioned before, you won’t need very much to create these beautiful T-shirts.
It’s a good idea to make sure that you have all of the required supplies, as it will allow you to create more patterns and designs.
Good Quality Bleach
The first thing that you’ll require is your bleach, this is the most important item, as it’s what you’re going to be using to create your tie dye patterns.
Clothing Items
Don’t limit yourself to just T-shirts when creating your tie dye (see also “The Complete Guide To DIY Tie Dye Socks“) creations, you can use a whole host of different things, including socks, bags, dresses etc… the list goes on.
Gloves
Because you’re going to be using bleach to make your tie dye, it’s important that you wear gloves to help to keep your hands safe. Bleach can cause serious chemical burns, so it’s important to be as cautious as possible.
Water
You’ll need some water at hand in order to dilute the bleach.
Rubber Bands
You’ll need some rubber bands in order to create some of the different patterns found here.
General Guidelines For Creating Reverse Tie Dye
Before we jump straight in and take a look at some specific methods for creating bleach tie dye, there are some generic guidelines you should always follow when making this craft.
Below, we’ve listed the steps you should always follow with each of your reverse tie dye creations. Keep reading below to find out more.
Set Up Your Area
The first thing that you should always do before making your tie dye creations, is to properly set up your work area. Because you’re going to be working with bleach, you want to make sure that it’s not done in a room that could be potentially disastrous if spillages happen.
If the weather permits, we’d recommend doing this craft outdoors. But, if that’s not possible, find a flat surface to work upon, like a kitchen table, then lay some tea towels or sheet coverings over it in case any splashing occurs.
Prepare Your T – Shirt (Or Other Clothing Item)
The next thing you’ll need to do is prepare your clothing item to be bleached. You’ll want to make sure that you always dampen your T-shirt before putting it into the bleach mixture, as this will help the garment to fold properly, creating those beautiful patterns you want to achieve.
If you want to, you can either dampen them by hand in the sink, or you can just put them to spin in the washing machine for a short amount of time, the choice is entirely up to you.
If you choose to dampen it by hand, make sure to ring it out properly afterward, you don’t want it to be sopping wet.
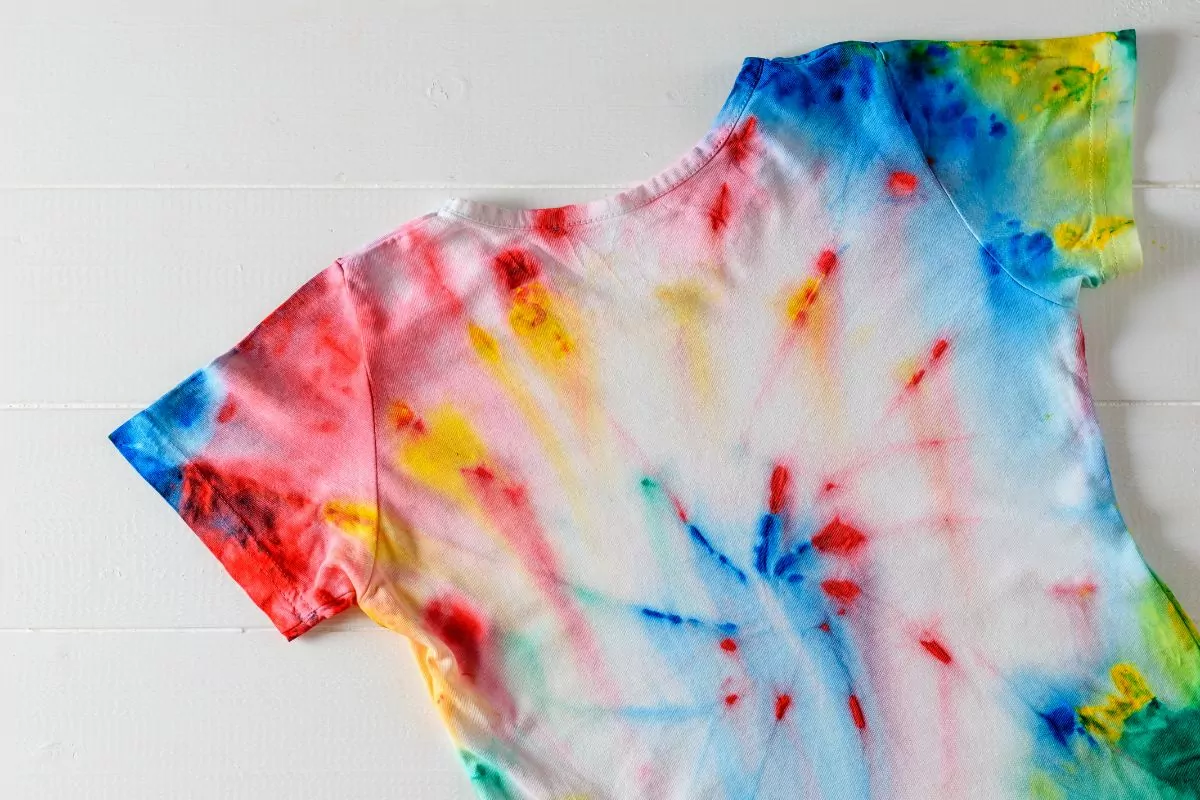
Create Your Design
This is the portion of the tie dyeing process where you’ll be required to create your pattern. Don’t worry, we provide plenty of ideas further on in this article. There are lots of different designs to choose from, including the spiral, crumple, and bullseye technique.
You can research some of these before you make your tie dye creation, as pretty much all of the regular tie dyeing techniques will work for the bleaching method too. You’ll use your elastic band in order to get these patterns just right.
Mix Bleach Solution
In this next step, you’ll need to prepare the bleach solution that you’re going to be using to create your tie dye (see also “Valentine’s Day Tie Dye Craft“). You will require around one cup of bleach, and one cup of cold water. We recommend using cold water, as it will aid the bleaching process.
We want to use the same amount of bleach and water, because using pure bleach would be far too strong. Most garments can’t withstand the potency of bleach, and might acquire some holes or otherwise be damaged when coming in contact with it.
Using one part bleach and one part water is the perfect formula.
Pour Bleach On The T – Shirt
There are a few different ways of achieving this step, depending on how you apply the bleach to the t -shirt. One of the most effective methods of pouring your bleach onto the T – shirt is simply by putting your bleach in a spray bottle, then pouring it on.
If you don’t want to use this method, you can also submerge the T – shirt directly into your bleach mixture. After you’ve done this, and you’re satisfied that you’ve covered the garment evenly, you can go ahead and let it rest.
Bear in mind that the longer you leave the bleach solution on your T – shirt, the more color it will lose. Keep an eye on it to see how it’s looking at each stage of the bleaching process.
We’d recommend leaving it on for around 15 minutes, and no more. If you leave it on for any longer, it could lose too much of its color.
Neutralize Your Garment
For our next step, you’ll need to make sure that you’ve neutralized your clothing garment adequately. In order to do this, all you need is a little hydrogen peroxide. Pour this over the T – shirt, and allow it to rest for a few minutes.
Many people forget, or fail to take this step into consideration, but failing to neutralize the garment could create holes in the fabric.
After you’ve done this, run some warm water, then go ahead and ring it out in the sink, until you’re confident that all the chemicals are gone.
Reverse Tie Dye Patterns To Try
Now that we’ve taken a look at how the reverse bleaching process works, we can move on to discuss some tie dye patterns you can try. Most of these are simply derived from regular tie dye patterns, with a few alterations.
All you’ll need to create these amazing patterns is some bleach, along with an elastic band and your safety gloves. Have fun creating your own tie dye designs.
Bullseye Reverse Tie Dye
Most of you who are familiar with tie dye will have seen this pattern before. It’s one of the most popular tie dyeing patterns out there, and is actually super easy to recreate.
You essentially create a series of spikes, that are achieved by placing your elastic bands at intervals down the T – Shirt.
- Begin in the bottom corner of your T – shirt, and tightly wrap an elastic band around the base.
- After you’ve done this, you can go ahead and place another elastic band further along.
- Continue doing this until you reach the top of the T – Shirt, and it’s fastened securely with an elastic band.
- Place it in the bleach, and watch as the colors transform.
Horizontal Reverse Tie Dye
This one teaches you how to make beautiful stripes that run across the width of your T – shirt. It’s super easy to create, as well as highly effective.
- Begin by laying your garment completely flat on the table (see also “How To Make A DIY Light Table“). You’ll need to begin by folding on the left side of the T – shirt, doing so in a series of 1 inch accordion folds.
- You will need to alternate these folds back and forth, very much like if you were making a fan shape.
- After you’ve adequately folded the shirt, you can go ahead and secure it with your elastic bands. Depending on how closely together you want your stripes, you can place your elastic bands at various intervals.
- We’d recommend placing the elastic bands from 1 to 2 inches apart from one another.
- After you’ve done this, go ahead and apply your bleach solution, and watch it take effect.
Spiral Bleach Reverse Tie Dye
If you want to try one of the simplest, classic tie dye effects out there, why not try creating this spiral bleach reverse tie dye effect (see also “Ice Tie Dye – Your Complete Guide To This Craft“). It’s one of the most popular methods out there, purely because it’s so simple to do.
- Lay your T – shirt out until it’s completely flat on the table. After you’ve done this, you’ll want to accurately pinch the center point of the garment. This is where the center of your spiral will be.
- Gradually begin twisting it around, until the garment is in a complete spiral shape, and it is packed closely together.
- Go ahead and attach your rubber bands. These don’t need to be attached perfectly on the garment, just so long as they keep the T – shirt packed closely in the spiral effect.
- Now you can submerge your T – shirt in the bleach. One tip that we’d give for this T – shirt is to make sure that you’re getting the bleach in all of the crevices. If you fail to do so, you’ll have lots of little gaps in your spiral.
Kaleidoscope Reverse Tie Dye
In order to create this tie dye, otherwise known as the Mandala tie dye, you’ll need to follow a specific pattern. It’s not too complicated once you get the method down, but you need to make sure to follow the steps outlined properly in order to get it right.
- Lay your shirt out on the table so that it’s completely flat.
- After this, you’ll need to fold it lengthwise, followed by widthwise, so that it looks as if it’s in quarters.
- Fold the T – shirt in half, then it will be divided into eight different parts.
- Fold the T – shirt in half again, and then it will be divided into sixteen different parts.
- Now you can go ahead and secure your garment with some elastic bands, placed at intervals of around 1 – 2 inches.
- Place it in your bleach solution and wait for it to take effect.
Scrunched Bleached Reverse Tie Dye
Now we can move on to another pattern that’s super effective and easy to create. In fact, we think that this one might actually be the easiest of them all. In order to create this tie dye effect, all you’re doing is essentially scrunching up the garment and securing it.
That’s right, no tricky folding patterns to follow with this one!
- Begin by laying the garment out flat, so that you can pick out the bits that you want to scrunch up.
- After you’ve done this, you can go ahead and begin scrunching up your garment. We recommend you start doing this at the corner sections of your garment, working your way into the middle.
- Depending on how many scrunches you want the garment to have, make smaller ones for more detailing.
- After you’re satisfied with your scrunched up garment, you can go ahead and begin securing it with the elastic bands. There are no hard and fast rules about how to do this. You can pretty much secure them any way you want, as long as they’re tight enough to keep your garment from tumbling out.
- Place them in the bleach solution, and observe the magic as they change color.
A Guide For Creating Amazing Reverse Tie Dye
Now that we’ve taken a look at the basic steps for creating the perfect reverse tie dye, along with some popular patterns to try, we can move on to discuss some tips and tricks for making your garments as amazing as possible.
Below, we take a look at some helpful advice for making great tie dyed items, and we also answer some frequently asked questions some of you had regarding the process. To find out more, simply keep reading, as we take a closer look.
Make Sure To Neutralize Your Garment
After you’re done with your tie dyeing, you’ll always want to make sure that you neutralize the garment otherwise. Bleach is an incredibly harsh chemical, and could potentially ruin your clothing items if they’re not cared for properly.
We’d recommend always neutralizing your garments immediately after you’re done tie dyeing. You can do this in a simple solution of hydrogen peroxide.
If you fail to do this, your clothing will still retain some of the bleach deep in the fibers. Over time, you’ll acquire holes in the clothing item that might get bigger with time. This can happen as long as 3 months after you’re finished bleaching it.
So as you can see, it’s not enough to simply rinse out your tie dye with water afterwards, not if you want your creations to stand the test of time.
How Long Will My Creations Last For?
The great news is that if you follow the steps above, your tie dye creations can last a lifetime! As long as you care properly for your clothing, and wash them in a gentle setting, your T – shirts will look super cool for years to come.
What Color Will My T – Shirts Be After Bleaching?
This is one of the most common questions we receive when it comes to reverse tie dyeing. What color will your clothing be after you’re done bleaching them?
This is actually a super tricky question to answer, purely because it’s dependent on the color of the garment that you’re bleaching. Bleaching any kind of clothing item will make it lighter in color, so you can expect it to be paler than when you began the process.
Most dyes however, will have some degree of red in them. This goes for the majority of clothing items.
Red is known for being one of the most potent dyes, and will therefore be the most difficult for the bleach to remove. This means that your garment might have some reddish hues in the mix.
The Best Fabrics For Bleaching
We’d always recommend using clothing items that are black in color, as they’ll give you the most dramatic tie dye. We’d recommend avoiding nylon fabrics in general, as they don’t tend to absorb the bleach as well.
Final Thoughts
When it comes to creating reverse tie dye, the options are limitless (see also “DIY Tie Dye Sweatshirt“). You aren’t just confined to the patterns outlined here, because there are so many out there you can make using this technique. Just follow the general guidelines and you’ll be on your way to tie dyed perfection!

In an effort to get them to avoid excessive screen time ( and arguing! ) I turned to more creative avenues that we have all since grown to love.
I created this website in the hopes of inspiring more families out there to enjoy crafting and enjoy a shared bonding experience over it.
Please enjoy it and hopefully, you’ll find something to make that you can display proudly forever!
- Master Crochet Stitches for Cozy Creations - January 23, 2024
- Half Double Crochet Guide for Cozy Creations - January 23, 2024
- Elevate Your Space with Unique Macrame Creations - January 23, 2024