When the kids are young it’s important that you nurture their creativity and find different ways to entertain them with new and exciting activities. Sensory play is great for kids, this could be anything from sound to play dough.
This sort of play supports the development of language, problem solving, and social interaction. The nerve connections in the brain are also built up this way, stimulating the senses and influencing how they see the world.
Some activities are more suited to rainy days and it’s always good to have a few tricks up your sleeve to keep everyone entertained and happy when they can’t go out to play.
If you’re looking for a mess-free, fun and safe way to entertain your kids then look no further.
In this article, learn how to make your kids their very own DIY light table and the best ways to use it (see also “Make Your Own DIY Dream Catcher“).
What Is A Light Table?
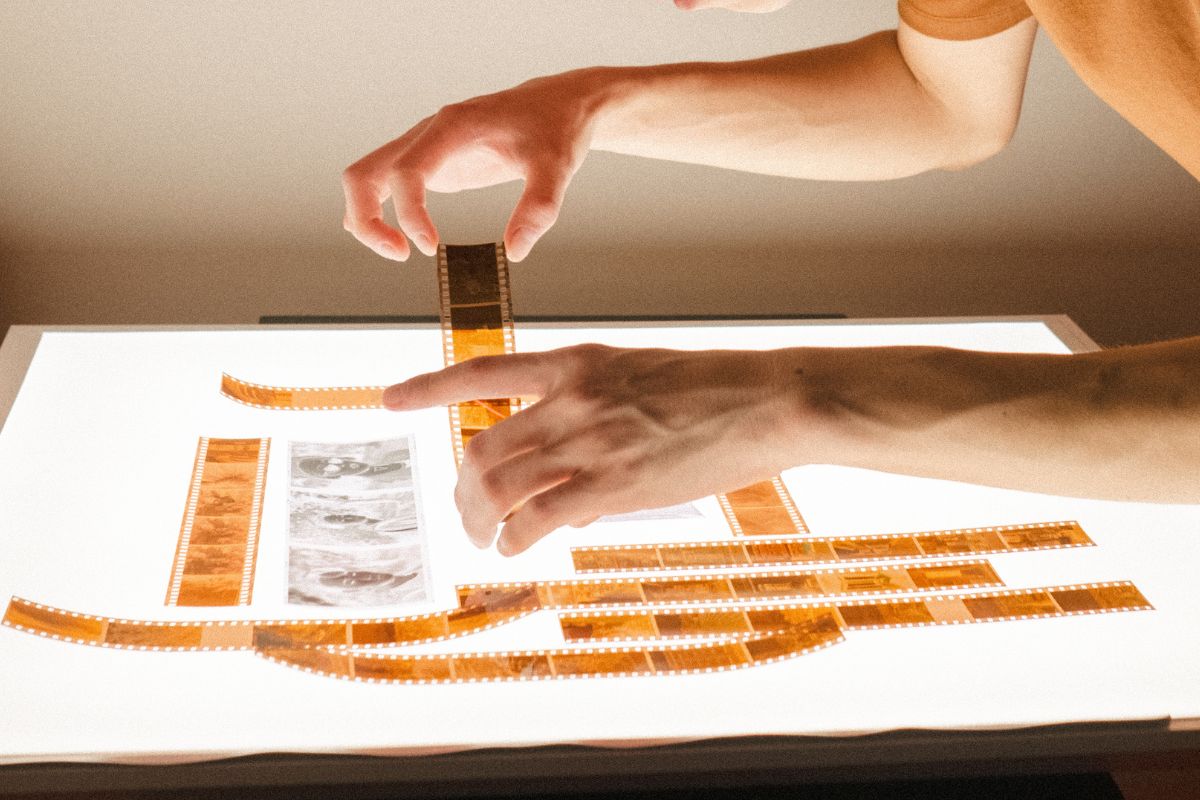
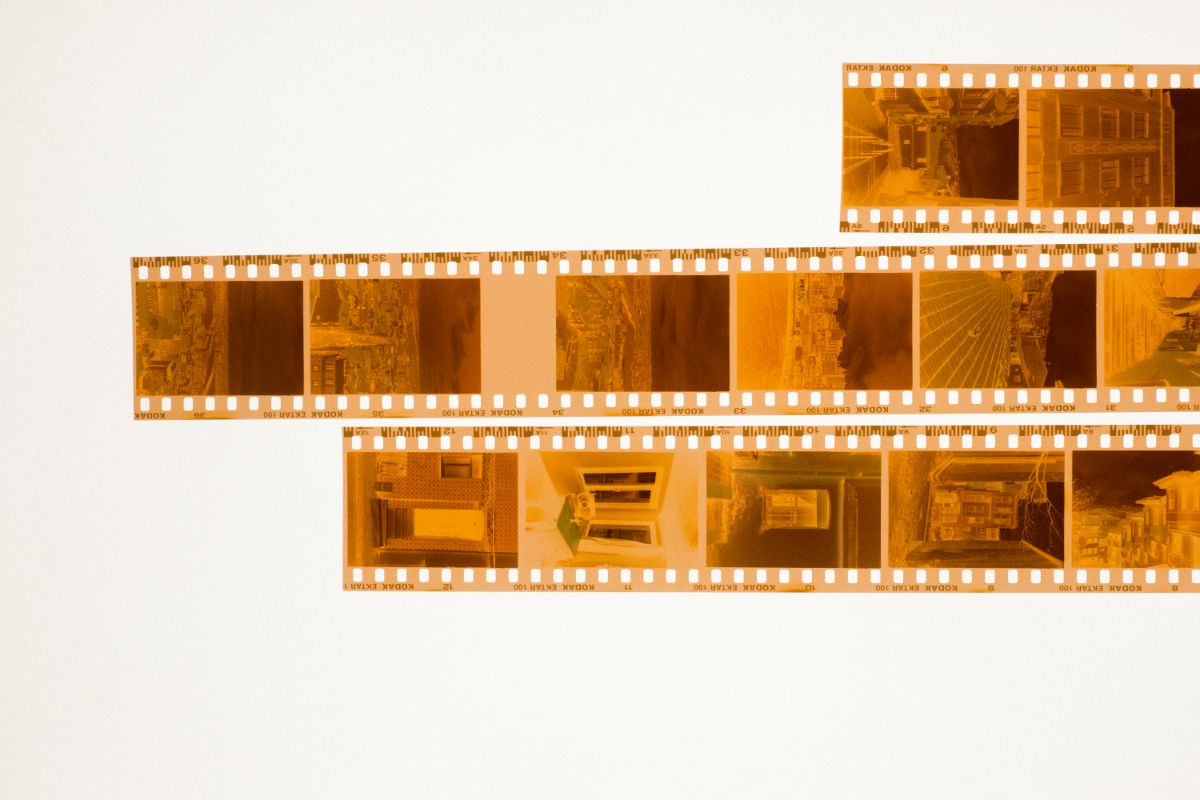
A light table is a tool used to review photographic film or artwork placed on top of it. Anything can be placed on the top of the table and when turned on it becomes illuminated.
The device consists of a translucent table top cover and a light inside the hollow of the table.
These tables can help with inspection and investigation tasks, especially for kids. Playing with these tables encourages development of skills such as motor development, color recognition, and hand-eye coordination.
Light tables are a common feature in pre-schools, although they may be slightly smaller and more robust than ones found in art and photography studios.
Instructions
Here is our easy to follow step-by-step guide on how to make your own light table with a few simple household objects (see also “Easy DIY Light Up Minnie Mouse Ears“).
What You’ll Need
- Large clear storage box
- White tissue paper
- Light source – holiday lights or similar safe alternative
- Clear tape
Step One
Empty your large clear plastic storage tub of anything that it contains and flip the lid upside down. Use some tape to attach the tissue paper to the underside of the lid so it covers the entire surface area.
Step Two
Place a string of holiday lights or something similar such as an LED strip light around the inside of the box. The stronger the lights, the more effective they will be at creating shapes and shadows.
Colorful LED strips can be bought for a reasonable price from online marketplaces such as Amazon. These can also change color which is super fun for kids to experience and experiment with.
If there is a cord hanging out then you may want to position the box against a wall near a socket so the cord can be tucked away rather than in the middle of the room.
Step Three
Collect transparent materials such as shapes and stones to place on the light table for the kids to play with (see also “Guide To Wire-Wrapping Stones Without Holes“). Many of these materials can be sourced from items you already have but there are also many sets you can buy that are super inexpensive.
Step Four
Let the kids at it! Now everything is set up, show off your DIY skills and let them go nuts.
Light Table Alternatives
A clear coffee table can also be used to create a light table.
In a similar way to the plastic box method, taping white tissue paper to the underside of the coffee table top and adding a light source – voila! This is great as it’s more sturdy for them to use.
Any other transparent surface can be used to make a light table such as a big piece of transparent acrylic or pre-made transparent kids furniture.
One hack that many people are obsessed with at the moment is converting kids IKEA furniture into a light table.
For those that are quite handy, it will be extremely easy to do using a white acrylic sheet, LED strip lights and the LATT children’s table.
Light Table Activity Ideas
Shapes
One of the main ways that light tables can be used by kids is to sort out colorful shapes and materials and create lovely designs and pictures. Letting them explore with shapes, colors, and light is highly beneficial for their fine motor skills.
Tracing
Depending on the type of box you’re using for the light table, you might encourage them to trace objects and pre-made sketches.
Light tables are often used by artists and creatives for this purpose and is a great way to develop skills associated with the frontal cortex.
Tracing paper can be found in any craft store, alternatively you can use a plain piece of A4 paper although this may require stronger light sources to see through it.
Find your child’s favorite cartoon character or animal and get them to trace and color it.
This could even be a great place for your child to start learning to trace shapes, letters, and numbers!
Exploring Objects
Finding interesting objects such as leaves, pieces of colorful tissue paper, and blocks to place on the light table. Leaves are a particular favorite with kids as they can see the veins and intricacies of different varieties (and it won’t cost a thing!).
Contact Paper Collages
Contact paper should already be your best friend when it comes to kids’ art projects. This sticky transparent sticky paper is often used to wrap school books but it can also be a great way to create collages with your light table.
Tape contact paper sticky-side up onto your light box and let their imaginations run wild. Utilize anything from mosaic tiles to felt shapes before covering with an additional piece of contact paper to sandwich everything together.
Cut out around the outline of the collage to neaten everything up and display it somewhere in your home.
The Bottom Line
Making your own light table is easy and inexpensive to do with a few simple household items. Not only will your kids have so much fun playing with it, the activities will also help to develop their fine motor skills and enhance their creativity.

In an effort to get them to avoid excessive screen time ( and arguing! ) I turned to more creative avenues that we have all since grown to love.
I created this website in the hopes of inspiring more families out there to enjoy crafting and enjoy a shared bonding experience over it.
Please enjoy it and hopefully, you’ll find something to make that you can display proudly forever!
- Master Crochet Stitches for Cozy Creations - January 23, 2024
- Half Double Crochet Guide for Cozy Creations - January 23, 2024
- Elevate Your Space with Unique Macrame Creations - January 23, 2024
